Share
How to Set Up a LAMP server in macOS

Share
Interests
This guide will show you how to set up a LAMP environment in macOS and OS X.
1 – L is for Linux
To start off, it might be odd to call it a LAMP server on Mac OSX, but that’s what it’s called. OSX is actually built off of BSD, not Linux. Either way, the “L” refers to the operating system that will be running our web server.
2 – A is for Apache
Apache is a very popular web server software, and it’s already install on your Mac! It’s easy to configure and quick to get started with. On your Mac, you’ll need to get familiar with a command to manage your web server: apachectl. This command requires root to run so you’ll actually run it like this:
sudo apachectl The basic commands you’ll use are:
start
sudo apachectl startstop
sudo apachectl stoprestart
sudo apachectl restart3 – M is for MySQL
MySQL is a very popular open source database software. Unfortunately, MySQL does not come install on the Mac so you’ll have to install it. I recommend using homebrew (a great Mac package manager) to install it. First, install homebrew. To install go to Brew.sh and follow the instructions. Next use homebrew to install MySQL. Open the Terminal application – Applications > Utilities > Terminal and type:
brew install mysqlNow get familiar with some basic MySQL commands:
start
mysql.server startrestart
mysql.server restartstop
mysql.server stop4 – P is for PHP
PHP is already installed on your Mac! This is the programming language used to perform logical operations on user input, interact with the database, and build the response to send back to the user.
5 – Get familiar with the apache configuration
In order to get started no configuration changes are necessary, but you will benefit from learning about the apache configuration files. The primary configuration file you should find is httpd.conf. httpd is the name of the apache daemon (don’t worry if you don’t know what a daemon is) so the configuration file is called httpd.conf and it’s usually found in /etc/apache2/httpd.conf. Another file you’ll wanted to find is httpd-vhosts.conf. This is the file where you can set up virtual hosts. A virtual host lets you setup multiple domain names for this web server. A basic vhost configuration lets you specify the hostname and the document root. Again, no changes are required to get started.
6 – The document root
The document root is where you put your application. On your Mac, the default document root is /Library/WebServer/Documents. If you don’t believe me, open up your httpd.conf file and search for DocumentRoot.
7 – Your first web page
Now that you’ve got the basics, we’ll build a basic web page. Use Finder (or Terminal) to navigate to your document root /Library/WebServer/Documents. Create a file called index.php and edit it. Keep in mind that you will have to use sudo to edit this file. One way to do this is to open Terminal and type:
sudo open -a TextEdit /Library/WebServer/Documents/index.phpAdd the following to this file:
    My first web page


     echo date("F jS, Y"); ?>
Apache will look in the document root for a file called index.html or index.php. So you may have to delete or rename any other files in this folder that start with index. Now, restart the web server.
sudo apachectl restartAnd open your browser and go to:
http://localhostOur web page is a little boring as it only prints the current date, but this is all we need to get started!
How to Enable the “Popping” Sound When Adjusting the Volume on Your Mac

Starting with MacOS Sierra and High Sierra, your Mac will no longer play a “pop” sound when you adjust your volume. If you prefer to have this sound when you adjust volume up and down (as I do), this guide will teach you how to reenable it. 1 – Open Sound System Preferences Navigate to System
Introducing Howchoo, an enigmatic author whose unique pen name reflects their boundless curiosity and limitless creativity. Mysterious and multifaceted, Howchoo has emerged as a captivating storyteller, leaving readers mesmerized by the uncharted realms they craft with their words. With an insatiable appetite for knowledge and a love for exploration, Howchoo’s writing transcends conventional genres, blurring the lines between fantasy, science fiction, and the surreal. Their narratives are a kaleidoscope of ideas, weaving together intricate plots, unforgettable characters, and thought-provoking themes that challenge the boundaries of imagination.
Related to this guide:
How to Enable the “Popping” Sound When Adjusting the Volume on Your Mac
Starting with MacOS Sierra and High Sierra, your Mac will no longer play a “pop” sound w

How to Always Show File Extensions in MacOS
As a website designer, I work with a lot of files—and a lot of file types. Nothing’s worse t

How to Get Dashboard on MacOS Big Sur
With the introduction of the new macOS, Big Sur, many things like even securely emptying your t
How to Install SSHFS
This guide will show you how to install SSHFS on various operating systems. 1 – On macOS Using
How to Test Sendmail from the Shell
Sendmail is an open source smtp server. Many different languages and frameworks interface with sendm

How To Connect Your AirPods With a Keyboard Shortcut in MacOS
Note: This guide does not work on MacOS 11 Big Sur. Look out for an updated guide coming soon. Accor

Make YouTube Video Embeds Responsive Using Pure HTML and CSS
Surprisingly, normal YouTube embeds are not automatically sized to the browser window as it is resiz

How to Connect to a Raspberry Pi Remotely via SSH
This guide will show you how to connect to your Raspberry Pi remotely via SSH from your laptop or de
How to Open URLs in Google Chrome from the macOS Terminal
If you spend any amount of time working on the command line in macOS, you’ll realize it’
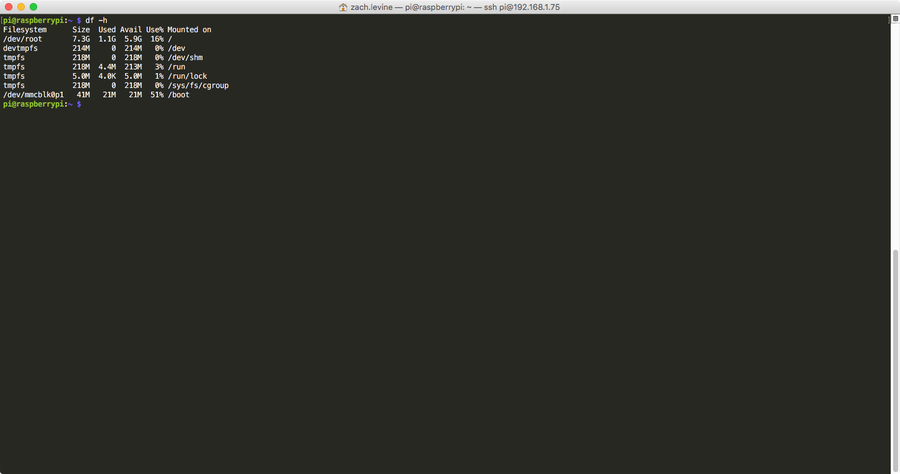
How to Check Raspberry Pi SD Card Free Space (Disk Space Usage)
This short guide will show you how to check how much free space your Raspberry Pi has. 1 – Get