Share
How to Set Up a New Raspberry Pi

Share
What you’ll need
Interests
Series
Howchoo is reader-supported. As an Amazon Associate, we may earn a small affiliate commission at no cost to you when you buy through our links.
Posted in these interests:


Raspberry Pi Models and Specs: A Comprehensive Guide
What flavor of Pi is your favorite?
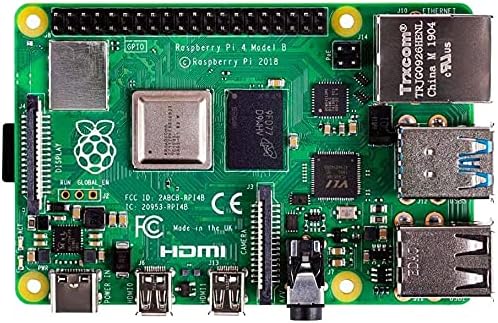
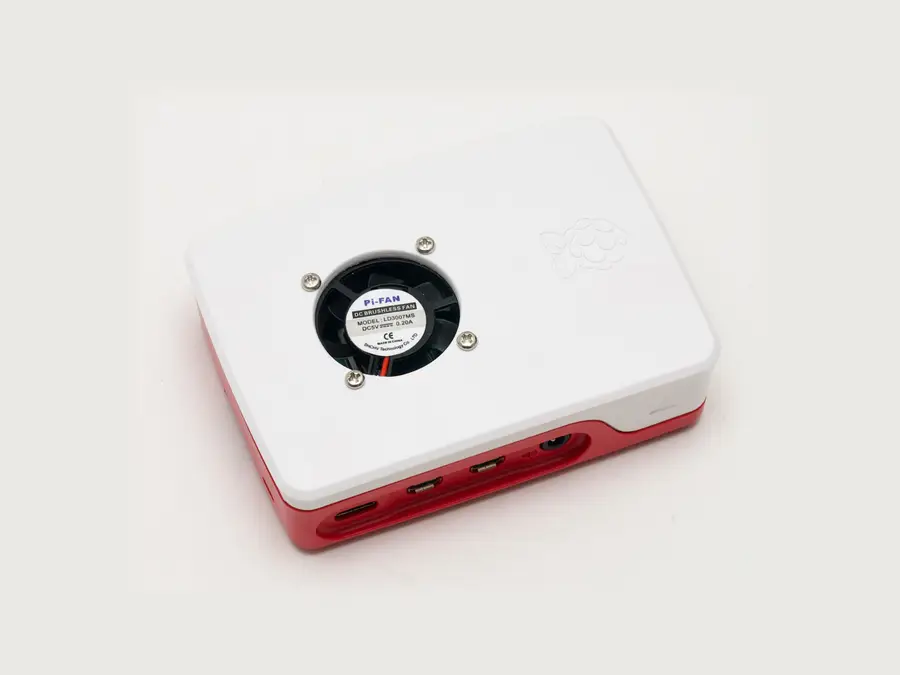
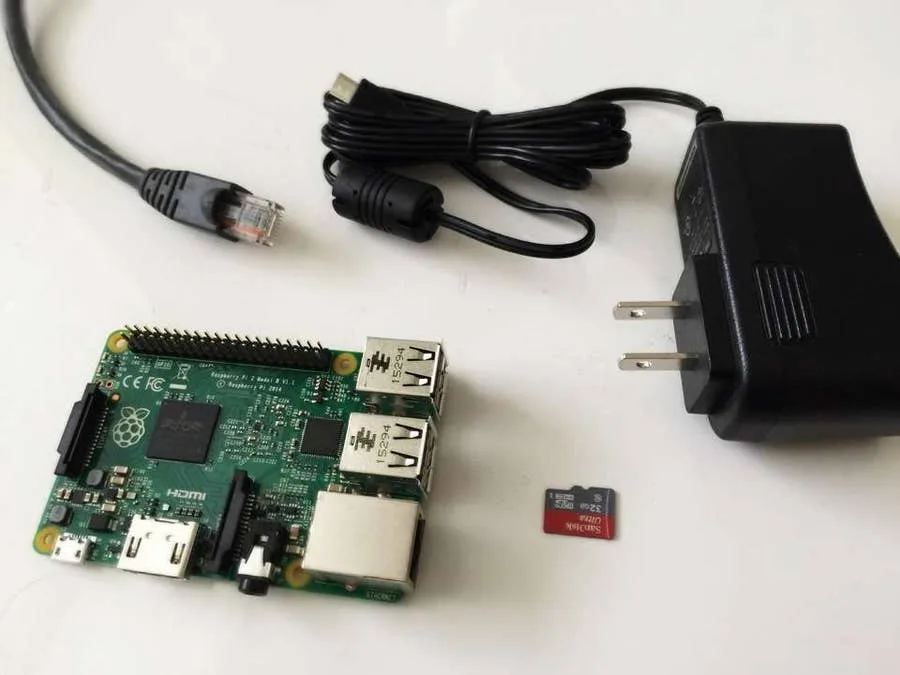
1 – Gather your accessories
Canakit Raspberry Pi 4 Starter Kit Review: No Nonsense Quality
Great for newcomers and seasoned Raspberry Pi veterans, alike.
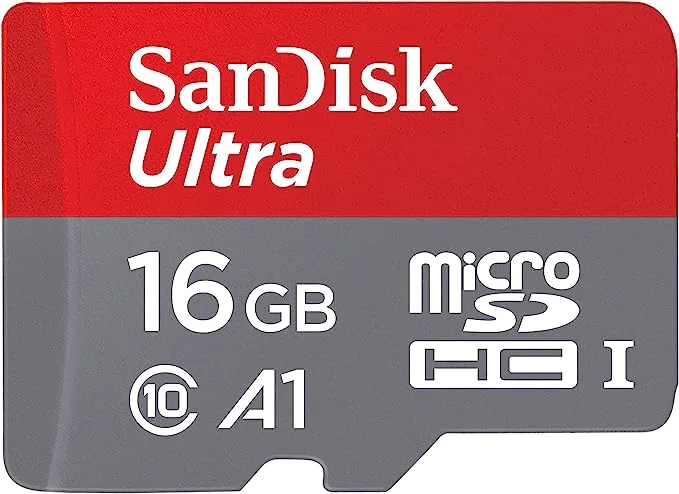
2 – Flash the SD card
The first thing you’ll want to do is flash your SD card with the Raspberry Pi OS image of your choice. There are a few versions available with older editions known as Raspbian. Check out our Raspberry Pi OS installation guide to get the latest edition and then return here!
How to Install Raspberry Pi OS on Your Raspberry Pi
Get the new official Raspberry Pi OS on your Pi.
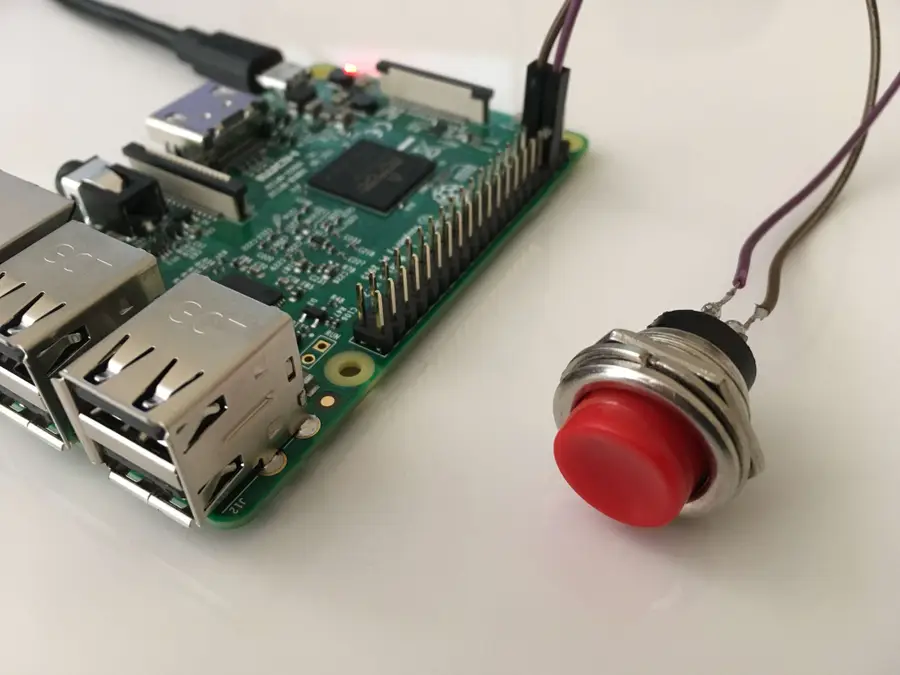
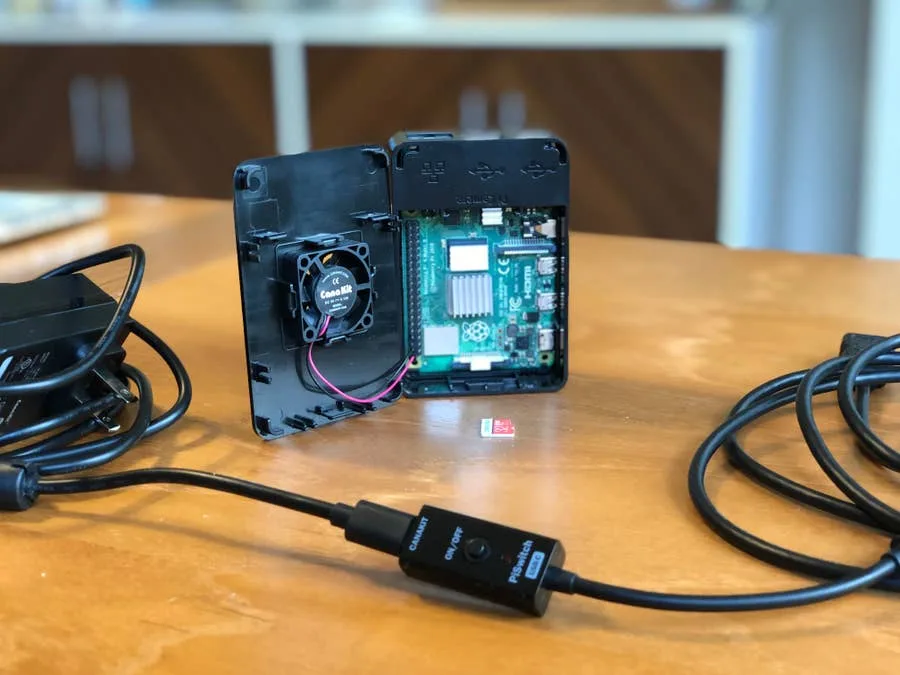
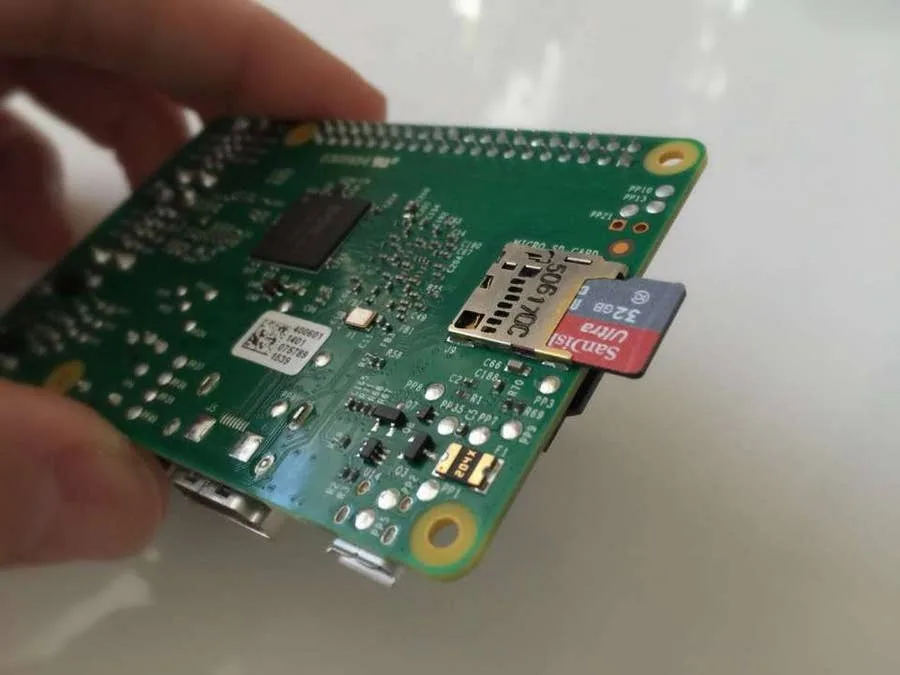
3 – Insert the Micro SD card into the Raspberry Pi
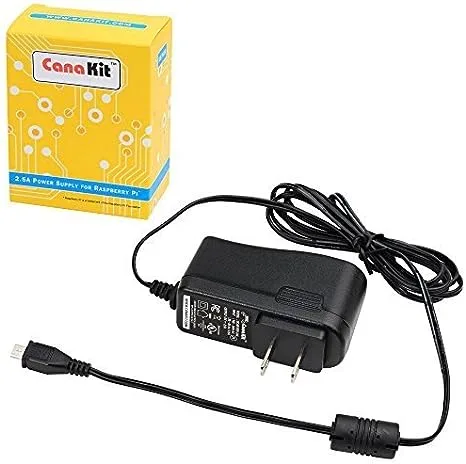
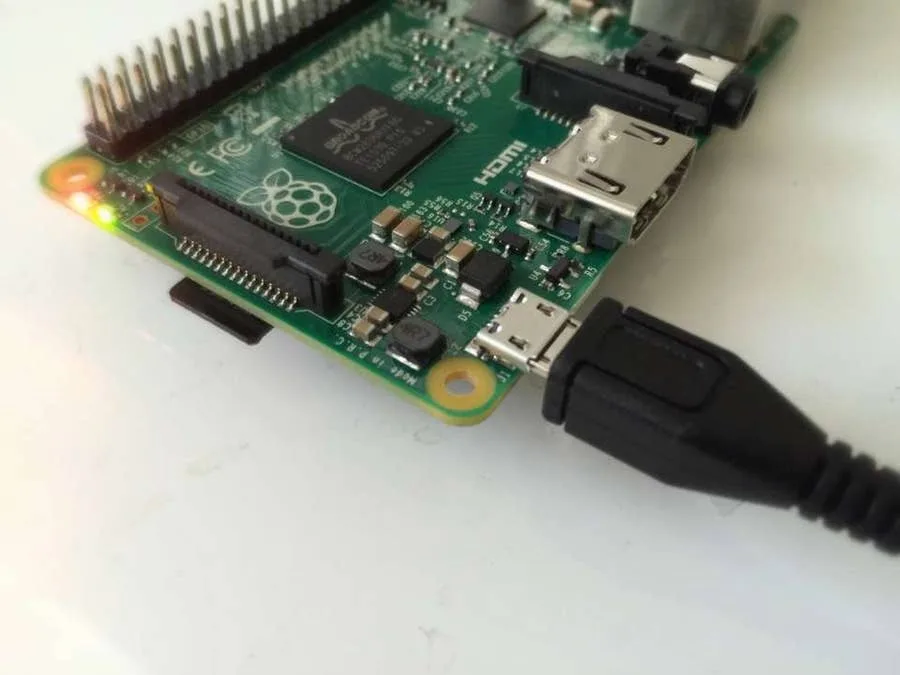
4 – Plug in the power cable
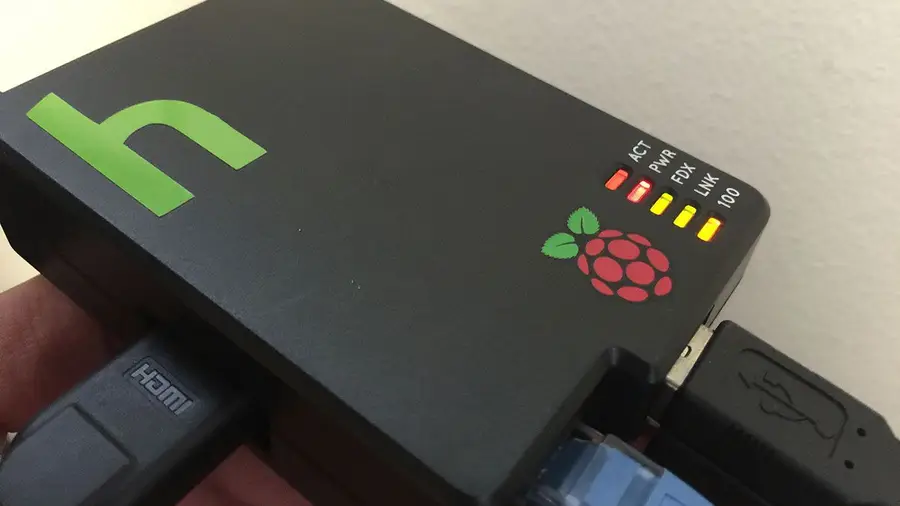
5 – SSH
Now, with your pi powered on and connected to your local network, you should be able to ssh into your pi. SSH comes installed and enabled on Rasppberry Pi OS, so you should be able to SSH in without any prior setup. First we’ll ping the Raspberry Pi to make sure we can find it. The default hostname for the Raspberry Pi is unsurprisingly: raspberrypi.ping raspberrypiPING raspberrypi.attlocal.net (192.168.1.243): 56 data bytes
64 bytes from 192.168.1.243: icmp_seq=0 ttl=64 time=81.131 ms
ssh -l pi raspberrypipi@raspberrypi:~ $6 – Change the password
At this point, you’ll want to change the password for the pi user on your Raspberry Pi. This can be done using the passwd command.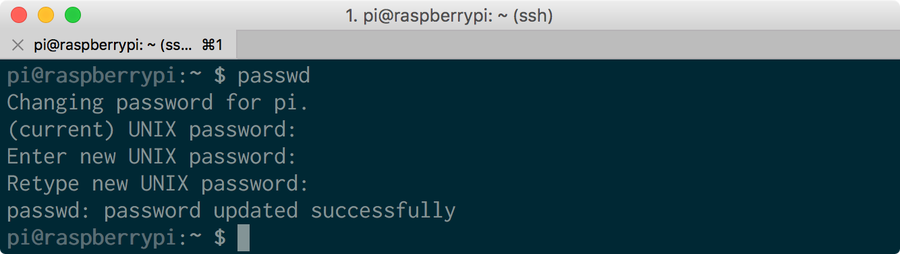
passwd7 – Change your timezone
Don’t forget to set your Raspberry Pi timezone after connecting to your Pi.
8 – Connect to the Internet
Check out our guide on connecting to WiFi on the Pi.
How to Set up WiFi on Your Raspberry Pi Without a Monitor (Headless)
No monitor, keyboard, or mouse? No problem.

Pi-hole: How to Set Up and Configure Pi-hole on Raspberry Pi
Blocking ads just got easier with Pi-hole, a network-wide ad blocker for the Raspberry Pi
How to Run a Minecraft Server on the Raspberry Pi


December 7, 2023
There are several ways to go about running a Minecraft server on the Raspberry Pi. In this guide, I’ll cover how to install Nukkit—a cross-platform Minecraft server that’s super easy to set up on the Raspberry Pi. This server should work with PCs, consoles, and tablets running Minecraft 1.14. I’ll be using a Raspberry Pi
Continue Reading
In these interests
Raspberry Pi pi • 92 guides
Related to this guide:
How to Run a Minecraft Server on the Raspberry Pi
There are several ways to go about running a Minecraft server on the Raspberry Pi. In this guide, I&
HeaterMeter: Control your Grill Using a Raspberry Pi!
With summer right around the corner, it’s time to fire up the grill! But who will watch the gr
RetroPie scrapers: what they are and how to use them
You’ve put so much work into setting up RetroPie or EmulationStation. You load it up
Power Your Raspberry Pi Zero with a Battery Using the JuiceBox Zero
The Raspberry Pi Zero is an incredible tool for building a wide variety of IoT devices. And until laIn these interests:
DIYRaspberry Pi
How do I connect my Raspberry Pi to my computer?
There are many reasons you may want to connect your Raspberry Pi to your computer, and there are a fIn these interests:
Raspberry Pi

How to Set Up Homebridge on a Raspberry Pi
Home automation is growing in popularity, but one of the biggest hurdles is compatibility betweIn these interests:
Raspberry PiSmart Home

Build Your Own Raspberry Pi Car Computer, or “Carputer”, with AutoPi
Have you ever wanted to add an entertainment system to your car, only to find that most units are ex
The Best Raspberry Pi HATs for Your Next Project (2022)
There are so many cool HAT extensions for the Raspberry Pi to make your next project literally singIn these interests:
Raspberry Pi

How to Choose the Best Camera for OctoPrint (including USB)
OctoPrint is a platform designed for the Raspberry Pi that makes it possible to monitor and control
Gamepad Zero: A Raspberry Pi Retro Gaming Rig Inside an Original NES Controller
What’s cooler than running all your favorite emulated games on a $10 computer? Putting that coPosted in these interests: