The Nintendo Wii is compatible with GameCube controllers. The console natively supports them and even has dedicated ports just for them. Setting everything up is easy, all you need is a Nintendo Wii and a GameCube controller.
For more information, check out the Nintendo website for details about how the original GameCube hardware is officially supported.
1 – Choose a GameCube controller
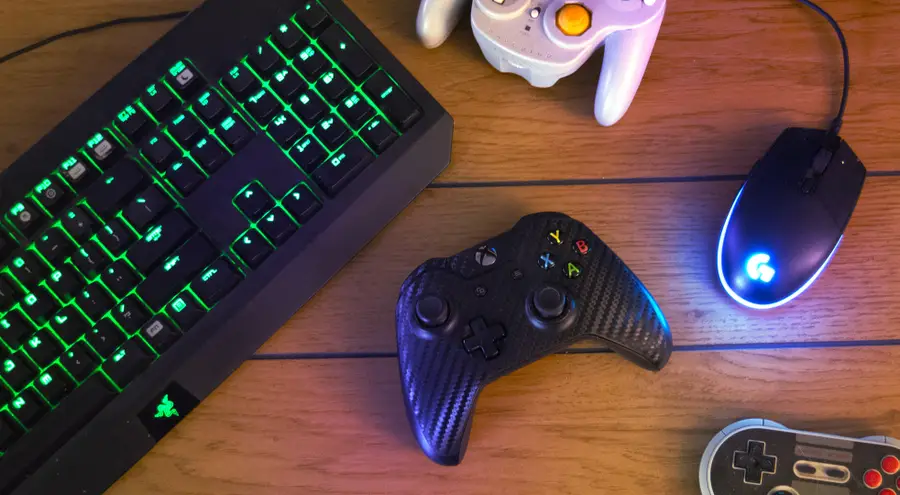
Any style of GameCube controller will work, including most third-party controllers that use the GameCube proprietary port like this GameCube controller by Cippon. USB controllers will not work.
If you’re using an old original GameCube controller, you may have to test it to see if it’s working. You can do that on a GameCube or the Wii by following through this guide.
The wireless GameCube controller known as the WaveBird is also compatible with the Wii.
GameCube controllers can also be connected to your PC, or even to a Nintendo Switch, if you’re wanting to upgrade your gaming setup on either of those devices.
2 – Locate the GameCube controller ports
The port location for connecting GameCube controllers is on the side of the Wii. If you’re propping yours upright, they will be accessible through the top. You need to open a small hatch to access them.
3 – Connect your GameCube controller
Plug the GameCube controller into the Wii. If you’re using a WaveBird, connect the wireless adapter to the Wii.
4 – Use the GameCube controller on the Wii
The GameCube controller should be automatically recognized. If you aren’t able to maneuver through the menu with it, try launching a game with the Wiimote that you want to use it with.
5 – Troubleshooting
No technical endeavor is complete without a hangup or two! Here are a few common issues encountered when using a GameCube controller on the Wii.
No input from controller – Double-check the connection, unplug, and reconnect the controller. You can also try restarting the Wii. As a last resort, you may have to test the controller on another console to see if it’s still working.
WaveBird not working – Always use a fresh set of batteries when digging out an old WaveBird. These guys also need to be dialed into the right channel to communicate properly with the receiver. Double-check to confirm the controller and receiver dials are on the same channel number.
NEXT UP
RetroPie scrapers: what they are and how to use them
You’ve put so much work into setting up RetroPie or EmulationStation. You load it up with legally obtained ROMs only to find that custom theme you installed—you remember, the one from my RetroPie themes guide—has a big blank spot for box art! The Best RetroPie Themes (And How to Install Them)You deserve some personal flair! RetroPie: Build Your
Introducing Howchoo, an enigmatic author whose unique pen name reflects their boundless curiosity and limitless creativity. Mysterious and multifaceted, Howchoo has emerged as a captivating storyteller, leaving readers mesmerized by the uncharted realms they craft with their words.
With an insatiable appetite for knowledge and a love for exploration, Howchoo’s writing transcends conventional genres, blurring the lines between fantasy, science fiction, and the surreal. Their narratives are a kaleidoscope of ideas, weaving together intricate plots, unforgettable characters, and thought-provoking themes that challenge the boundaries of imagination.
Minecraft’s worlds are infinitely generated, and each new world has its own unique seed code. What you might not know, is that you can generate a world with a specific seed. Whether you want to write in something silly, or found a fantastic seed online, follow our guide on how to generate a custom seed world!
1 – Open Minecraft
Open up Minecraft from wherever it’s installed. You can use CurseForge and other mod loaders for this guide!
2 – Create a Singleplayer world
To create a custom world, press “Singleplayer”.
3 – Open the Create a World menu
As shown above, click the “Create New World” button at the bottom.
4 – Add a custom seed
To generate the world with a custom seed, press “More World Options” and an additional menu will appear. Here you can add your custom seed, change the world type, or choose to generate structures.
In the text box at the top of the screen, add in whatever seed you want. Since version 1.18, Mojang has added the seed parity feature. This allows it that all seeds can be shared between Bedrock and Java editions.
You can enter letters and numbers into the text box, as shown above!
5 – Generate a world
At the bottom of the screen, press “Create New World” and your new world will generate.
The longer you play Minecraft, the more you realize that early-game tools just won’t cut it. Exploring the enchantment feature of Minecraft can be exciting, but also intimidating. Rather than worry about researching enchantments, below are the best enchantments in Minecraft! To learn how to enchant items, check out this guide! In this guide, you’ll see
Introducing Howchoo, an enigmatic author whose unique pen name reflects their boundless curiosity and limitless creativity. Mysterious and multifaceted, Howchoo has emerged as a captivating storyteller, leaving readers mesmerized by the uncharted realms they craft with their words.
With an insatiable appetite for knowledge and a love for exploration, Howchoo’s writing transcends conventional genres, blurring the lines between fantasy, science fiction, and the surreal. Their narratives are a kaleidoscope of ideas, weaving together intricate plots, unforgettable characters, and thought-provoking themes that challenge the boundaries of imagination.
Facebook’s Messenger Kids is a free app that allows children to make video calls and send messages on smartphones and tablets, but with more control than just giving your child access to a phone. With Messenger Kids, parents can control their child’s online experience through a variety of functions that allow them to have a safe and secure online experience.
The Parent Dashboard is the hub for all the means to control your child’s online experience in Messenger Kids. Here, you’ll be able to add and remove contacts, block contacts, edit your child’s information, see the images your child is sending and receiving, and more.
This guide will show you how to access the Parent Dashboard in Messenger Kids.
1 – How to Access Parent Dashboard on iPhone or Android
Open the Facebook app and tap the three horizontal lines in the bottom right.
Scroll down and select ‘Messenger Kids‘
Click your child’s photo
The Parent Dashboard is organized in to three sections: Activity – View recent contacts, groups, blocked contacts, reports, and images sent and received in chats. Contacts – add and remove contacts here. * Controls – access parent controls. You can add additional parents and guardians here.
2 – How to Access Parent Dashboard on Desktop
Please Note: there are some Parent Dashboard features that are exclusively available on mobile.
Open Facebook on your desktop and navigate to the ‘Explore‘ section on the left side.
Select ‘Messenger Kids‘
Select your child’s name.
NEXT UP
Slow Media Modern Waldorf & Montessori Kids Can Watch!
If you’re looking for slow media for your modern Waldorf child, this list is for you.
Figuring out what constitutes “slow media” for Waldorf-inspired education is not easy. But media that Waldorf kids can watch does exist! However, the criteria for what media is acceptable to expose kids to is so vastly different for media-conscious parents than the typical age recommendations. Common Sense Media, for instance, offers age recommendations for kids, but
Introducing Howchoo, an enigmatic author whose unique pen name reflects their boundless curiosity and limitless creativity. Mysterious and multifaceted, Howchoo has emerged as a captivating storyteller, leaving readers mesmerized by the uncharted realms they craft with their words.
With an insatiable appetite for knowledge and a love for exploration, Howchoo’s writing transcends conventional genres, blurring the lines between fantasy, science fiction, and the surreal. Their narratives are a kaleidoscope of ideas, weaving together intricate plots, unforgettable characters, and thought-provoking themes that challenge the boundaries of imagination.
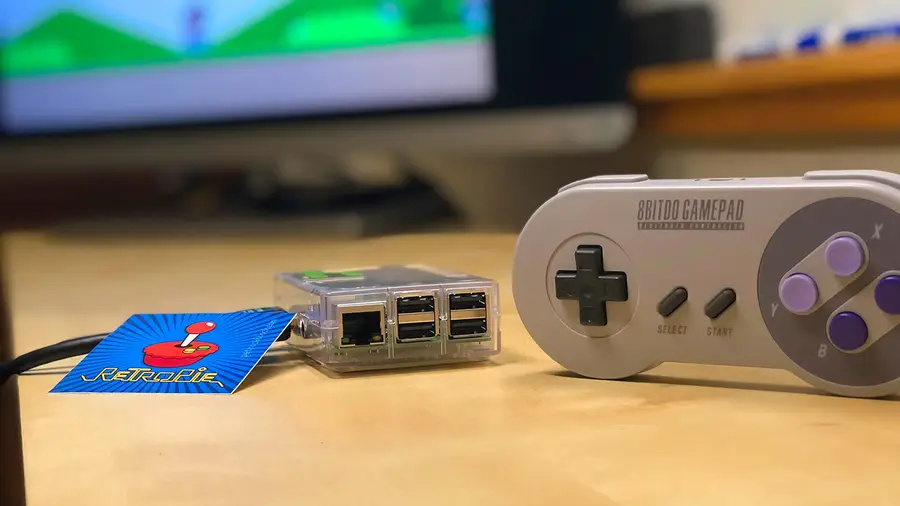
For around 50 bucks, you can build your very own vintage gaming rig that will hook up to any HDMI-enabled TV or monitor. This guide will show you everything you need to do to get playing.
For this build, we’re going to use RetroPie, an awesome software package that handles all your emulation needs.
What is RetroPie?
RetroPie is a software library used to emulate retro video games on the Raspberry Pi computer. It’s one of the most popular Raspberry Pi projects out there and the most popular emulation system for the Raspberry Pi. RetroPie features a user-friendly interface and an even friendlier setup process.
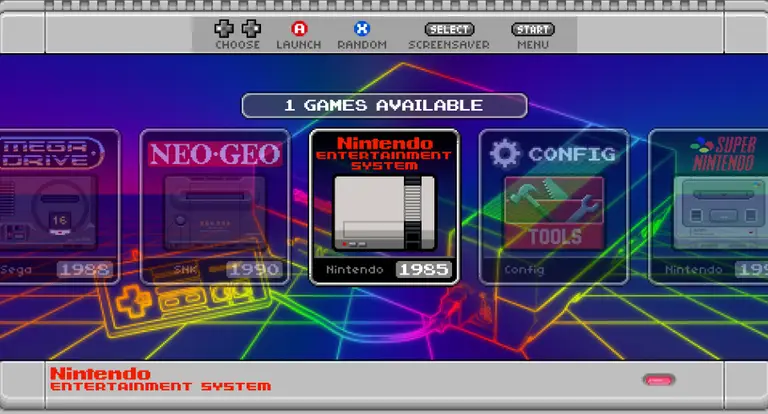
RetroPie runs Emulation Station and supports all major retro video game emulators, allowing you to play games from the NES, SNES, Genesis, Atari, and more on your Pi, thus becoming your own Raspberry Pi emulator. I always wondered why the developers called it RetroPie instead of RetroPi… but I digress.
Which Raspberry Pi should I use for RetroPie?
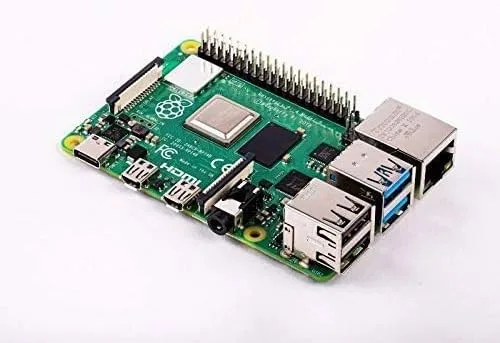
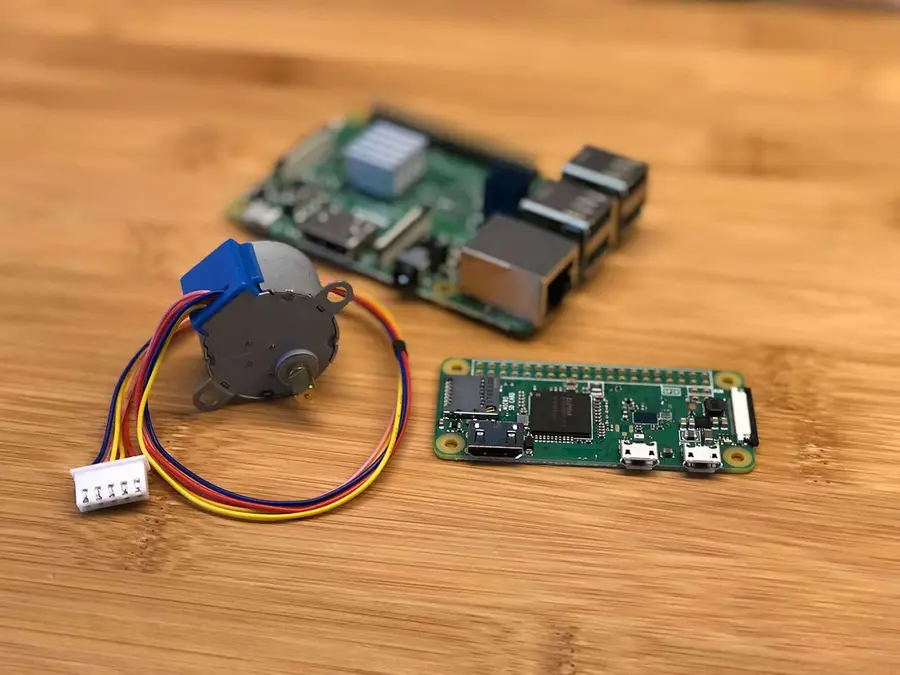
Any Raspberry Pi model can run RetroPie, but I recommend using the Raspberry Pi 4 since its more powerful GPU, CPU, and RAM capabilities will maximize the range of games you can play. I recommend the 2GB version of the Raspberry Pi 4; RAM doesn’t matter too much beyond a certain point for emulating retro games. In other words, at a certain point, the limitation is on CPU and GPU, not RAM.
Table of Contents
1 – Place your Raspberry Pi into its case
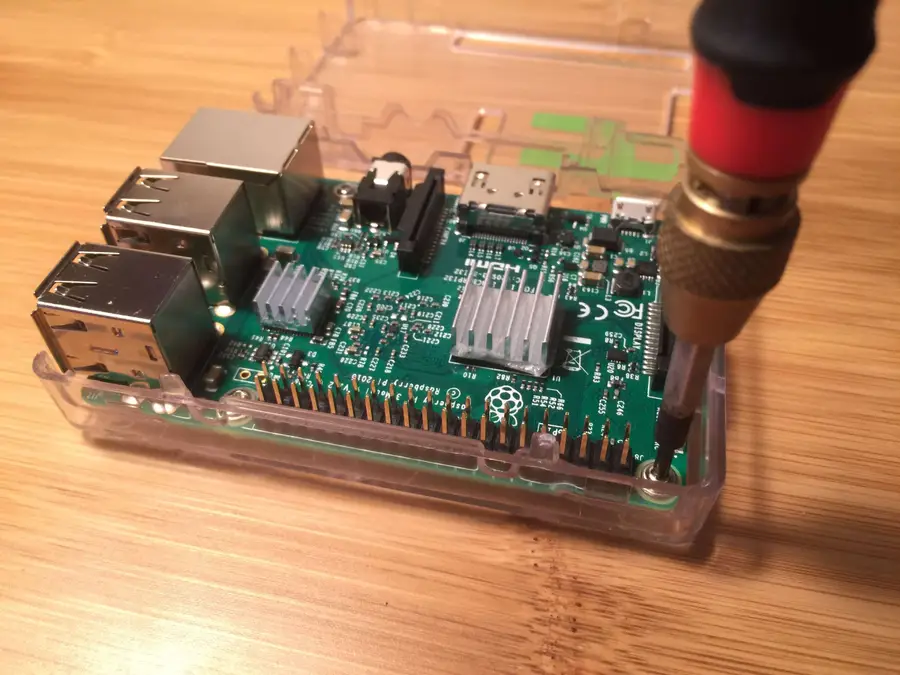
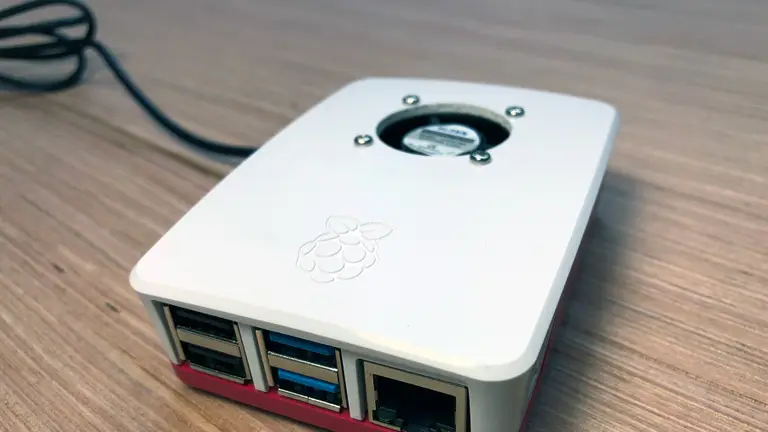
This photo is not of the FLIRC case, but a clear case.
The Raspberry Pi ships by itself, without a case. I recommend you buy a case to avoid damaging your Pi. Using a screwdriver, place your Raspberry Pi into its case. Some cases do not require the use of a screwdriver — however, I prefer cases that use screws to secure the Pi for extra stability.
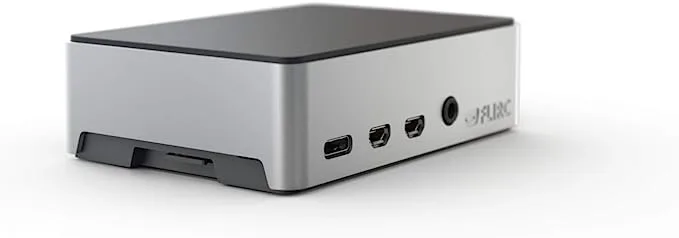
If you’re using the Raspberry Pi 3 or 4, I recommend choosing a case with a built-in heatsink. I highly recommend this FLIRC case since it provides passive cooling for the Raspberry Pi 4. Basically, the entire case is a giant heatsink, keeping your Pi cool. There’s also a version for the Raspberry Pi 3.
🛈 Your Pi may look different than mine! This photo shows a Raspberry Pi 3, though I’ve now updated this guide for the Pi 4.
2 – Download the RetroPie SD-card image
RetroPie is a software package for the Raspberry Pi that is based on the Raspberry Pi OS, a Linux distribution. It combines a full suite of tools and utilities that will allow you to quickly and easily run retro game ROMs for various vintage gaming emulators.
We’re going to perform our RetroPie setup using an SD card image — essentially a snapshot of an entire working installation of RetroPie rather than doing a manual RetroPie install.
Because the Raspberry Pi doesn’t have an internal hard drive, it uses a microSD card for storage of the entire operating system and all files contained therein.
To set up RetroPie, Download and unzip the latest RetroPie SD-Card Image. There are two versions of the RetroPie SD-Card Image:
One for the Raspberry Pi Zero, Zero W, A, B, A+ and B+
One for the Raspberry Pi 2 and Raspberry Pi 3
One for the Raspberry Pi 4
Select the appropriate image for your Pi.
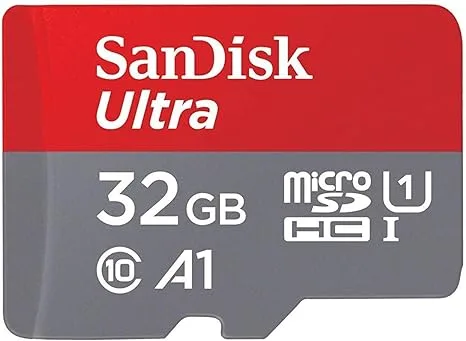
🛈 The Raspberry Pi A and B use a full-sized SD card; the Raspberry Pi B+, 2 and 3, and Zero use a MicroUSB card. I recommend using a 32GB card at the minimum so that you have lots of space for game ROMs; however, a smaller SD card will also work. Note: the Raspberry Pi requires a minimum 4GB card to operate.
3 – Format your SD card to work with Raspberry Pi
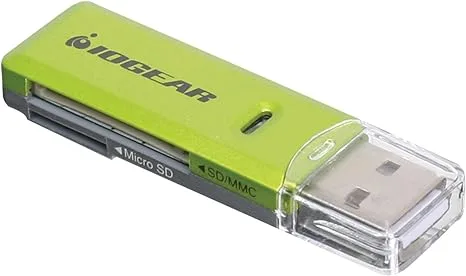
First, you’ll need to format the SD card as FAT. Insert the SD card into your SD card reader. Your SD card will now show up as a mounted drive on your computer.
Format Type
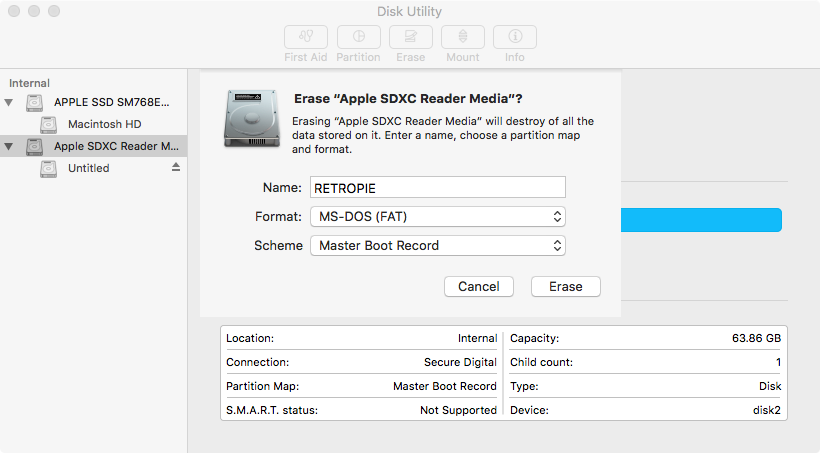
If your SD card is 32GB or smaller, we’ll format it as MS-DOS (FAT). If your SD card is 64GB or larger, we’ll format it as ExFAT.
Formatting on Windows
Open up Explorer, locate the SD card, right-click it, and select Format from the context menu. Select the desired format and click the Start button.
Formatting on Mac
Open Disk Utility by navigating to Applications > Utilities > Disk Utility. Select your SD card in the left pane. Click the Erase button, select the desired format, give it a name, and click the Erase button. For OS X Yosemite and older, you’ll need to navigate to the Erase tab first.
🛈 Reformatting your SD card destroys all the data on it.
4 – Install the RetroPie image
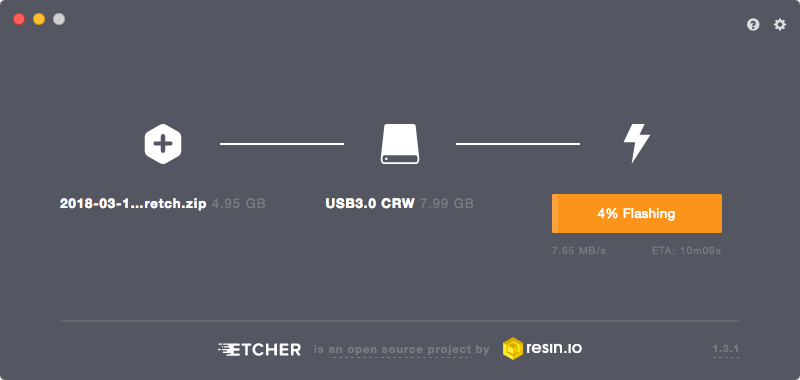
To install RetroPie, we’ll use a third-party utility called Etcher. Etcher works on both Windows and Mac.
Download and install Etcher, open it, and select your SD card drive and downloaded image to “flash” the image to your SD card.
5 – Put the SD card into your Raspberry Pi and connect your peripherals
Safely eject the SD card and slide it into your Raspberry Pi.
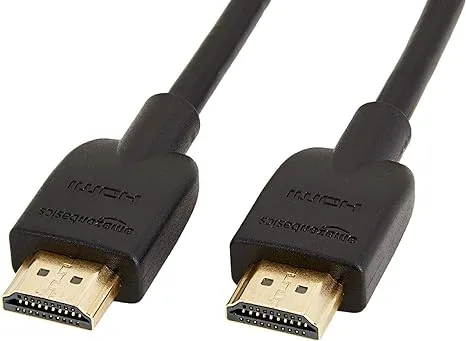
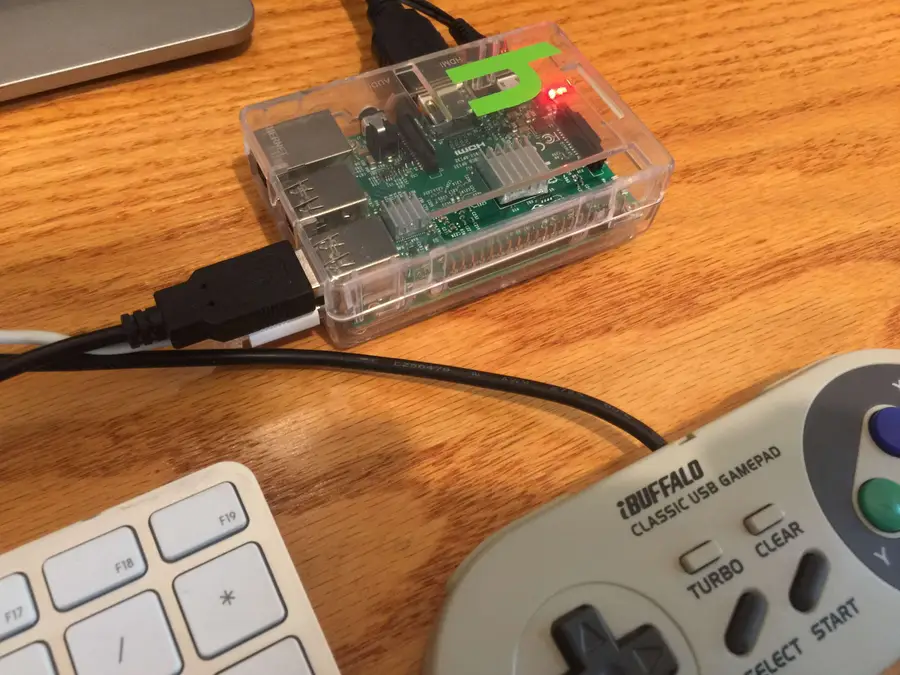
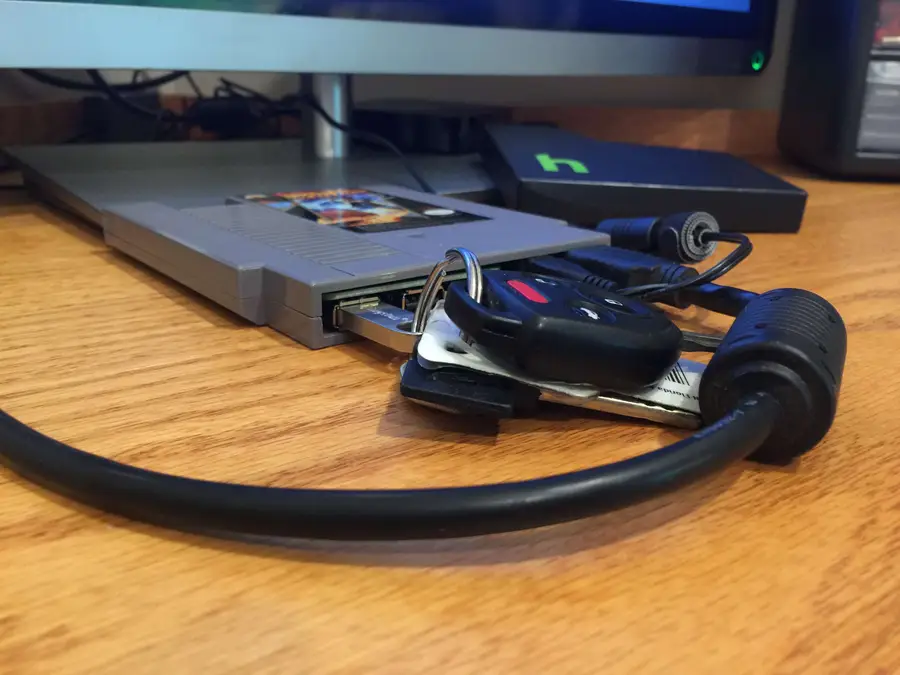
Next, connect your USB game controller and connect the HDMI cable to a monitor or TV. Finally, connect the MicroUSB power supply. Always connect the power supply after connecting your other peripherals so that your Pi will detect all of the peripherals properly on boot.
Your Pi will now boot!
🛈 If you have a USB keyboard, you can connect it now and use it for further configuration (more on this later).
6 – Connect your Pi to the Internet
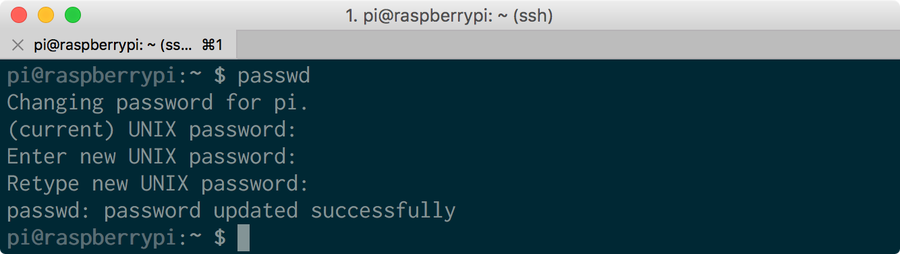
I recommend connecting your Pi to the Internet to more easily add game ROMs and access additional features such as game rating and description scraping. Also, connecting the Pi to your network will allow you to access it remotely via SSH to perform remaining configuration without needing a keyboard.
If you have a Raspberry Pi Zero W, 3, or 4, you have built-in Wi-Fi!
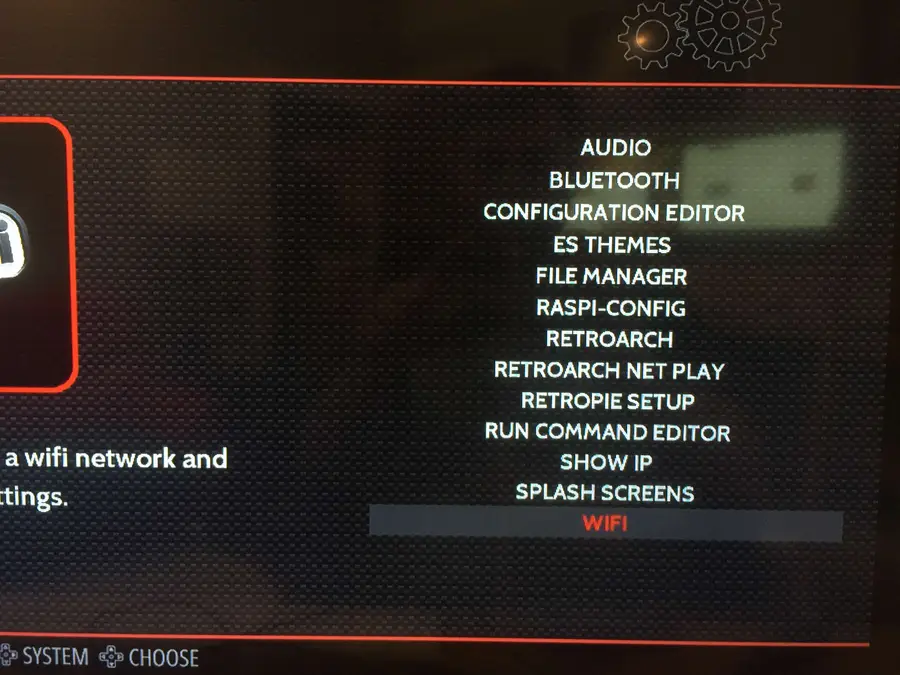
To connect, simply select the RetroPie menu icon and then select WIFI.
Then, connect to your Pi remotely via SSH by opening Terminal (Mac) or Command Prompt (Windows) and then running:
Note: If you’re using an older Pi or one without built-in Wi-Fi, you can still transfer ROMs via USB. But if you still want to add Internet functionality to one of these older Pis, simply connect an Ethernet cable or USB Wi-Fi dongle.
7- Expand your SD card to utilize all usable space
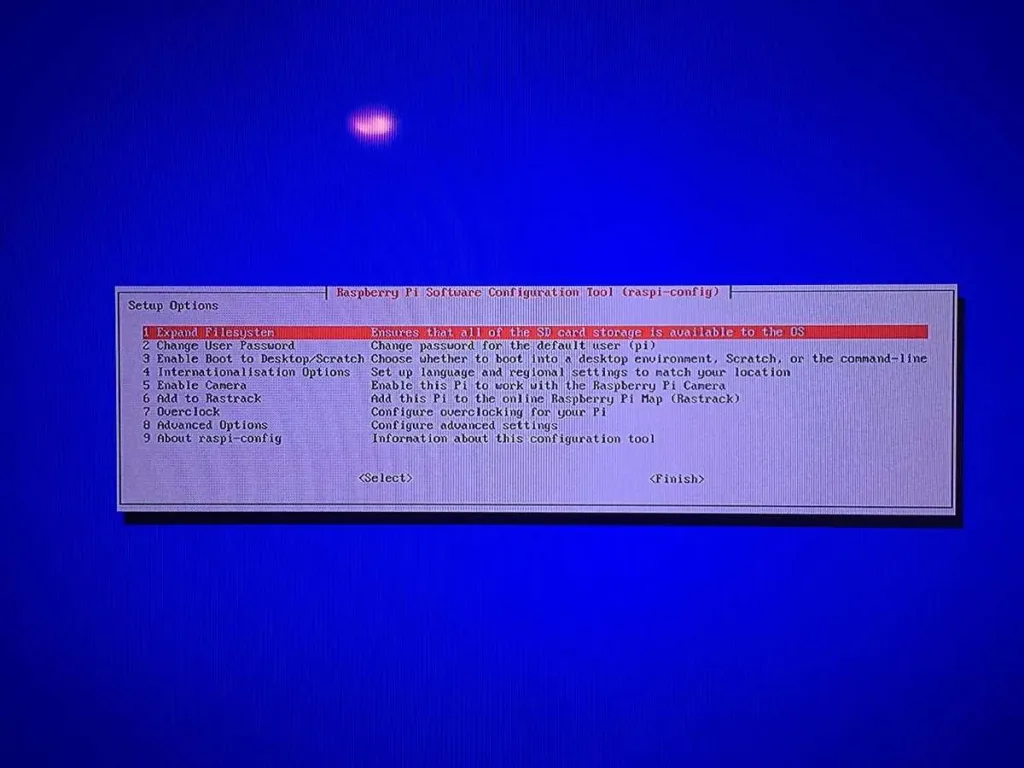
If your SD card is larger than 4GB, you must expand it before your Pi can use the remaining space. To do this, you’ll need to launch the Raspberry Pi configuration tool (raspi-config).
You can use the Retropie interface to do this. On the main screen, select the RetroPie menu icon and then select RASPI-CONFIG.
Then, choose either Expand Filesystem or expand_rootfs from the menu (this option will vary based on your Raspberry Pi model). You now need to restart your Pi. You may have noticed there’s no reset button (unless you’ve added one).
8 – Connect to your Pi
We now need to connect to your Raspberry Pi from your computer so that we can copy over game ROMs and easily edit configuration files.
Again, this step is optional as you can also transfer ROMs via USB and accessing your configuration and other additional features isn’t strictly required.
There are numerous ways to do this; my favorite method is via SSH/SFTP using an FTP client. As far as free FTP clients go, I recommend FileZilla since it’s very well documented and supported and is available for both Mac and Windows.
Download FileZilla from their downloads page and install it. I recommend you uncheck all the “additional components” that FileZilla will ask you to install, such as the Yahoo search page and toolbar crap.
**Note: As of the latest version of Raspberry Pi OS, SSH is disabled by default for security purposes; you will need to enable SSH on your Pi before proceeding. Thankfully, this process is super easy and painless.
To find your Pi’s IP, open Terminal (Mac) or Command Prompt (Windows) and enter the following command to ping your Pi and return its network IP:
ping retropie
or, for older versions of RetroPie, use:
ping raspberrypi
It may take a few tries to get a response. If you see a “Request timeout” response when you run the ping command, then the command has failed. If you have a USB keyboard handy, you can boot up your Pi, press F4 to get to the shell, and run the following command:
ifconfig
This alternate method will list your Pi’s IP immediately after inet addr: under eth0.
9 – Configuring your controller
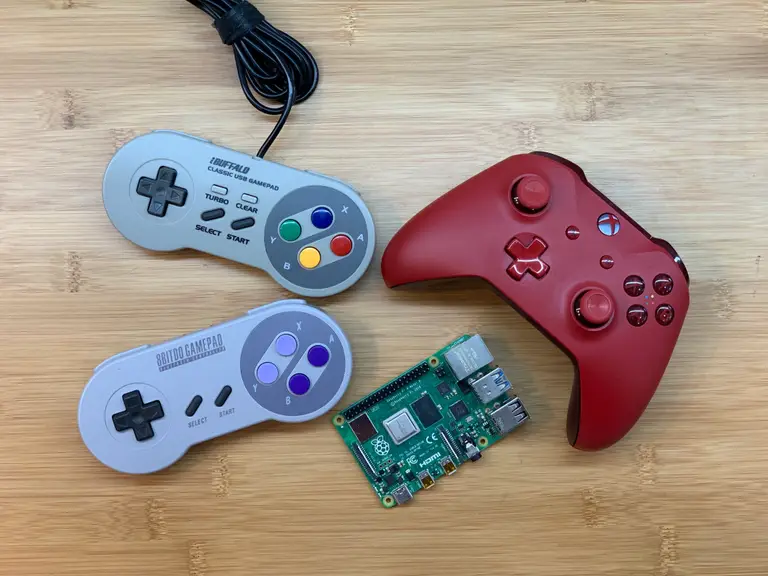
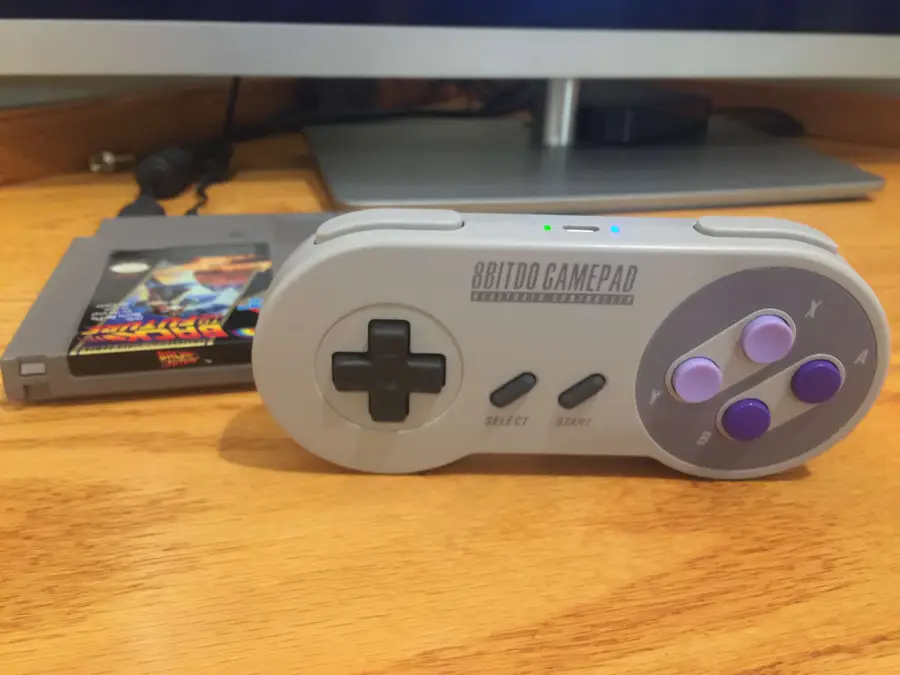
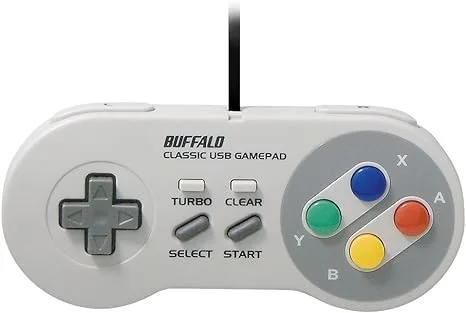
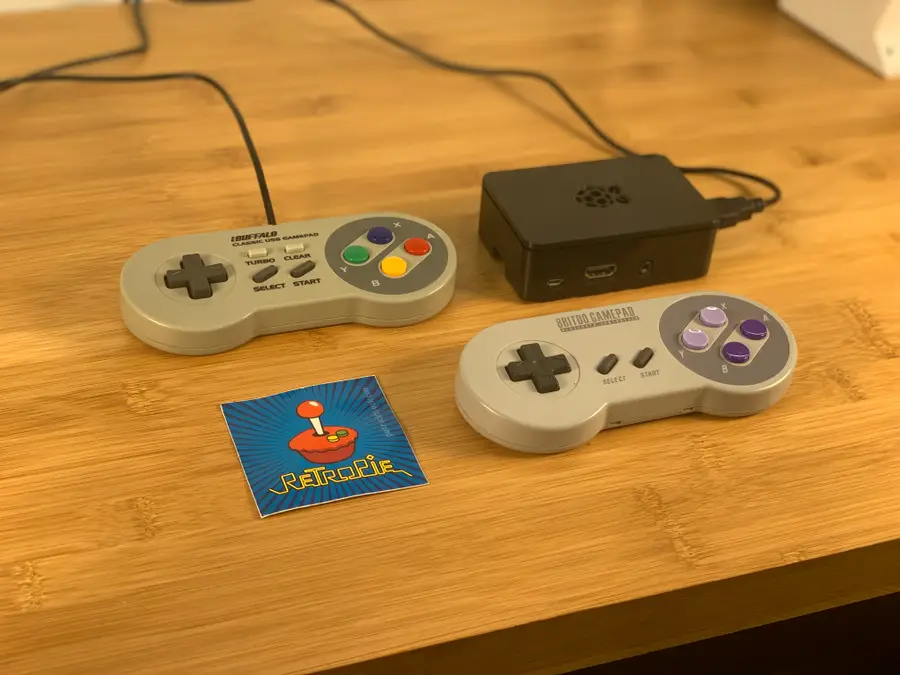
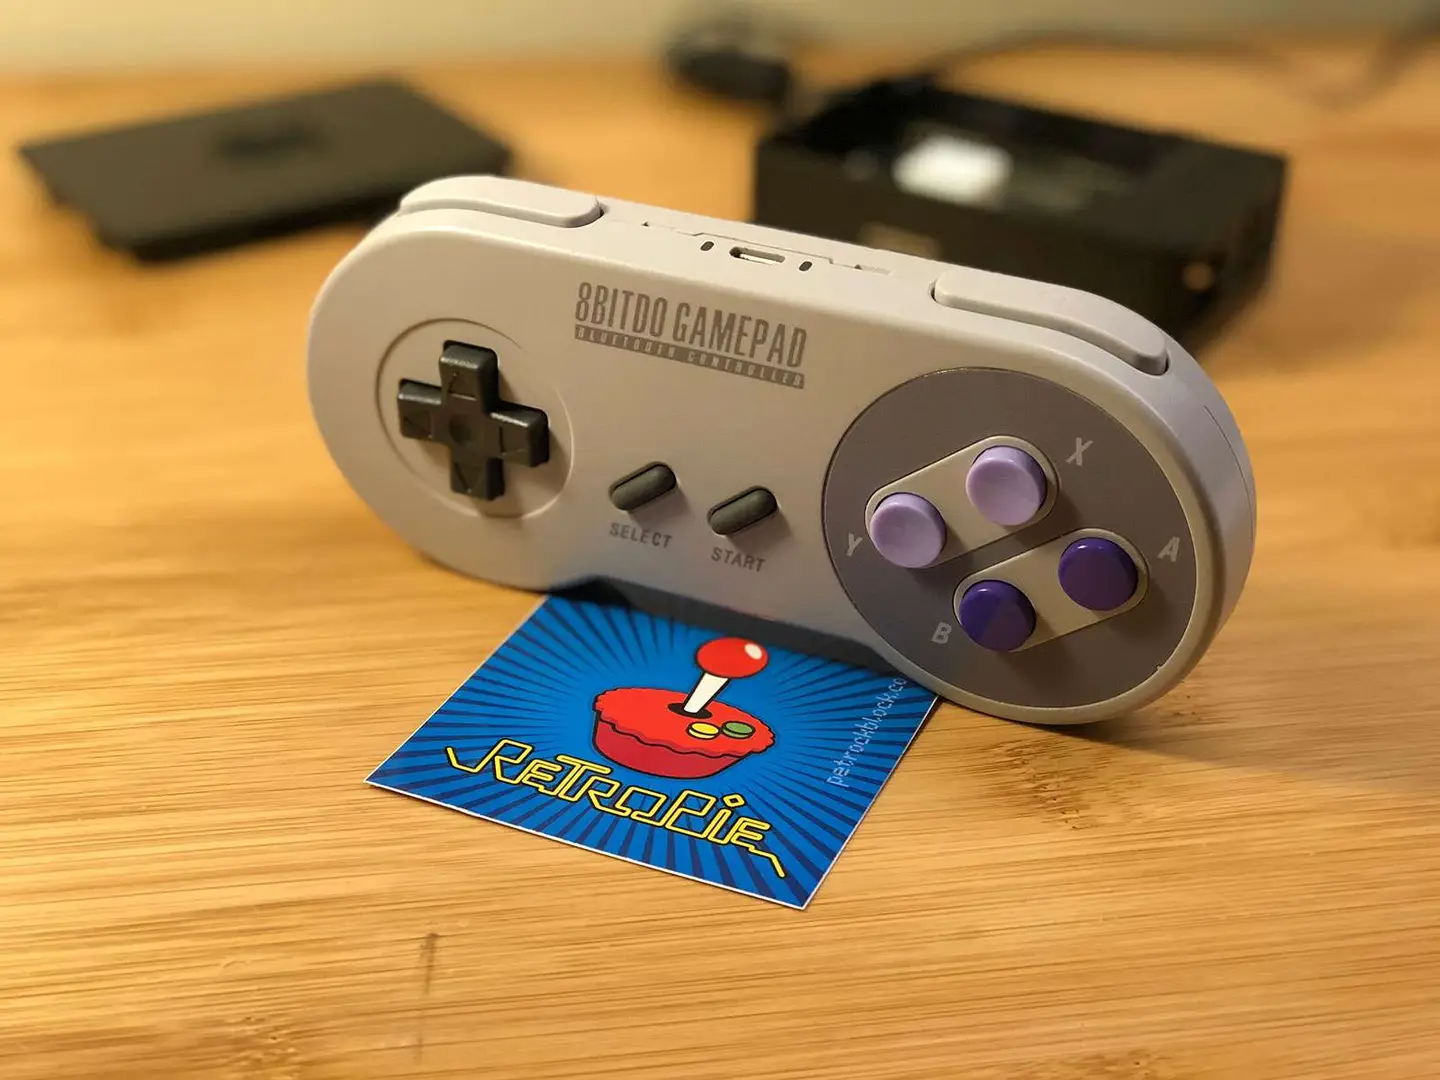
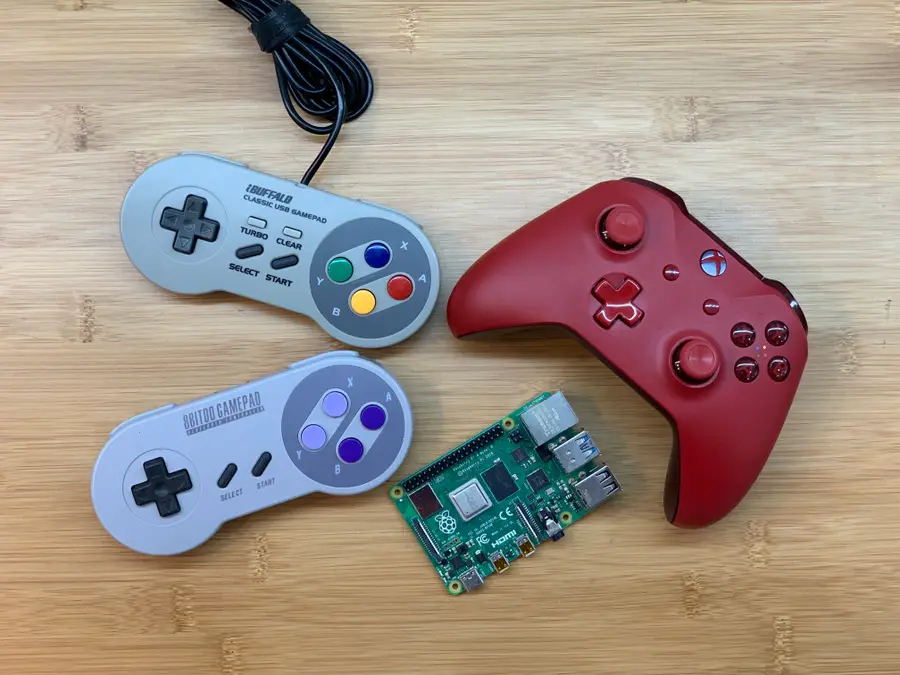
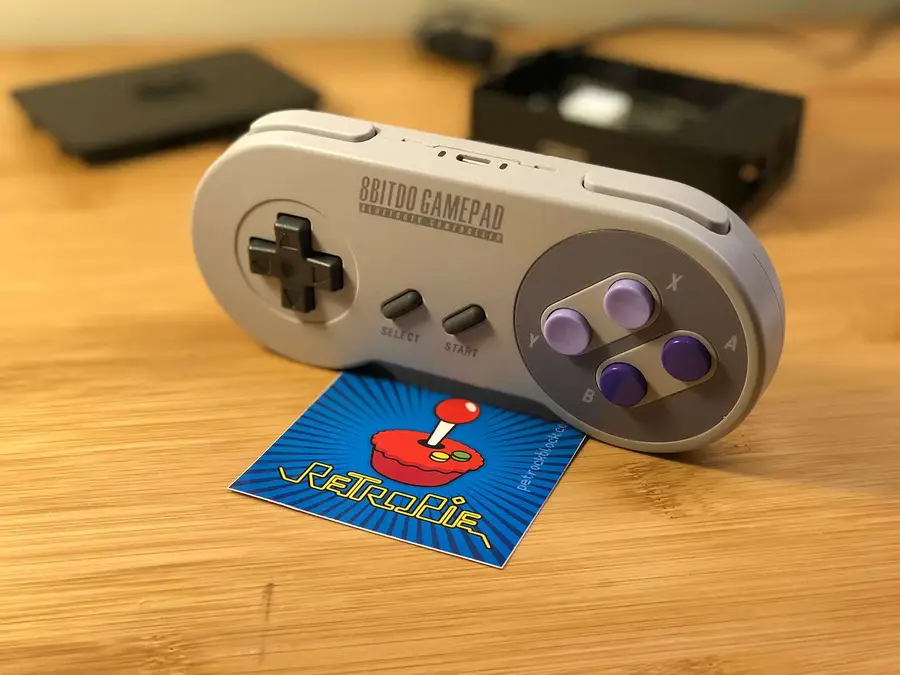
You’ll now want to configure your USB gamepad to work with your Pi. I recommend the Buffalo Classic USB Gamepad since it’s inexpensive, highly compatible with the Pi, and comes in sweet Japanese packaging. You can find an Amazon link to that USB controller at the top of this guide.
You can use any type of USB controller — including a USB NES controller, though your games are more limited since it has fewer buttons than most newer games use.
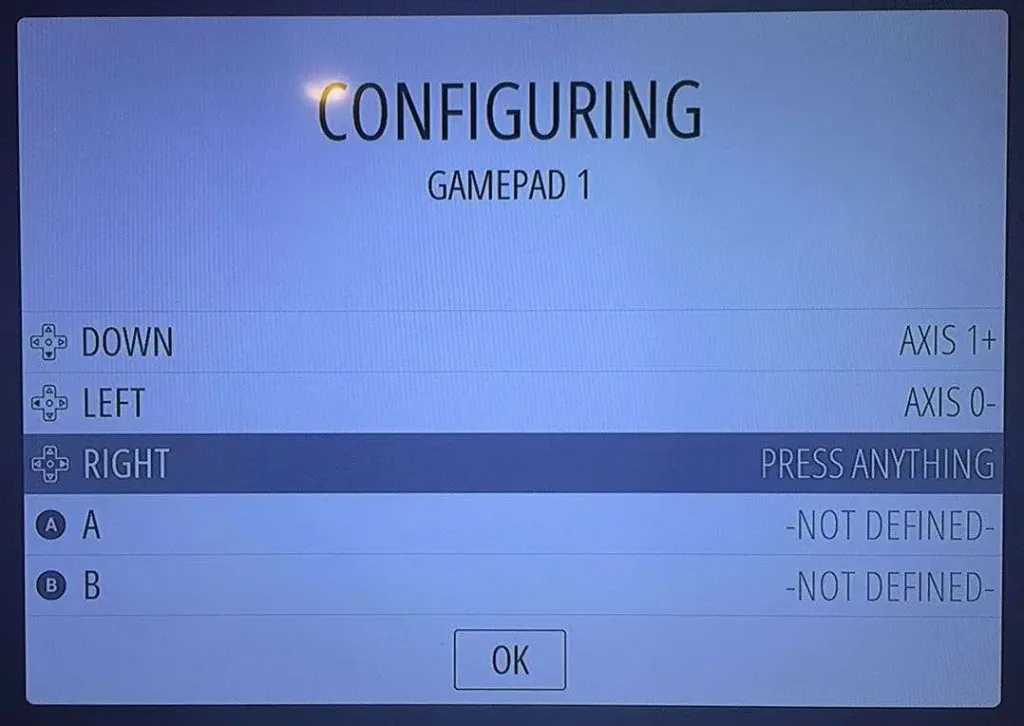
To configure your controller to work with the menu system and games, boot up your Pi. Your Pi will automatically launch the RetroPie UI where you will be prompted to configure the controller. If you mess up, don’t worry — you can access this configuration menu again later by pressing Start in the RetroPie UI.
🛈 Some games require additional in-game controller configuration. This can be done by going into a game’s menu system and mapping the controller there (though this isn’t necessary for most games).
10 – Finding game ROMs
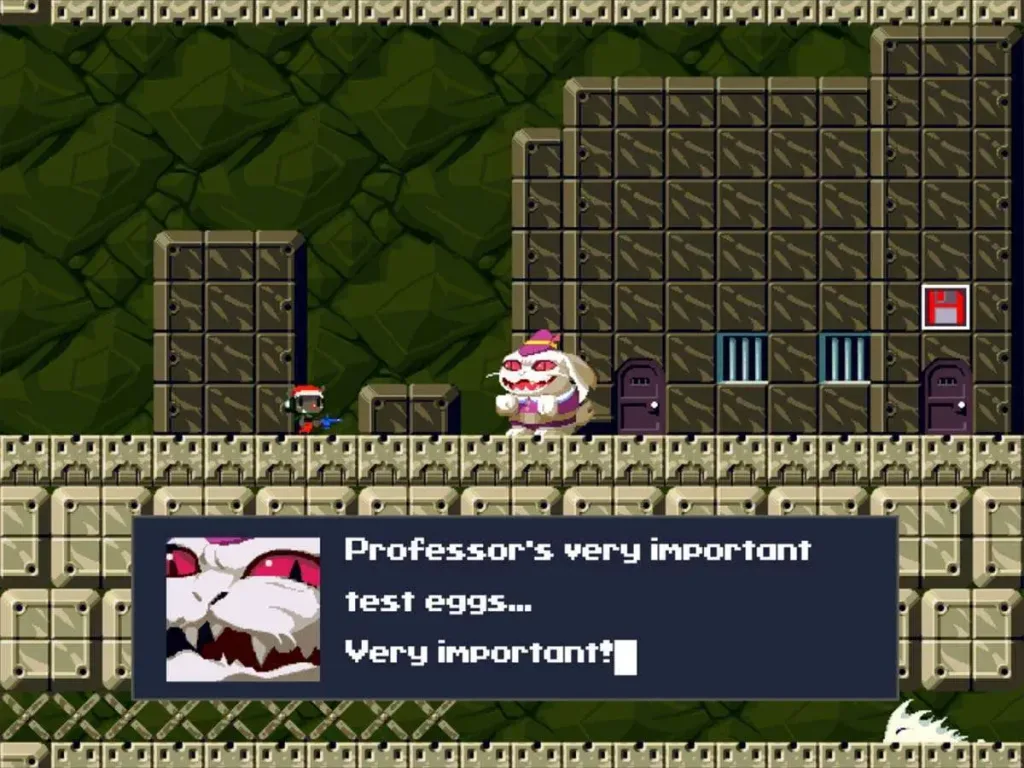
A ROM is an entire port of a particular video game. RetroPie contains a copy of EmulationStation, which both provides the user interface for your new retro gaming rig and interprets these ROM files appropriately. RetroPie comes with a few games preinstalled — such as Quake, Duke Nukem 3D, and Cave Story. These games are best played using a keyboard, however, since the gamepad doesn’t have enough keys to map the controls for some PC-ported games. You can emulate just about any console using the built-in RetroPie emulators.
A Legal Note
Most retro games are owned by a company (yes, even the very old ones!) and are protected by copyright laws. Thus, unfortunately, downloading ROMs for those games constitutes piracy.
While you can find tons of RetroPie ROMs on any Torrent site, keep in mind that you should not download any copyrighted titles.
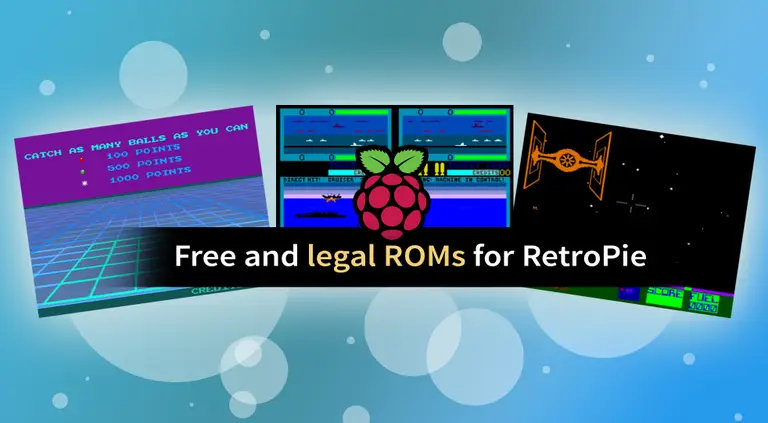
Luckily, there are some free ROMs out there that we can use for now! MAMEdev.org has a nice list of these free, legal ROMs. We’ll use these as examples and you can find more ROMs on your own.
Our list of the best of the video games from the year you were born contains links to some old arcade ROMs.
ROMs can be installed via SSH/SFTP (over your network) or by plugging a USB flash drive into your USB port. Additional methods for copying ROMs to RetroPie can be found on the RetroPie Wiki.
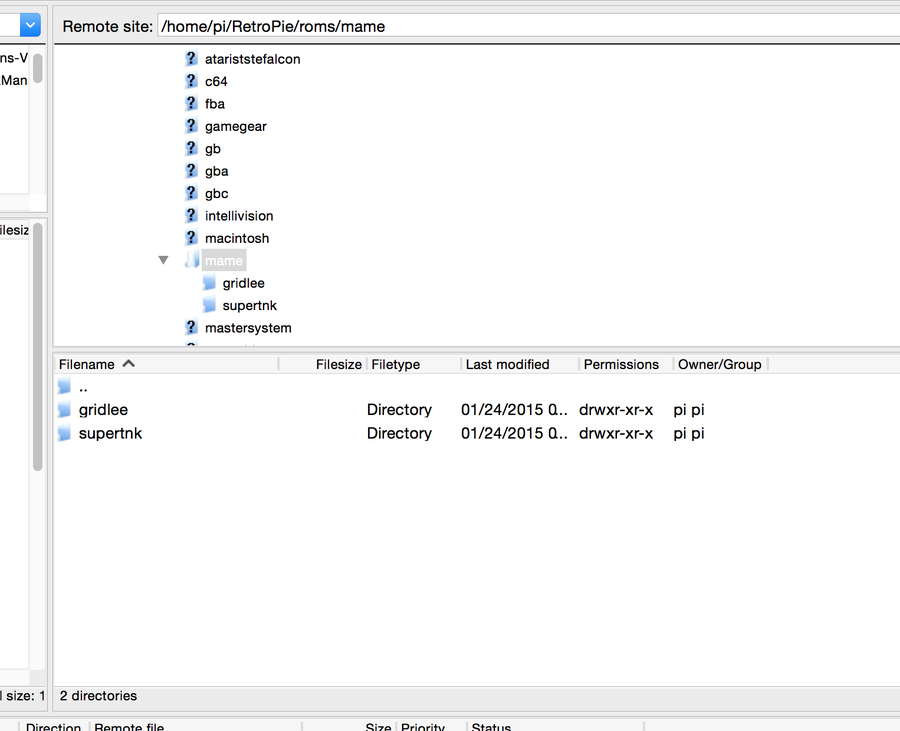
Reconnect FileZilla and browse to the following directory:
/home/pi/RetroPie/roms
Unzip each game ROM and upload each game folder into its respective game system folder. For example, if you had a Super Mario Bros 3 ROM, you would upload the game’s folder into the “nes” directory.
Gridlee and Super Tank go in the “mame” directory since MAME handles the arcade emulation for most vintage arcade-style games that don’t belong to a specific home video game system such as the NES, SNES or Atari.
After you’ve copied these directories over, restart your Pi.
12 – You’re ready to play!
Your Pi will boot into RetroPie automatically. Bask in the glory of simple graphics, bolstered by highly addictive gameplay. Whether you’re playing on your couch or building a RetroPie arcade cabinet or bartop arcade, I hope this guide was helpful to you!
Looking for that perfect controller?
Want a great classic or contemporary controller to play those new RetroPie games? Check out our list of the best PC gaming controllers that will work with your new setup.
15 – Optional: Back up your Raspberry Pi’s SD card
Now that everything is configured and working splendidly, I recommend you back up your Raspberry Pi’s SD card image. This way, if you’re feeling adventurous and want to attempt some further Retropie customizations, you have a safe restore point.
With summer right around the corner, it’s time to fire up the grill! But who will watch the grill while you’re beating the heat? This year, kick things up a notch with your own Raspberry Pi-powered HeaterMeter. Don’t just throw a BBQ, be a part of it. HeaterMeter lets you keep a close eye on
With a few hundred plus unit tests, running a test suite can take minutes. And with so many tests being run, it’s hard to identify individual tests that are taking too long.
Fortunately, if you’re using pytest, you can easily get the execution times for your slowest unit tests.
1 – Use the –durations flag
When running unit tests with pytest, simply using the --durations flag to measure the execution time of slow running tests.
Take a look at the following test file:
# speed_tests.py

import time


def test_fast():
    x = 2 + 2
    assert x == 4


def test_slow():
    time.sleep(1)


def test_superslow():
    time.sleep(3)
Use --durations=n to get the execution time for the slowest n unit tests
Example:
pytest --durations=1 speed_tests.py
This will print the execution time of the slowest test. The output will look something like this:
======================= slowest 1 test durations ========================
3.00s call     speed_tests.py::test_superslow
======================= 3 passed in 4.02 seconds ========================
If your test suite is much larger, you can print any number of tests. For instance:
pytest --durations=100 many_tests.py
Use --durations=0 to get the execution time for all unit tests
If want to print the execution time for all unit tests, just use --durations=0. You can expect output like this:
======================== slowest test durations =========================
3.00s call     speed_tests.py::test_superslow
1.00s call     speed_tests.py::test_slow

(0.00 durations hidden.  Use -vv to show these durations.)
======================= 3 passed in 4.01 seconds ========================
Note that one of the tests is hidden because it executed too quickly.
2 – Conclusion
Measuring execution time for Python unit tests is pretty easy with pytest. Obviously, if you find any slow running tests you’ll need to spend time figuring out why they’re slow and fixing them if possible. Some of the most common reasons for slow tests are unintended network requests and un-mocked time delays, but there are plenty of other possibilities.
If you’ve used any other great tools for solving this issue or if you enjoyed this guide, let me know in the comments below!
When learning object oriented programming in Python, there can be a few gotchas when it comes to distinguishing between class and instance variables. In this guide I’ll explain the difference between class and instance variables and provide examples demonstrating various use cases. 1 – Class vs. instance variables First, a quick review if you’re new
Introducing Howchoo, an enigmatic author whose unique pen name reflects their boundless curiosity and limitless creativity. Mysterious and multifaceted, Howchoo has emerged as a captivating storyteller, leaving readers mesmerized by the uncharted realms they craft with their words.
With an insatiable appetite for knowledge and a love for exploration, Howchoo’s writing transcends conventional genres, blurring the lines between fantasy, science fiction, and the surreal. Their narratives are a kaleidoscope of ideas, weaving together intricate plots, unforgettable characters, and thought-provoking themes that challenge the boundaries of imagination.
Comcast offers a router to all of its internet customers for a monthly fee. If your Comcast router isn’t working, there may be something you can do to fix it.
If you suspect your Comcast router has malware or a virus, disconnect any connected devices from the router and contact Comcast for technical support. The support team will likely advise you to factory reset the router.
If the Comcast router or modem won’t power on, try these steps first.
Verify all cables are connected to the router.
Disconnect all of the cables from the router and reconnect them.
Test the power outlet the router is connected to. Ensure other devices are able to receive power when using it. If the outlet doesn’t work, try a different one.
If the router still will not power on, contact Comcast to report the faulty device.
4 – The Comcast router won’t connect to the internet
If your router loses connection to the internet, you can try these steps before reaching out to Comcast.
Reboot your router—this can be done using the web interface or power button (if your router has one). Test the internet connection.
Unplug the router from the wall, wait about 30 seconds, and plug the router back in again. Test the internet connection.
If you have access to the internet from another source, like a mobile phone, visit the Comcast website to verify there are no outages in your area.
As a last resort, you can factory reset the router.
If you still have no internet connection, contact Comcast directly for support.
5 – The Comcast router won’t assign an IP address
Occasionally, a router will malfunction by assigning IP addresses to some devices but not all of them. This is a somewhat common networking issue and can easily be fixed with a few steps.
Restart your router using the power button.
If there is no power button, unplug it from the wall, wait 30 seconds, and plug the router back in again.
If the router refuses to assign a new IP address, contact Comcast technical support.
6 – How to replace a Comcast router
If you’ve absolutely had it with your current device, you can always get a new one. Comcast can provide a replacement for your defective rental equipment. The rental fee is usually $5 each month for a modem and an additional $5 for a router. In many cases, it can be cost-effective to invest in a router of your own.
There are Comcast-compatible routers available on the market. In most cases, you can expect more control over your network with fewer hurdles from an ISP by owning your own router. If you’re not sure where to start, check out our recommended list of Comcast-compatible routers.
There are a few reasons you might want to update or reset your WiFi password: making your network more secure, and making your password easier to remember and type. Improved network security You can add an extra layer of security to your network by changing the WiFi password. As long as your new password is
Introducing Howchoo, an enigmatic author whose unique pen name reflects their boundless curiosity and limitless creativity. Mysterious and multifaceted, Howchoo has emerged as a captivating storyteller, leaving readers mesmerized by the uncharted realms they craft with their words.
With an insatiable appetite for knowledge and a love for exploration, Howchoo’s writing transcends conventional genres, blurring the lines between fantasy, science fiction, and the surreal. Their narratives are a kaleidoscope of ideas, weaving together intricate plots, unforgettable characters, and thought-provoking themes that challenge the boundaries of imagination.
Routers provided by Internet Service Providers, like Xfinity, often come with really long and hard-to-remember WiFi passwords. You may want to change the password to make it easier for friends and family members to use your wireless connection.
This guide will show you three ways to log in to a Comcast Xfinity router and change the WiFi password.
1 – Log in to your Xfinity router
If you’ve never logged in to your Xfinity router, simply follow my Xfinity router login guide. We’ll summarize it here for you.
Xfinity Router Login: How to Log in to a Comcast Xfinity Router
Visit 10.0.0.1.
As long as you haven’t changed the credentials, you can use the username admin and the password password to log in.
Go to Gateway > Connection > WiFi.
Press EDIT next to your wireless network.
Edit your new password. (You can change the network name too, if you wish.)
Click SAVE SETTINGS.
If you ever forget your password, simply reset your Comcast Xfinity router.
How to Reset a Comcast Xfinity Router or Modem
Network troubles? Reset your gateway.
2 – With the Xfinity “My Account” app
📷 Xfinity
You can easily change your Xfinity WiFi password with the Xfinity “My Account” app.
Make sure you have the Xfinity “My Account” app downloaded to your phone.
Open the “My Account” app.
Log in with your Xfinity username and password.
Select Internet.
Select Wireless Gateway.
Click Change WiFi settings.
Enter a new password.
Click Save.
Visit this guide for help logging into your Xfinity account.
3 – With the Xfinity online website
📷 Xfinity
Finally, you can visit your account page at the Xfinity website to change your WiFi password.
There are a few reasons you might want to update or reset your WiFi password: making your network more secure, and making your password easier to remember and type. Improved network security You can add an extra layer of security to your network by changing the WiFi password. As long as your new password is
Introducing Howchoo, an enigmatic author whose unique pen name reflects their boundless curiosity and limitless creativity. Mysterious and multifaceted, Howchoo has emerged as a captivating storyteller, leaving readers mesmerized by the uncharted realms they craft with their words.
With an insatiable appetite for knowledge and a love for exploration, Howchoo’s writing transcends conventional genres, blurring the lines between fantasy, science fiction, and the surreal. Their narratives are a kaleidoscope of ideas, weaving together intricate plots, unforgettable characters, and thought-provoking themes that challenge the boundaries of imagination.