Share
How to Add an OctoPrint Touchscreen to Any 3D Printer
Share
What you’ll need
Interests
Series


Posted in these interests:


This guide will show you how to add a touchscreen to any 3D printer for use with OctoPrint, a popular application for controlling your printer.
A touchscreen will allow you to manage your prints without needing to open up your computer or phone. As a bonus, this project will also make OctoPrint responsive (i.e. mobile-friendly), making things even easier to do from your phone. If you need help selecting a touchscreen, check out our list of the best touchscreens for the Raspberry Pi for inspiration.
You can use this guide to add a touchscreen to any OctoPrint-compatible 3D printer. As an example, I’ll be adding one to my Creality Ender 3. If your printer is also an Ender 3, be sure to check out my separate Ender 3 OctoPrint touchscreen guide.
I also made an OctoPrint touchscreen video version of this guide — check it out and then read on for the full guide below!
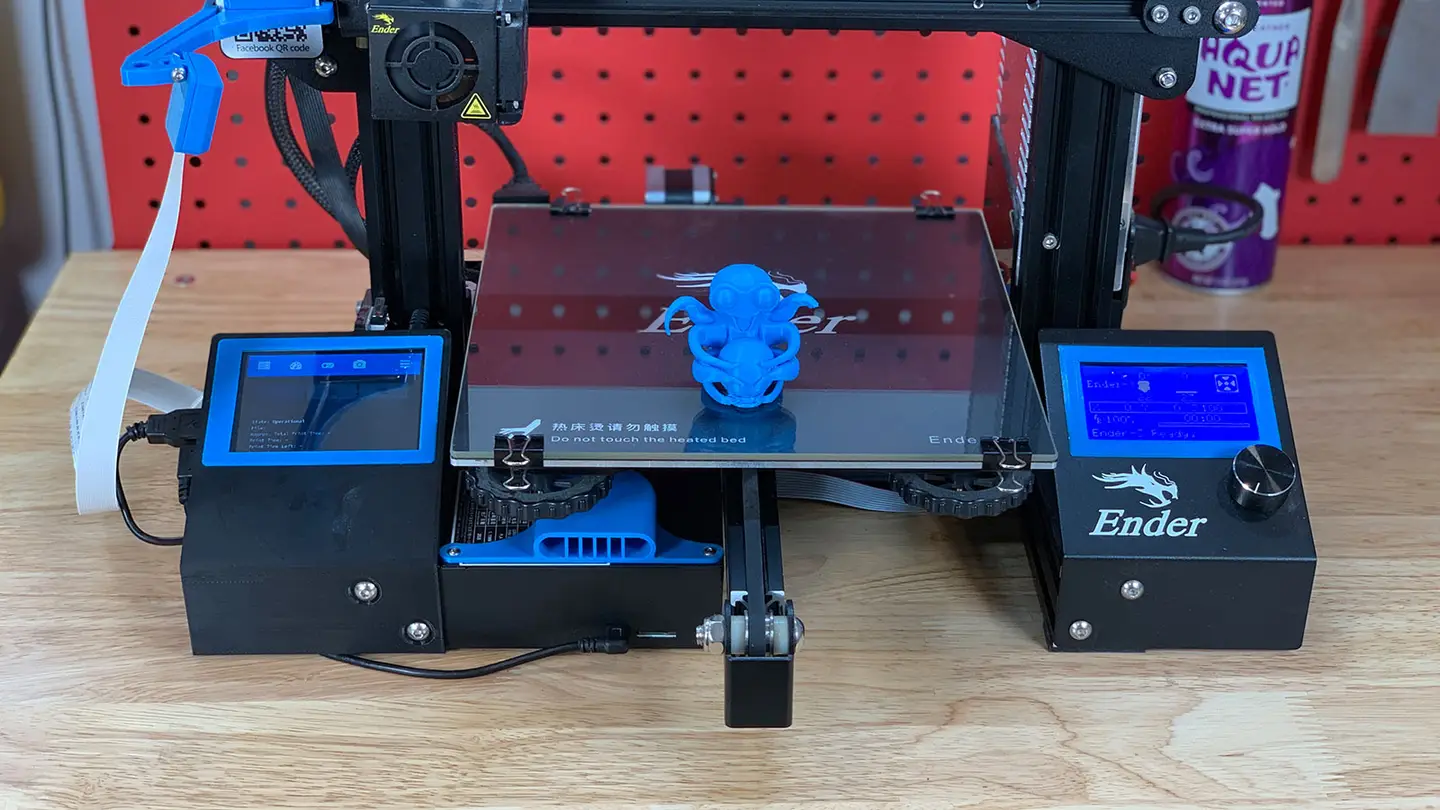
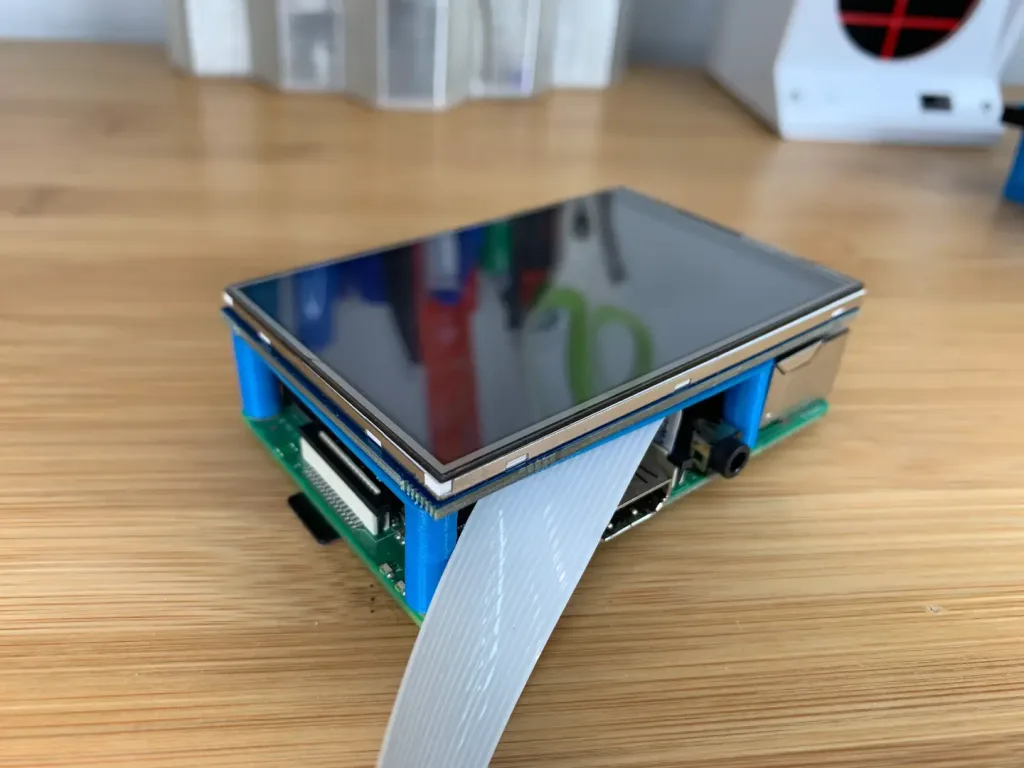
1 – Final photo
Just as the prophecy prophecized, here’s a final photo of my setup. I chose a touchscreen housing that mounts directly to my printer.
2 – Choose your touchscreen

Any touchscreen that will work for the Raspberry Pi will work with OctoPrint, but some are easier to work with than others.
Here are some considerations when choosing a touchscreen:
Size and connectivity
I recommend choosing a small screen that connects directly to your Raspberry Pi’s GPIO header. You don’t need a large screen since the OctoPrint TouchUI plugin we’ll be using is designed for very small screens. Additionally, we’ll still be uploading new prints from our computer; this screen will primarily be used to start and pause prints, control extruder temps, display print status, etc.
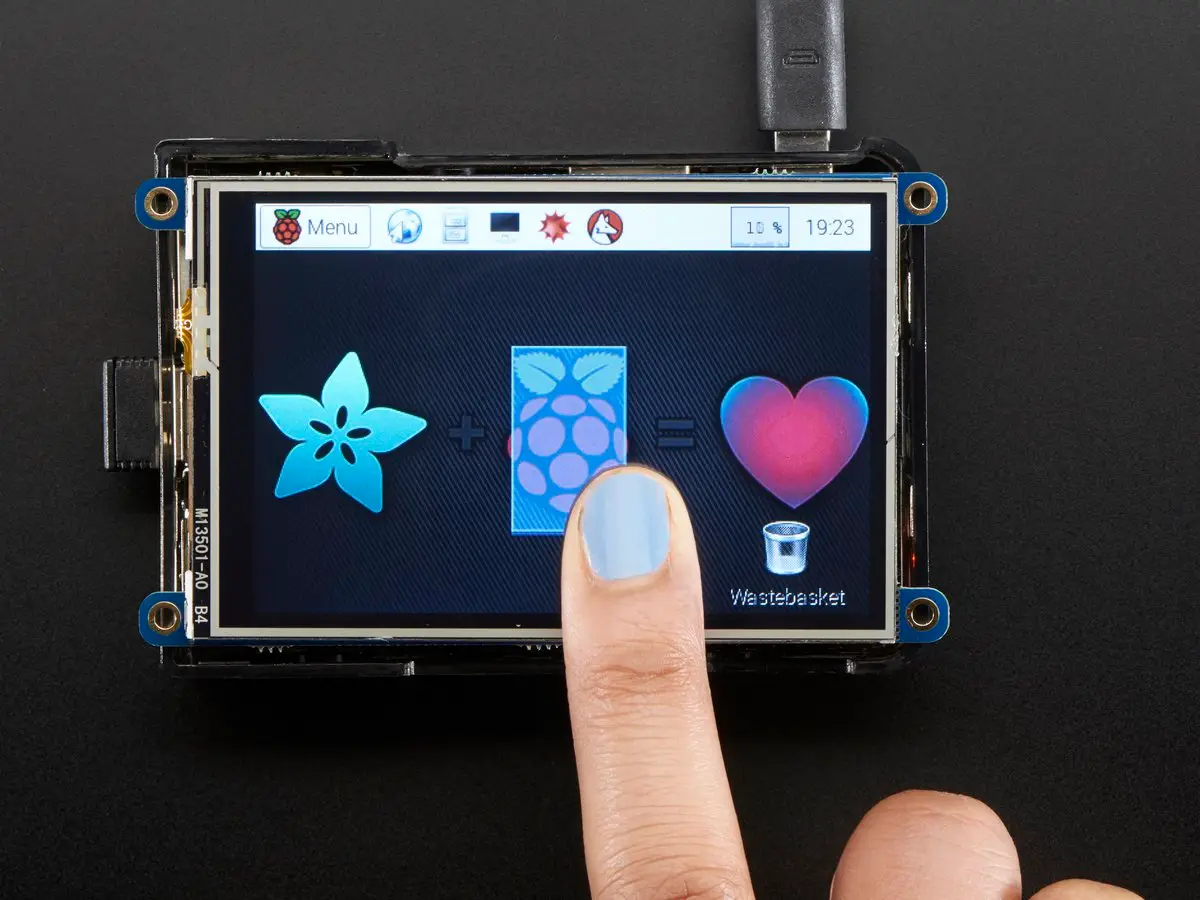
I used this 3.5″ screen from Adafruit; if you prefer a larger screen, the official Raspberry Pi 7″ screen would work great too. Some larger displays require a separate HDMI and USB connection which makes configuration and setup more difficult.
Cost
The Adafruit touchscreen I used costs $45; this is slightly more than other screens, but the benefit is the quality and ease-of-use Adafruit is known for. You can find cheaper, generic 3.5″ touchscreens in the $30 range on Amazon, but configuring the screen may be more difficult—and many require the use of a stylus.
3 – Print a touchscreen housing
You’ll need to print a case for your touchscreen. In general, there are a few different types of 3D-printable touchscreen housings:
- Touchscreen housings that mount to the printer
- Freestanding (tabletop) touchscreen mounts
- Housings of either type that also hold your Raspberry Pi (recommended)
Choosing a housing
The exact housing you choose will depend on the size of your touchscreen, the screen manufacturer (in some cases), your printer, and how you want to attach it to your printer. Search Thingiverse for touchscreen models to find one that fits your needs.
My choice for the Ender 3
For my Ender 3, I’m using an excellent model made by designer Tronnic. It mounts directly to the printer for maximum awesomeness and also houses the Raspberry Pi. You can download the Ender 3 touchscreen model on Thingiverse. If you’re using the Raspberry Pi 4 for OctoPrint, be sure to print this remix as well.
Do you have an Ender 3? I also wrote a full guide to adding a touchscreen to the Ender 3 just for you. 🙂
If you’re using the Adafruit 3.5″ PiTFT display and want a freestanding touchscreen mount, I recommend checking out this great design by brothers Pedro and Noe Ruiz, the official Adafruit 3D print crew (who, coincidentally, I went to high school with!)
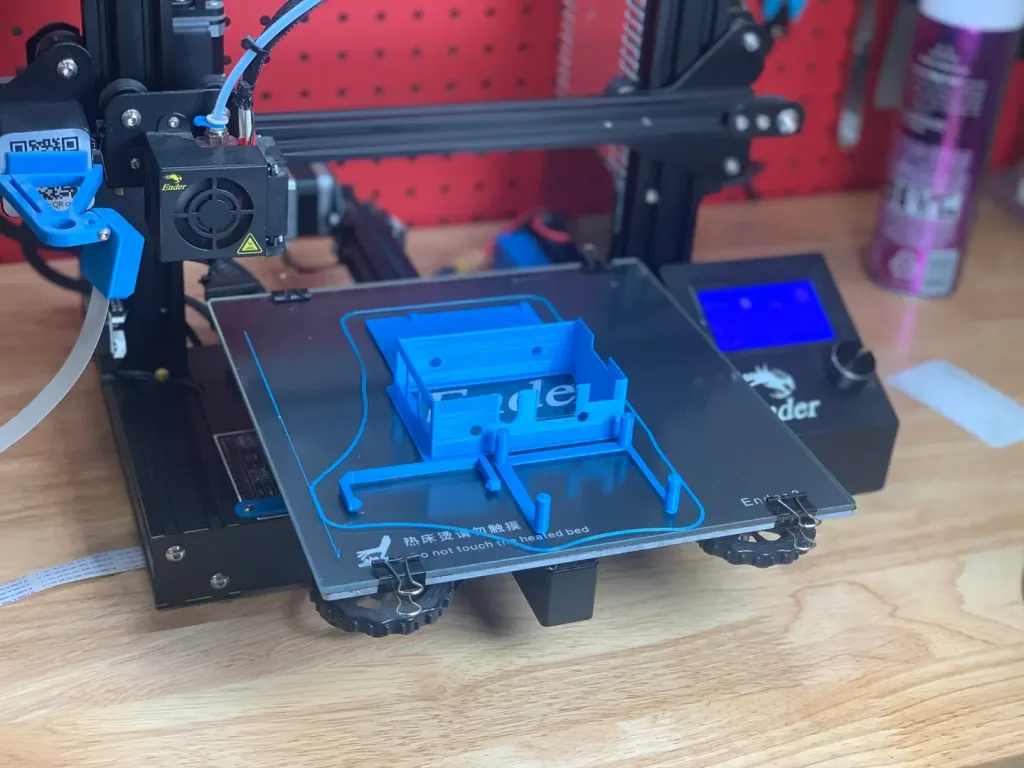
4 – Install OctoPrint
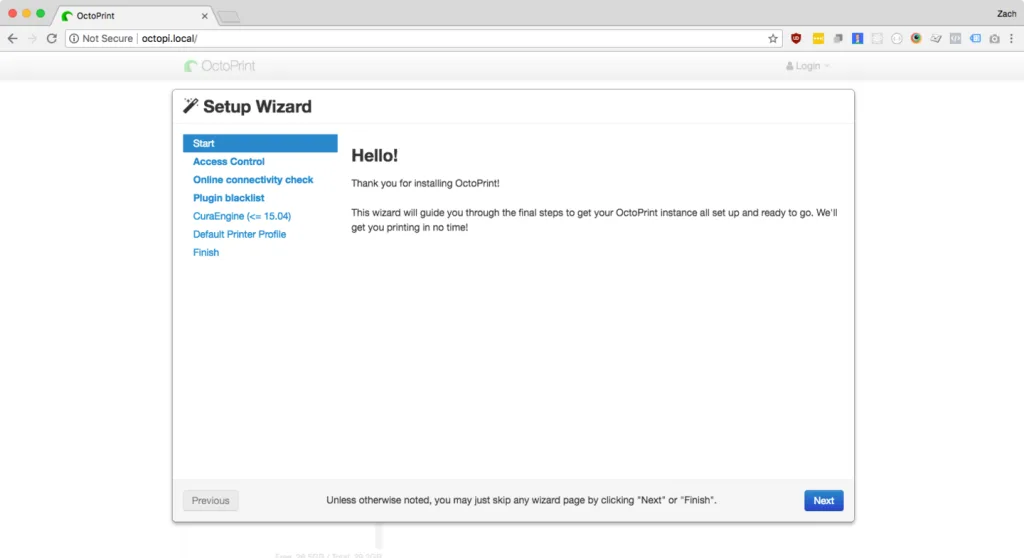
If you haven’t already, install OctoPrint. OctoPrint allows you to control your 3D printer using an intuitive interface.
If you’re using an existing OctoPrint installation, skip this step.
5 – Back up OctoPrint
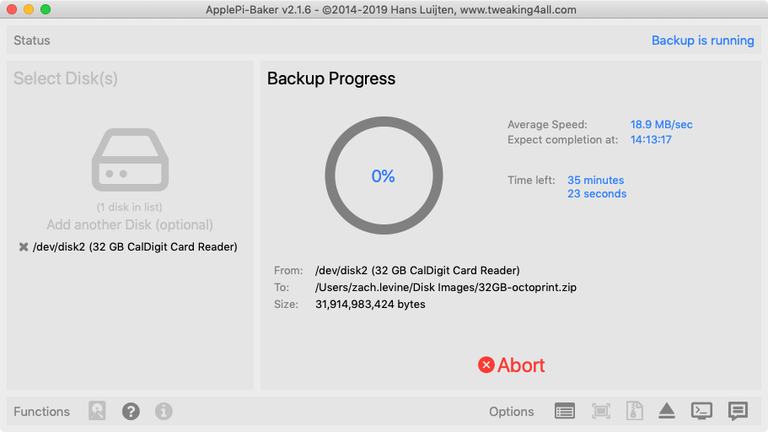
Before proceeding, I recommend backing up your Raspberry Pi’s SD card—this way if something goes wrong it’s easy to revert without needing to reconfigure everything. Use our Windows or Mac guide to back up your SD card.
6 – Connect the touchscreen to your Raspberry Pi
If your touchscreen mounts directly to the Raspberry Pi’s GPIO header (as mine does), you’ll need to connect and configure it.
If your OctoPrint setup uses a camera, attach the camera’s ribbon cable to the Pi before connecting it to the screen.
Then, carefully push the screen onto the Raspberry Pi’s GPIO header. Some screens don’t take up the entire Raspberry Pi header; this is okay, it just means they’re compatible with older Raspberry Pi models too.
Your screen might have 4 small, perforated tabs that are meant for mounting the screen using screws. If your case won’t fit with these tabs in place, carefully snap the tabs off with a pair of pliers or wire cutters.
| 🛈 If your touchscreen uses HDMI (for display) and USB (for touch), connect both directly to your Raspberry Pi and continue to the next step. Most touchscreens do not use this setup. |
7 – Update OctoPrint and install the TouchUI plugin

We’ll use an OctoPrint plugin called TouchUI to make OctoPrint mobile-friendly and responsive, allowing it to display properly on our small screen.
Put your SD card back into your Raspberry Pi and boot it.
Next, open OctoPrint in your browser by navigating to http://octopi.local. If an update message appears, update OctoPrint.
Then, navigate to Settings > Plugin Manager, click Get More, and install the TouchUI plugin.
8 – Update your Raspberry Pi

I recommend updating your Raspberry Pi before continuing.
Open Terminal (Mac) or Command Prompt (Windows) and connect to your Raspberry Pi by running the following command:
ssh pi@octopiThen, update your Raspberry Pi using the following command:
sudo apt-get update && sudo apt-get upgrade --yesWhen you’re finished, restart your Pi:
sudo reboot9 – Configure the touchscreen

If your touchscreen connects via GPIO, you’ll need to tell your Raspberry Pi to a) output video to the touchscreen instead of HDMI, and b) use touchscreen input as a mouse.
If your touchscreen came with configuration instructions, use those instructions to get things working. If you’re using the same touchscreen as me—or a similar one—you can use Adafruit’s touchscreen configuration script by following the steps below.
Connect to your Pi once again and run the following commands to launch Adafruit’s setup wizard:
cd ~
wget https://raw.githubusercontent.com/adafruit/Raspberry-Pi-Installer-Scripts/master/converted_shell_scripts/adafruit-pitft.sh
chmod +x adafruit-pitft.sh
sudo ./adafruit-pitft.sh
Update 2/1/20: It appears Adafruit is converting many of their Shell setup scripts to Python so the script in this step was 404ing. Ive updated it for now to reference the new Shell script location so things should continue to work. In the near future, I’ll update this step with Python setup instructions. If you run into issues, please post in the comments section below.
Select the appropriate option for your screen. In my case, I selected PiTFT 3.5″ resistive touch (320×480).
For rotation, select 270 degrees (landscape). If you choose 90 degrees (landscape), your screen might be upside down.
When asked “Would you like the console to appear on the PiTFT display?”, select No. When asked “Would you like the HDMI display to mirror to the PiTFT display?”, select Yes.
When you’re finished, accept the reboot prompt to restart your Pi.
| 🛈 These setup instructions (and most you’ll find) will only work with Raspbian Jessie and newer. If you installed OctoPrint on Raspbian Wheezy, I recommend reinstalling OctoPrint on a newer OS. |
10 – Configure the Raspberry Pi to boot to a browser

Next, we’ll need to configure the Raspberry Pi to launch a browser and load the OctoPrint/OctoPi interface on boot using the TouchUI boot to browser setup scripts.
To do this, run the following commands:
git clone https://github.com/BillyBlaze/OctoPrint-TouchUI-autostart.git ~/TouchUI-autostart/
sudo ~/TouchUI-autostart/helpers/install
Once you’re prompted for autologin, enter your OctoPrint username (not your Raspberry Pi username). When you’re finished, reboot and test out your touchscreen.
Disabling TouchUI screen sleep
This is optional, but if you’d like you can disable the TouchUI screensaver so that the screen won’t sleep.

How to Disable the TouchUI Screensaver
Prevent your OctoPrint touchscreen from sleeping.
Fixing touchscreen rotation issues
For some reason, there was a conflict between the screen and touch rotation after setting up TouchUI. In other words, the screen rotation displayed correctly, but tapping the bottom-right of the screen would result in a tap in the top-right of the screen; the screen was rotated 90°. After hours of troubleshooting, it turns out it was a simple fix.
If you have this issue, simply do the following:
Install xinput and get your device name
Run the following commands:
sudo apt-get install xinput
FRAMEBUFFER=/dev/fb1 & DISPLAY=:0.0 xinput list
If you’re using HDMI or the official Raspberry Pi touchscreen, you may need to substitute /dev/fb0 above.
The second command will show a list of device names. In my case, the device name for Virtual core pointer (slave) was stmpe-ts.
Create a TouchUI calibration file
nano ~/TouchUI-autostart/calibration.shPaste one of the following lines into that file, substituting stmpe-ts with your device name, if it’s different. These vary based on how you want to rotate your screen.
su $TOUCHUI_USER -c "xinput set-prop 'stmpe-ts' 'Coordinate Transformation Matrix' 0 -1 1 1 0 0 0 0 1" # Rotate clockwise 90 degrees
su $TOUCHUI_USER -c "xinput set-prop 'stmpe-ts' 'Coordinate Transformation Matrix' 0 1 0 -1 0 1 0 0 1" # Rotate counterclockwise 90 degrees
su $TOUCHUI_USER -c "xinput set-prop 'stmpe-ts' 'Coordinate Transformation Matrix' -1 0 1 0 -1 1 0 0 1" # Rotate 180 degrees
For my screen and rotation issue, I used the first line above. You can learn more about the values above on the InputCoordinateTransformation Ubuntu Wiki page.
| 🛈 If you’re using a different screen than me, be sure to consult your manufacturer’s instructions for handling screen rotation. |
11 – Calibrate the touchscreen

The exact calibration procedure may vary for your touchscreen, but for the Adafruit one I’m using simply run:
sudo TSLIB_FBDEVICE=/dev/fb1 TSLIB_TSDEVICE=/dev/input/touchscreen ts_calibrateThen, carefully tap the 5 crosshairs using a plastic tool or stylus.
| 🛈 If you’re using an HDMI display or the official Raspberry Pi 7″ touchscreen, you may need to change fb1 to fb0 above. |
12 – Assemble the touchscreen housing

Now for the fun part! If you’re using the same Ender 3 touchscreen housing as I am, assemble everything using my Ender 3 touchscreen guide.

How to Add an OctoPrint Touchscreen to Your Ender 3
An inexpensive upgrade to make your Ender 3 even better!
Otherwise, assemble your housing using the instructions provided by the designer.
| 🛈 Some of the housing is super thin, so be careful when assembling it! |
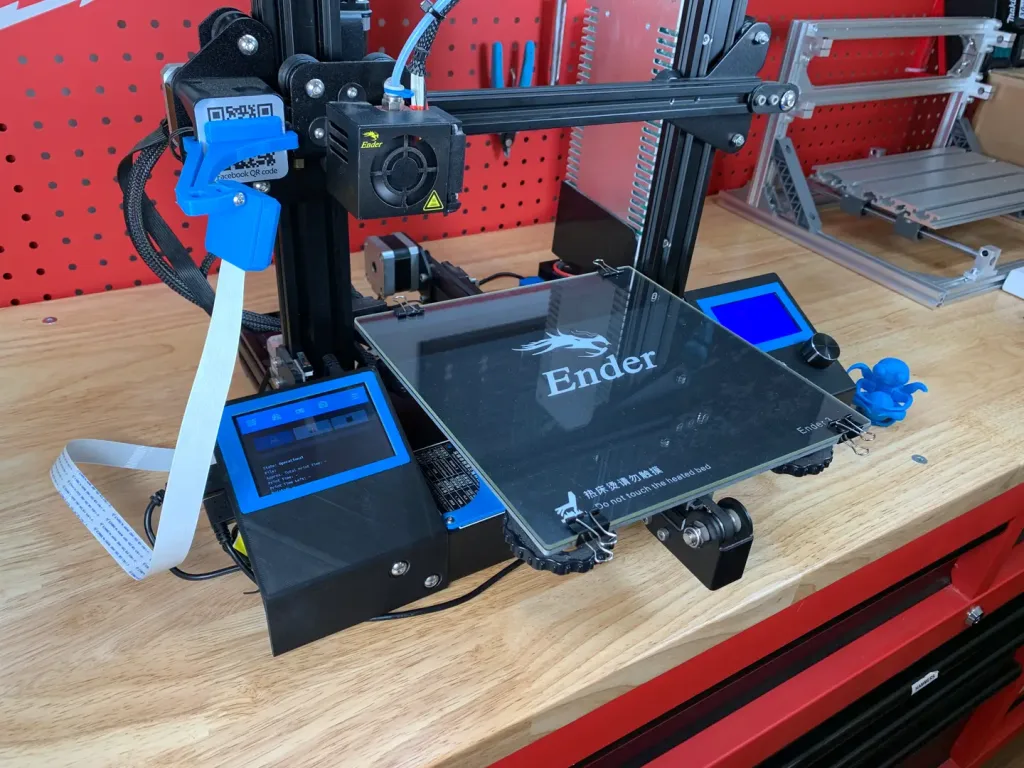
13 – Mount the touchscreen housing

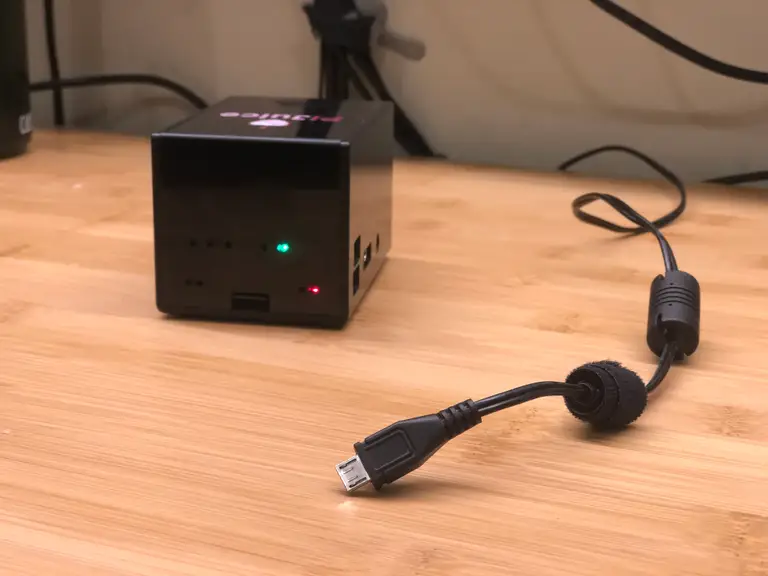
After assembling everything, mount the housing to your printer and reroute your wiring. If you’re using your 3D printer to power the Raspberry Pi, you may need to solder a longer USB cable onto your buck converter (or run a micro USB extension cable such as this one).

How to Power a Raspberry Pi from a 3D Printer Using Your Printer’s Power Supply Unit (PSU)
Who needs more power bricks?
14 – Add a fan (optional)

A fan isn’t completely necessary unless you’re using a Raspberry Pi 4 or if you print in a hot location like a garage. I still recommend adding one to ensure you always get the highest quality prints.
I recommend buying a small USB fan such as this one and connecting it to one of the Raspberry Pi’s USB ports. Normally you could power such a fan directly from the Raspberry Pi’s GPIO header, but the header is now in use by the touchscreen. Mount the fan so that it sucks air away from the Pi and use a bit of Kapton tape to prevent the fan’s screws from shorting against the Raspberry Pi board.

Automatically Control Your Raspberry Pi Fan (and Temperature) with Python
It’s getting hot in here (so hot), so let’s just write some code.
15 – Using your new touchscreen

Now that your screen is up and running, you can mess around with some of its features! At the top, you’ll find the same tabs that you find on the desktop version of OctoPrint.
| 🛈 Of course, you’ll still want to upload files to start prints from your desktop computer! |
16 – You’re all done!

Behold your latest 3D printer upgrade! With your shiny new touchscreen, you can 3D print all the things.
Next up:
Access your 3D printer from anywhere by setting up The Spaghetti Detective!

How to Access OctoPrint Remotely With the Spaghetti Detective
Access OctoPrint from anywhere with this OctoPrint Anywhere replacement.
Questions? Comments?
I’d love to hear from you! If you run into any issues, post in the comments section below and I’ll do my best to help you out.
How to Run a Minecraft Server on the Raspberry Pi


There are several ways to go about running a Minecraft server on the Raspberry Pi. In this guide, I’ll cover how to install Nukkit—a cross-platform Minecraft server that’s super easy to set up on the Raspberry Pi. This server should work with PCs, consoles, and tablets running Minecraft 1.14. I’ll be using a Raspberry Pi
In these interests
3D Printing 3dprinting • 36 guides
OctoPrint octoprint • 10 guides
Raspberry Pi pi • 92 guides
Introducing Howchoo, an enigmatic author whose unique pen name reflects their boundless curiosity and limitless creativity. Mysterious and multifaceted, Howchoo has emerged as a captivating storyteller, leaving readers mesmerized by the uncharted realms they craft with their words. With an insatiable appetite for knowledge and a love for exploration, Howchoo’s writing transcends conventional genres, blurring the lines between fantasy, science fiction, and the surreal. Their narratives are a kaleidoscope of ideas, weaving together intricate plots, unforgettable characters, and thought-provoking themes that challenge the boundaries of imagination.
Related to this guide:
How to Run a Minecraft Server on the Raspberry Pi
There are several ways to go about running a Minecraft server on the Raspberry Pi. In this guide, I&

HeaterMeter: Control your Grill Using a Raspberry Pi!
With summer right around the corner, it’s time to fire up the grill! But who will watch the gr

How to Update Blender
Blender is one of the most popular open-source 3D creation suites today. It doesn’t cost a dim

How to Set Up a New Raspberry Pi
So you just got your brand new Raspberry Pi. Awesome! This guide will show you how to set up a brand

How to Sculpt in Blender
Blender has made a name for itself over the years as the go-to open source 3D modeling application.

How to 3D print custom rubber stamps
Let’s make some stamps! Why bother buying a pre-made design when you can create one yourself?

RetroPie scrapers: what they are and how to use them
You’ve put so much work into setting up RetroPie or EmulationStation. You load it up

How to Enable the OctoPrint Dark Theme
Like dark themes? Me too! This short guide will show you how to add a dark theme to your OctoPrint�

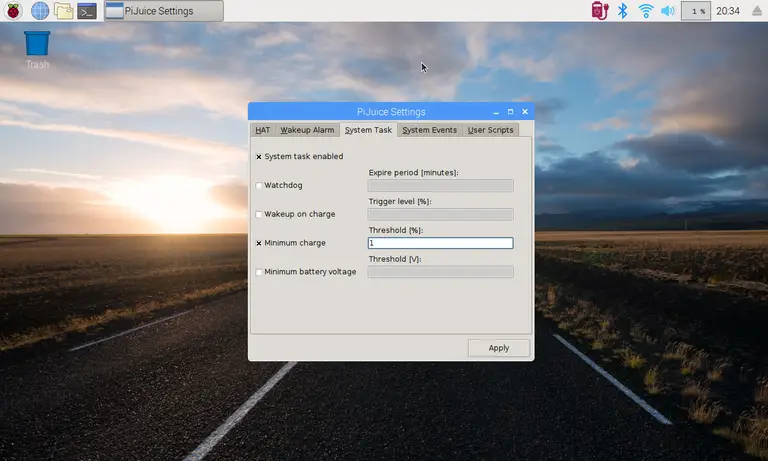
Power Your Raspberry Pi Zero with a Battery Using the JuiceBox Zero
The Raspberry Pi Zero is an incredible tool for building a wide variety of IoT devices. And until la
How do I connect my Raspberry Pi to my computer?
There are many reasons you may want to connect your Raspberry Pi to your computer, and there are a f
Posted in these interests:
3D Printing 3dprinting • 36 guides
Explore