Share
1Password vs NordPass: Who Wins Might Surprise You!

Share
What you’ll need
Interests
Posted in these interests:

You might be thinking: 1Password versus NordPass? It’s no contest! 1Password is huge, while NordPass is tiny! Well, it turns out we thought the same thing too. But when we reviewed each in all the major password manager categories, we discovered that it wasn’t the blow-out we would have imagined.
We’ve tested each individually
We’ve been using 1Password as our team password manager at Howchoo for quite a while now. We’ve even written a comprehensive review of 1Password that we recommend you check out supplementally to this head-to-head review. So we have quite a grasp on what 1Password is capable of.
1Password Review: Our New Favorite Password Manager
Intuitive. Secure. A great option for families and small businesses.
We also recently started using NordVPN, which is a phenomenal VPN, and thought we’d give its password manager, NordPass, a shot.
So you can be sure we’ve tried each and understand exactly what each password manager is capable of!
1 – Ease of use
It’s a little uncanny just how similar 1Password and NordPass are in terms of both their user interfaces and methods of use. Here’s a head-to-head comparison GIF of each so you can see what I mean:
NordPass’s Method of Use
1Password’s Method of Use
1Password and NordPass are both extremely user-friendly, while not sacrificing security for easy auto-filling.
As you can see each password manager makes you first unlock the password manager to use its autofill feature, which prevents certain kinds of robots from accessing your accounts.
Both 1Password and NordPass use a vault system that allows you put your saved passwords in various vaults that you can set as private or shared. They also allow you to access your saved credit cards, personal information, and other login info from the application on your desktop.
In fact, both 1Password and NordPass are so similar in design and UI that we suspect NordPass may have taken some cues from 1Password in their design. Given how intuitive the overall UI is for 1Password, that really wasn’t a bad idea at all!
Winner: Draw
How could anyone choose a winner when you can hardly tell the difference between 1Password and NordPass’s applications? We certainly can’t. You’ll have to check another category when deciding which you want to use—that’s for sure!
2 – Security

Encryption
Both 1Password and NordPass use 256-bit encryption with one major difference. While 1Password uses the industry-standard AES 256-bit encryption, NordPass uses the new XChaCha20 256-bit encryption. This is a newly developed method of encrypting data that could stand the test of time if the AES method becomes crackable in the near future (as it’s showing signs of becoming).
Total Encrption / Zero-knowledge architecture
They both mean the same thing—namely, that your encrypted data is unavailable to anyone but you. Even the password managers themselves do not have your encrypted password data.
NordPass and 1Password both offer this for their users in a completely identical way.
Security Checks
And both NordPass and 1Password run security checks periodically to make sure your passwords weren’t involved in any security breaches and that you’re as secure as you can be. This feature is only available on the paid version of NordPass.
Winner: NordPass (by a small margin)
How can that be? Well…each password manager offers identical security features with NordPass offering a more advanced encryption method.
3 – Password sharing

Both 1Password and NordPass allow users to share passwords in encrypted vaults with their group plans. What this means is that you will no longer have to send the username and passwords in an email or text, which is very dangerous, but can store the username and password in an encrypted vault.
Whenever someone needs to use a shared password, they will simply access the encrypted vault and get the login info.
Here’s what it looks like at 1Password:

And at NordPass:

Winner: draw
1Password and NordPass are identical in the way they allow you to share passwords.
4 – Device and browser compatibility

| OS/browser | 1Password | NordPass |
|---|---|---|
| Windows | √ | √ |
| MacOS | √ | √ |
| Linux | √ | √ |
| ChomeOS | √ | |
| Command Line | √ | |
| iOS | √ | √ |
| Android | √ | √ |
| Chrome | √ | √ |
| Firefox | √ | √ |
| Safari | √ | √ |
| Edge | √ | √ |
| Brave | √ | √ |
| Opera | √ | √ |
| Chromium | √ |
Winner: 1Password
Each offers support for most of the major operating systems and browsers with 1Password slightly edging out NordPass by offering support for ChromeOS, Chromium, and Command Line. So unless you use those often, there might be little here that changes your mind either way.
5 – Extra features

Here’s where 1Password jumps ahead of NordPass. 1Password definitely offers more goodies with their plans than NordPass at the moment—and some of those goodies might be worth a lot.
Data storage
1Passwords offers every account 1 GB (5 GB for Business accounts) of data storage. This means that you can securely store files you want to keep safe like passports, driver’s licenses, wills, etc.
NordPass does not offer this.
Identity storage
Both NordPass and 1Password offer the ability to store and autofill your identity information online.
Travel Mode
This one sets 1Password apart. With 1Password you can turn on “Travel Mode,” which allows you to essentially remove ALL of your stored password-data on your device. This means that a border agent who takes your computer, for instance, will not be able to access any of your accounts or personal information.
NordPass does not offer this.
iCloud and Dropbox sync
Only 1Password offers the ability to sync with iCloud and Dropbox.
Unlock with your Apple watch
You can only activate 1Password with an Apple watch at the moment. NordPass does not offer this capability.

How to Unlock 1Password With Your Apple Watch
Winner: 1Password
We think that having secure data storage is pretty valuable. And, given that every 1Password account comes with this, it could be the deciding factor for anyone trying to decide between the two.
6 – Price
Free Version (Winner: NordPass)
Only NordPass offers a free personal version to use that they claim will always remain free.
NordPass’s Free Version
- Only can have 1 device active
- Can’t share passwords
- Can store unlimited passwords and credit cards
Individual Paid Version (Winner: NordPass)
NordPass offers more options to pay for their premium paid service, such as month-to-month ($4.99/mo), annual ($1.99/mo), and 2-year up-front ($1.49/mo).
1Password offers only the annual billing plan at a rate of $2.99/mo.
Both plans offer the same things, except that NordPass only allows you to be actively using the password manager on 6 devices at the same time. But, honestly, we have a hard time imagining an individual using more than 6 devices at the same time with a password manager. So NordPass gets the nod here.
Family Version (Winner: NordPass)
Again, both plans are identical. Both 1Password and NordPass allow up to 5 family members to share the family account and share passwords. They both offer the same features for families, as well.
NordPass’s family plan price is $3.99/mo., billed annually. 1Password’s family plan price is $4.99/mo., billed annually.
Teams/Small Businesses (Winner: 1Password)
We trust 1Password as a small team at Howchoo, and they do offer up-front flexible pricing that’s hassle-free. With NordPass, you have to request a custom quote for your business before you can have any idea of what the cost will be.
1Password for teams currently costs $3.99/mo per user, while their business plan (with unlimited users) runs $7.99/mo. and offers free family accounts.
Discounts (Winner: NordPass)
Only NordPass seems to offer any kind of discount. They currently have a student discount of 10% off when you sign up with your student email address.
Overall Price Winner: NordPass
Except for teams and small businesses, just in terms of price, NordPass is certainly a better deal and even offers a free version, which 1Password does not.
7 – Overall winner

Drumroll please…
And the winner is…
NordPass
How can that be?, you ask.
Well…unless you’re needing the secure data storage we mention above or are using a password manager for a team/business, then we recommend you give NordPass a shot. In all the major categories, NordPass and 1Password offer the same things, with NordPass edging out 1Password in terms of security.
NordPass has a free version that most individuals users will find is enough without having to upgrade, and their paid plans are less expensive across the board.
How to Send and Receive Encrypted Messages Using GPG


GPG (GnuPG) is a free and complete implementation of PGP (pretty good privacy). It is a tool used for encrypting, decrypting, and signing messages (or many forms of data). In this guide, we’ll cover the steps to send and receive secure messages using GPG. For this guide, we’ll assume you want to exchange messages with your good
Introducing Howchoo, an enigmatic author whose unique pen name reflects their boundless curiosity and limitless creativity. Mysterious and multifaceted, Howchoo has emerged as a captivating storyteller, leaving readers mesmerized by the uncharted realms they craft with their words. With an insatiable appetite for knowledge and a love for exploration, Howchoo’s writing transcends conventional genres, blurring the lines between fantasy, science fiction, and the surreal. Their narratives are a kaleidoscope of ideas, weaving together intricate plots, unforgettable characters, and thought-provoking themes that challenge the boundaries of imagination.
Related to this guide:
How to Send and Receive Encrypted Messages Using GPG
GPG (GnuPG) is a free and complete implementation of PGP (pretty good privacy). It is a to

The Best Smartwatches for Privacy and Security
Options for smartwatches that are both secure and respect privacy are few and far between, but not i

How to Build Your Own Raspberry Pi VPN
If you’re looking to add a little extra security to your network or stream overseas conte

How to Find Your Network Security Key (And Protect It!)
Feel free to skip ahead to see how to find the network security key. A network security key is a fa
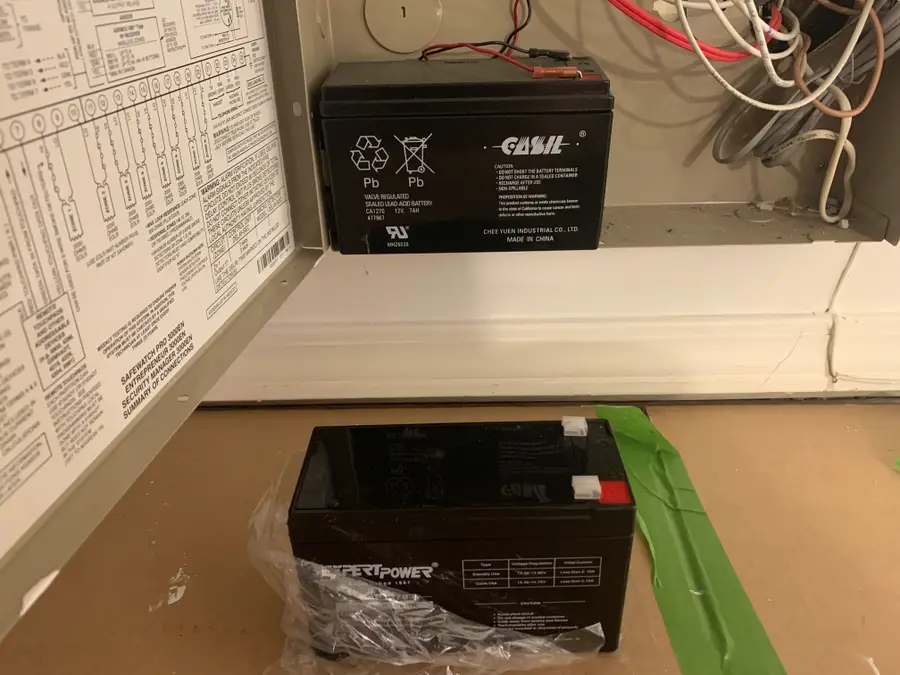
How to Change Your ADT Safewatch Pro 3000 Chime Battery
The battery in your ADT Safewatch Pro 3000 alarm system ensures that your system continues to work d
Posted in these interests: