Share
Ratta Supernote A6X and A5X: A Comprehensive E-ink Device Overview

Share
What you’ll need
Interests


Posted in these interests:

⭐⭐⭐⭐⭐
OUR RATING: 5/5
In the 1970s, Nick Sheridon made a breakthrough while working at Xerox’s Palo Alto laboratory. By suspending special spheres, mere micrometers in size, within an oil bubble inside a sheet of silicon, electrical voltage could then be applied to decide whether the black side of the sphere or the white side faced up. This allowed the spheres to create a black or a white pixel and, from this, a new revolution in electronic paper technology was born.

Well, not quite. Electronic paper remained a relative specialty item due to the fast evolution of LCD and other screen technology. As demand for those technologies rose, the price for consumers dropped, and it never seemed worth it for companies to dive deeply into the world of electronic paper. Still, the technology did continue to evolve.

In the 1990s, researchers at MIT made a breakthrough that allowed for higher resolution images through a new suspension technique. This led to the creation of the E Ink Corporation and the rise of the technology that’s now ubiquitous with devices like Amazon’s Kindle. E-Ink is a household name even for those who don’t own an E-Ink device, and as its popularity grows the technology behind it evolves at ever-increasing speeds.
Health and E-Ink
In a traditional computer, screen light is emitted out of the screen into the viewer’s eyes. With E-Ink, ambient light is reflected off the screen in much the same way that it would be with a piece of paper.

There’s some evidence that suggests that reading on bright light-emitting screens causes problems for concentration and increases eye-strain, a problem solved by electronic-ink devices. In a world increasingly beset by screens, any improvements that could lead to healthier screen technology are welcome.
The Evolution of the notebook
Amazon’s Kindle has become a common device, promoted by the retail and media giant as the central nexus from which to access the whole range of Amazon services. There are other excellent contenders, such as the Kobo or Onyx brands of e-readers, both of which are arguably superior to Kindle in terms of design. But, until recently, e-ink devices capable of doing more than displaying text (with some very crude note-taking) have been in short supply.

A market is quickly growing, however, for e-ink journal replacements, devices capable of handling your pen-on-paper workflow but with all the added benefits of an electronic device baked in. Early devices produced crude pixelated perversions of handwriting, suitable for only the most elementary note-taking. But the potential existed, if untapped, for so much more. And that’s where we discover that spunky up-and-comer, Ratta, a Chinese company making big waves in the e-ink market through its Supernote series of e-ink devices.
| Note |
| Supernote was kind enough to send me a free A5X for review. However, I was a fan long before that, and my reviews of their products are completely my own opinions. |
1 – Enter the Ratta Supernote

There are several great e-ink devices now on the market, a few of which have taken the capabilities of the hardware to exciting new dimensions. Limitless paper, team integration, and a paper-like writing experience are only some of the advances being made — color displays are now on the market, an explosive event for the e-ink community which has largely operated only in black and white.
What to look for in an e-ink device
When I went looking for an e-ink device, I spent months researching the contenders on the market. I knew that a few things mattered to me:
- I wanted a paper-like, not a glassy, writing feel. I love writing by hand so if it felt the same as writing on the surface of my iPad, I might as well just stick with the paper journal.
- It should be able to tackle some basic tasks beyond note-taking. I’m an active academic and student, and I need to be able to read .pdf files and e-books for my various projects.
- It needed to be able to handle typing as well as handwriting. Ideally, the device could become my go-to travel companion and, alongside my phone, would fulfill all my technology needs.
I figured that finding a device capable of handling all of these would be impossible, and had nearly settled on an entirely different device when the Supernote A6X drifted into my attention sphere.

An e-ink device that does it all… with a great service team?
Ratta is a small e-ink company just getting off the ground. Without the same sort of pre-existing infrastructure as some of the bigger companies, or the clever marketing of devices like the ReMarkable, the Supernote lived in the background of my searches, never quite making it into the top line-up. And then I happened to look closer.
- A screen with a “textured writing feel”?
- Can handle .PDF files, Microsoft Word, and e-books?
- Support for layers when drawing?
- Pressure sensitivity?
- Customer support that responded within hours to most support needs, bug reports, and even feature requests — a company that honored feature requests within a reasonable monthly time-frame?
The more I learned, the more I felt flabbergasted that Ratta hadn’t dominated the market. But, of course, their new line of “X” brand devices had just become realized. These devices deviated from their previous reliance on Linux architecture and were built on a customized Android suite to provide a greater range of integration possibilities.
To byte or not to byte?
Ratta’s warranty and extremely limited return options stymied me for a time. I had no way of testing the device before I made a final call. If I opened the box, that would be it. I’d either have to resell on my own or stick with my purchase. Finally, a review by MyDeepGuide swayed me—it was for an earlier model, but the positive points were extremely compelling. I bit the line.

Month by month, the improvements climb!
I first received my Ratta Supernote A6X just after release, and it felt a little like a device participating in a public beta. Some of the features I felt most excited by, like the Microsoft Word integration, were “in development” and the Supernote could not yet hook up to a Bluetooth keyboard for typing. But, as of 2022, Ratta has transformed its product into one of the most powerful E-ink devices on the market.
It’s vital to look for only recent reviews for the Supernote, since older reviews are going to be wildly out of date. The Supernote team delivers monthly updates that dramatically improve existing performance, fine-tune features, and add entirely new features as well.
And yet, even in its earliest release state, my new Supernote proved competent when it came to its most basic function: note-taking by hand. The build quality, plain and wonderfully solid, captured my attention as well, and pretty soon the Supernote became a daily part of my workflow. As did a steady back and forth communication with the Supernote customer service and engineering team via the Supernote Reddit forum. I constantly updated them on bugs and the features I most wanted, and they kept me and the community in the know regarding their development process.

These days, connecting with a company’s customer service arm feels like some sort of bizarre psi-ops exercise, a prelude to a Cold War-era interrogation. But with Ratta, it felt like being an extended part of the team. The folks in charge wanted to know what worked for us and continually sought to communicate all their decisions and processes to us as they went.
When they took a week off for holidays, users in the forums cheered and sent them wishes for a happy vacation. It felt less like being part of a capitalist mechanism and more like being part of a cooperative project in something that mattered. Sure, they were producing something we valued, but we were also invited to take part in that process of creation, afforded the choice to make ourselves honestly heard.
Now, after owning the Supernote A6X for some time, I find myself using it for everything. It’s become invaluable for my job, my scheduling, even my weekly Dungeons&Dragons game. And, even well after its initial release, the team is still hard at work improving the software even further. That’s the sort of pride in workmanship that gets my attention. With the arrival of my review copy of the A5X, I can safely say that Supernote remains a vital part of my daily scaffolding and Deep Work productivity system.
2 – Ratta Supernote hardware

The X-series of Supernote comes in two sizes, the 7.8-inch A6X or the 10.3-inch A5X. There is an important difference between them in terms of technology, however, not just size.
Supernote A6X
Screen technology
The older A6X uses a glass HD Carta screen to keep the costs down, which is more prone to breakage. That said, the cushioning of the soft film technology overlaying the A6X makes accidental damage far less likely than it would be for a device with a glass front exposed to the world. I own an A6X and use it regularly without feeling any concern for its safety, but there’s no doubt that the newer Mobius technology is a surefire way to ensure the longevity of your device.
Battery
The A6X uses a 2900 mAH battery which provides around 4 days of battery life, at around two hours of use per day (always on). Note that Supernote continues to optimize their devices, and battery life displays regular improvements. Battery life will go down significantly if the device is being used for extended daily note-taking. Under these circumstances, a “top-up” every day or two will be needed. Luckily, the device charges to 80+% in about a half-hour.
Connectivity
Bluetooth 5.0, Wi-Fi 5Ghz, and USB-C.

Stylus
The stylus is another place where things get exciting for Supernote owners. There are two main options for stylus technology when it comes to the Supernote, either the LAMY pen (which Ratta has partnered to provide) or Ratta’s ceramic pen nib. The writing-feel for both is excellent, but the ceramic nib has the benefit of never wearing down and the LAMY pen has a clever “erase” button built into the shaft, making it incredibly intuitive to erase mistakes while working.
Case
The outer design of the Supernote is clean and simple, even a bit blocky, but I find it refreshing in a world of tech aesthetics that too-frequently slides into the garish or unwieldy. There are a couple of powerful aspects of the deceptively simple design that allow for great functionality, however. The first is the slide-and-lock mechanism that connects the Supernote’s outer folio cover to the device itself. The folios that Supernote offers are sleek and classy and provide a nice layer of additional protection for the main body of the device. It also allows the Supernote’s auto-sleep function to work; whenever the folio is closed, the screen automatically turns off and the device is placed into standby mode.

Finally, there’s the control bar on the Supernote’s face. This is a powerful tactile innovation whereby the user can control some of the basic elements of the Supernote simply by sliding their thumb up or down the groove. By sliding up, the screen quickly refreshes, eliminating any ghosting effect (a condition with e-ink screens where weak afterimages from old screens can remain behind a new screen. In other e-ink devices, the process of refreshing to avoid this can be clunky, but the Supernote makes it a breeze). By sliding down, the main context menu of the Supernote is accessed, allowing the user to quickly switch notes as needed, navigate to folders, or open programs like email or Kindle.
Supernote A5X
Screen technology
The newer and larger A5X uses a relatively new type of electronic paper display (EPD) called Mobius. Mobius is a flexible display technology with a couple of large benefits over hard glass counterparts, the first and foremost being its extreme resistance to damage via impact. Where a glass screen might crack with an impact, a Mobius screen will only flex. This type of screen is also much lighter than other designs, thereby creating a much lighter device overall. Like the A6X, the A5X feature’s Ratta’s signature “soft film technology” which creates resistance while writing.
Battery
The A5X uses a 3800 mAH battery, which should provide a battery life of 4+ days, given the estimates experienced from the A6X.
Connectivity
Bluetooth 5.0, Wi-Fi 5Ghz, and USB-C.

Stylus
WACOM G14 with 4096 levels of pressure sensitivity. The stylus is another place where things get exciting for Supernote owners. There are two main options for stylus technology when it comes to the Supernote, either the LAMY pen (which Ratta has partnered to provide) or Ratta’s ceramic pen nib. The writing-feel for both is excellent, but the ceramic nib has the benefit of never wearing down and the LAMY pen has a clever “erase” button built into the shaft, making it incredibly intuitive to erase mistakes while working.

Case
The case design and technology for the A5X is undeviated from the A6X. Aside from size and the type of screen technology itself, the bodies of the two devices are nearly identical.
3 – Software and firmware of the Ratta Supernote A6X and A5X

I’ve already mentioned some of the things that the Ratta Supernote can handle, but there’s so much more detail to explore.
Operating system
The old Supernote devices ran on a Linux-base that provided powerful functionality at a low overhead in terms of hardware needs. The X-series changed that with a shift to a custom OS that Ratta has named Chauvet.
What is Chauvet?
Chauvet is based on Android and therefore allows for easier integration to the already-existing host of Android programs, like Kindle and Microsoft Word. This necessitated an increase in hardware for the X-series and a corresponding jump in cost, but the added functionality more than makes up for that. Within a few years, there may be only one name in the worldwide e-ink device market: Ratta’s Supernote. Read on for a comprehensive overview of the various main software functions that the X-series Supernote provides.
Microsoft Word
It’s exciting enough to be able to access Microsoft Word on a device like the Supernote, an area where comparable devices like the ReMarkable have failed to apply any attention. But the software functionality extends beyond simply being able to type into a Word Document. In a Word document, the user can manipulate the text directly using their stylus to execute traditional proofreading marks!

For example: striking through text with the pen creates a strike-through in the Word file. This is a major focus for Ratta’s design ideology, which seems to be all about redefining how technology functions—doing away with many of the traditional file structure and access systems in favor of creating new interfaces that improve intuitive user access.
Dropbox Integration
Supernote offers two primary forms of software backup and cloud integration: their own Supernote cloud service with servers based in Japan, or through Dropbox integration. The latter is inspired, not only because it makes users comfortable to use a known system for their data, but because Dropbox so easily integrates with the vast majority of common software currently in use elsewhere. That said, Ratta’s own cloud offers a massive amount of storage space for users’ notes.
It’s wonderfully easy to transfer Word files and PDFs back and forth between the Supernote and my laptop, making it possible to secure the safety of my work easily and access whatever I need, no matter where I am (if I have a Wi-Fi connection).

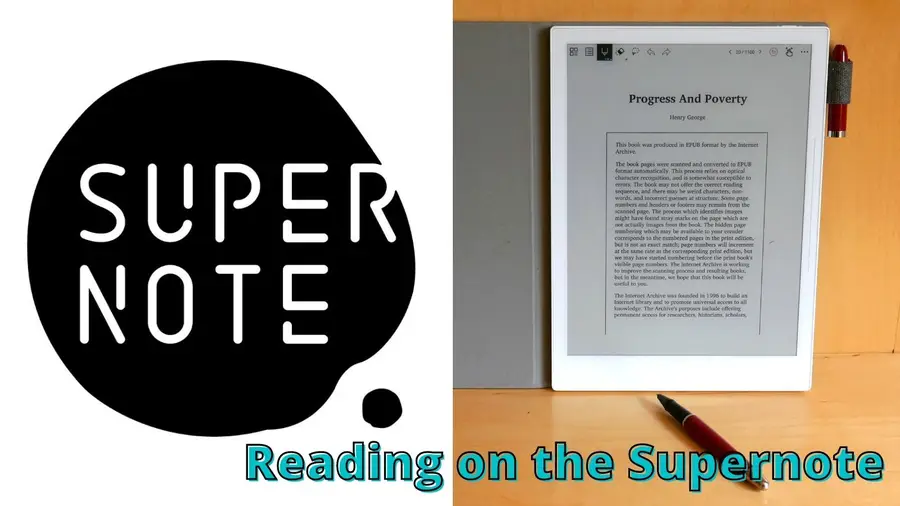
PDF Reading
Speaking of PDFs, the Supernote handles them swimmingly, especially since the February 2021 update that allows for pinch-to-zoom functionality. With my Supernote A6X, the small screen size makes reading PDF files in their native size difficult, but with the new zoom functionality, I can handle reading and annotating full-size PDFs easily.
Note-taking
Note-taking is one of the fundamental points for buying this device. It works great as an e-reader, too, but there are cheaper options on the market if reading is all you care about. Not only do I feel that the writing experience is extremely favorable when compared to writing on a device like the iPad, but I’m also impressed with the range of tools and software capabilities that the Supernote offers.

Everything from different pens and markers to a lasso-select tool, to supporting multiple layers within a note file (great for artists). The one downside I will note is that the handwriting, when exported to PDF and printed out on full-size paper, tends to look pixelated and chunky. This is something that the Supernote team is aware of, however, and has promised to investigate. With another company, this promise might feel suspect, but Ratta has consistently shown itself to be dedicated to improving the capabilities of its devices, making me feel sure that somewhere down the road the notes I print from my Supernote will look clean and sharp. For now, it still looks great on my Supernote’s screen.
Supernote’s Kindle Integration
I’ve mentioned the Supernote as an e-reader already, and this is an important aspect of the device to consider. While there are other dedicated e-readers out there that offer some features specific to reading on an e-ink screen (such as a backlight), the Supernote handles reading eBooks well, even in just its native e-reader application.

A library of books
The thing about having an e-reader, though, is the ease of accessing a vast library of content. If it’s difficult to add books to your e-reader, it removes some of the usefulness of the device. The Supernote comes with full Kindle integration, and that changes everything. Not only is Kindle a known and excellent e-reading application, but it also provides access to the whole wealth of the Kindle store infrastructure. You can purchase books and have them sent directly to the Supernote, or even connect your local library through Overdrive or Libby’s Amazon integration (allowing you to borrow available e-books and read them on your Supernote at your leisure).
Future software and support
Okay, but what else can the Supernote do? For the price, is it worth it? Well, considering the dual superb capabilities of e-reader and pleasing writing experience, I’d already say “yes.” Supernote, however, is all about continued design and evolution. They even stress this directly in their promotional materials. If you purchase one of their devices, you’re not just getting the device itself, you’re getting monthly firmware updates and continued compatibility updates.

To date, the Supernote team has been working on several advanced integrations including Google Drive, different productivity and calendar applications, note-taking software such as Obsidian, and e-reading software that completely bypasses the Amazon Marketplace (such as native Overdrive and Libby support rather than as passed-through Kindle).
4 – Final thoughts

Ultimately, this is what has impressed me most about Ratta and the Supernote team: their ideology and methodology seem entirely different from almost any other technology company I’ve encountered. Their engineers frequently communicate with the wider community through the Supernote Reddit, and they take the feedback they get very seriously — they even go out of their way to elicit that feedback for major design changes.

Every other company I considered when looking into an e-ink device proved to have somewhat substandard customer support. Supernote did away with “customer support” altogether and dove straight into the creation of a “user community” within which the Supernote engineers and marketing staff are constantly involved. Through this community, Supernote not only provides support but actively helps users engage with each other, the team behind the device, and the features of the device itself. Am I impressed? You bet I am. I also bet that Supernote is poised to dominate the e-reader and e-ink-note-taker environment if they continue to maintain this level of commitment to design improvement and user-base interaction.

Also, for those of you desperately wishing for a writing experience like the ReMarkable, which boasts a true “paper-like” writing experience… Ratta has plans in that direction as well, so hold on to your hats. At some point in the future, all your e-ink needs could be handled by Ratta and Ratta alone.
If you’ve been on the fence so-far, I highly recommend you give the Supernote A5X or Supernote A6X a try!
How to Set Up Quick Connect on a Synology NAS


Synology is one of the most popular creators of Network Attached Storage devices on the market today, and for great reason — they’re really good at what they do. They consistently make devices that stand the test of time and feature top-notch software that makes the process of running a home server as easy as
In these interests
E-ink e-ink • 5 guides
Supernote supernote • 5 guides
Technology technology • 20 guides
Writing writing • 3 guides
Introducing Howchoo, an enigmatic author whose unique pen name reflects their boundless curiosity and limitless creativity. Mysterious and multifaceted, Howchoo has emerged as a captivating storyteller, leaving readers mesmerized by the uncharted realms they craft with their words. With an insatiable appetite for knowledge and a love for exploration, Howchoo’s writing transcends conventional genres, blurring the lines between fantasy, science fiction, and the surreal. Their narratives are a kaleidoscope of ideas, weaving together intricate plots, unforgettable characters, and thought-provoking themes that challenge the boundaries of imagination.
Related to this guide:
How to Set Up Quick Connect on a Synology NAS
Synology is one of the most popular creators of Network Attached Storage devices on the market today

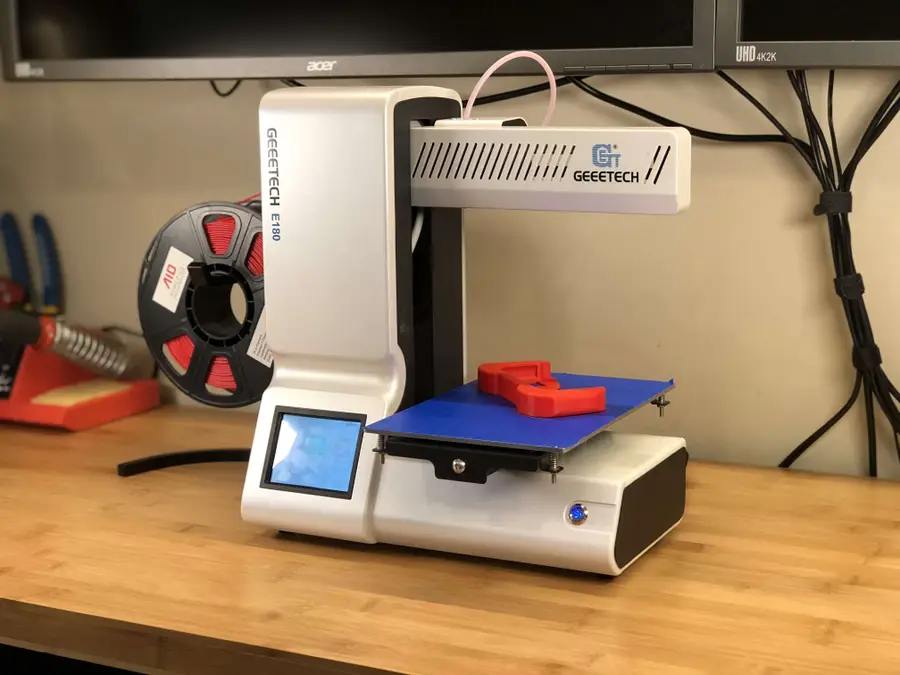
Ender 3 V2 – The Easiest Guide to Leveling and Test-Printing
If you’re like me and are just starting out on your 3D printing journey, there’s little doubt in
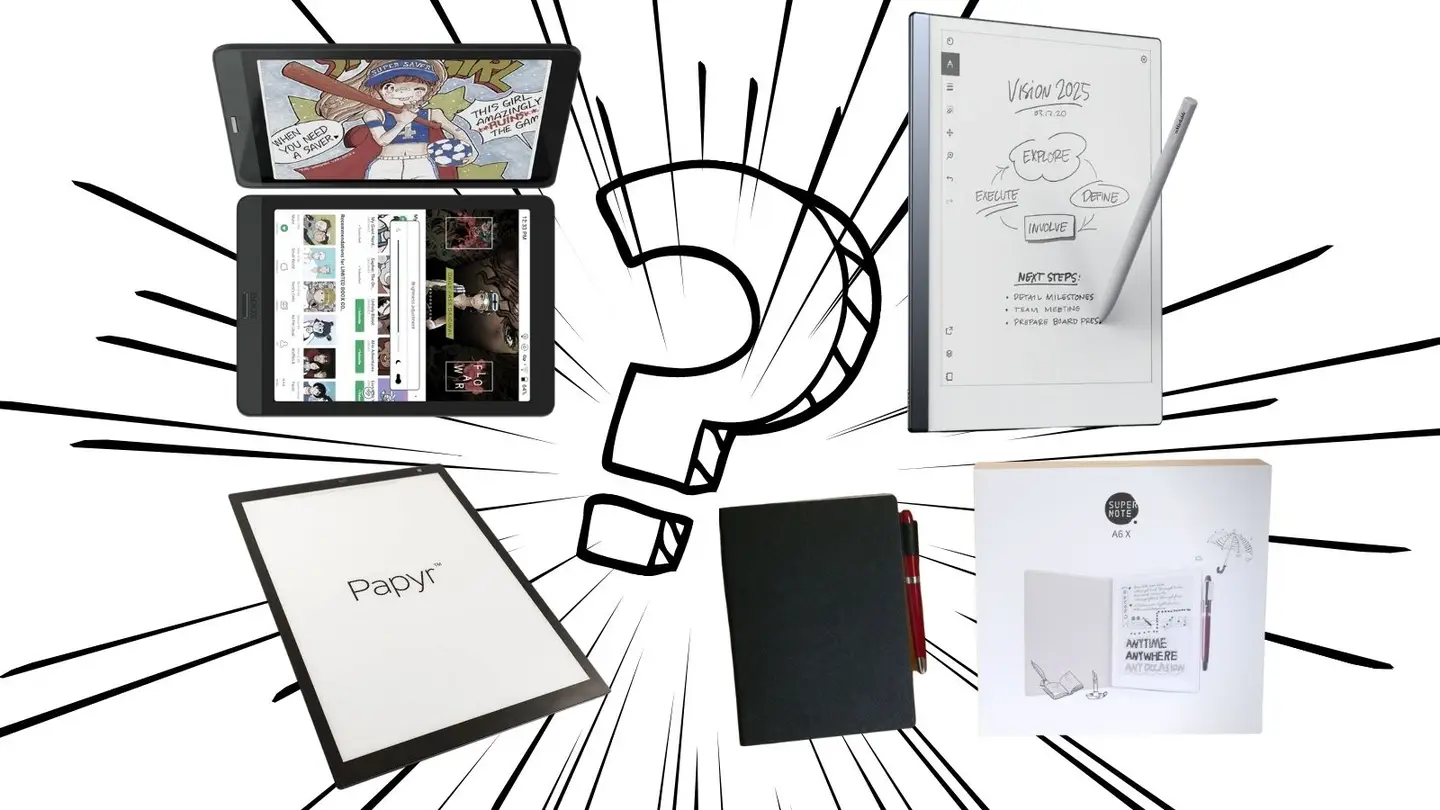
4 Best E-Ink Digital Paper Tablets of 2023
Introduction Tablets that use electronic ink (or “e-ink”) displays win big over the sort of scre
Setting up the Anycubic Kobra Go
Anycubic’s Kobra Go is the latest in their Kobra series of FDM 3D printers. This is Anycubic&

The Best Smartwatches for Privacy and Security
Options for smartwatches that are both secure and respect privacy are few and far between, but not i
How to Install Dropbox on a Raspberry Pi
If you’re trying to keep your important files and folders synced across all of your devices,&n;

Anycubic Kobra Go: How to Load Filament
I dig the Anycubic line of Kobra printers in large part because of how many ease-of-use fe
The Supernote A5X and A6X are “Super” for Kindle, PDFs, and Ebooks
It’s no secret that I love my Supernote devices and use it constantly. There are a bunch

Supernote A6X and A5X PDF Features
I’ve written about the Supernote X series of e-ink devices plenty, and they even earned my five-s

How to Change Game Version for Minecraft: Java Edition
Minecraft will automatically set itself to the current version for ease of use, but sometimes y


 Apple
Apple Apple
Apple Apple
Apple Apple
Apple Apple
Apple Apple
Apple Apple
Apple Apple
Apple