Using the iTerm 2 and tmux integration

Share
Interests
For a few years now, I’ve been using iTerm 2 and tmux. But only recently did I find out about a pretty important feature of iTerm: tmux integration. I found out because I was getting tired of tmux as a window manager and started looking for alternatives.
The tmux integration basically means that you use iTerm 2 as you normally would for window management, except it uses tmux on the backend for multiplexing.
tl;dr
tmux -CCtmux -CC attach1 – Install tmux and iTerm2
You can download iTerm 2 from the website.
tmux must be installed on whichever machine you plan to use it.
On OS X:
brew install tmuxDebian/Ubuntu:
apt-get install tmux2 – Start new tmux session using -CC option

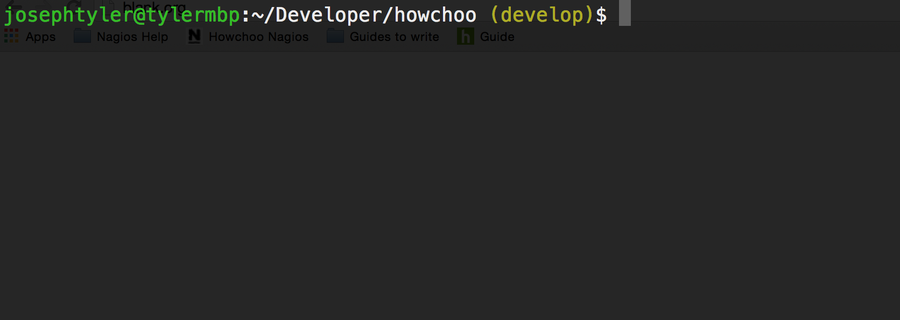
Using iTerm 2, log into the machine you want to work with. This can be your local machine or a remote server over ssh. Start a new tmux session using the -CC option.
tmux -CCYou will see a message saying tmux mode started with a Command Menu.
3 – Open new tabs and windows

With this setup iTerm is your window manager. So if you’re going to open new tabs, split panes, or open new windows you do so using all of the shortcuts you may be familiar with:
cmd + t: open a new tab cmd + n: open a new window cmd + d: split vertically cmd + shift + d: split horizontally
You can choose whether you want to do this using the same profile or not. If you choose to use the same profile, iTerm will use tmux to create virtual windows.
4 – Detaching tmux

When you’re done working and you’re ready to detach you can simply close the tab or window. iTerm will ask you whether you want to detach tmux or kill the windows. Clicking Detach tmux Session will cleanly detach and allow you to re-attach in the future.
5 – Attach to an existing tmux session
If you’ve got a tmux session already running and you want to attach, simply use:
tmux -CC attachHow to Install SSHFS

This guide will show you how to install SSHFS on various operating systems. 1 – On macOS Using brew, install FUSE. Now install SSHFS: 2 – On Ubuntu/Debian 3 – On Windows Find the desired version of win-sshfs from this page and download it.