Share
Gamepad Zero: A Raspberry Pi Retro Gaming Rig Inside an Original NES Controller

Share
You’ll Need
17
What you’ll need
Interests
Howchoo is reader-supported. As an Amazon Associate, we may earn a small affiliate commission at no cost to you when you buy through our links.

Posted in these interests:

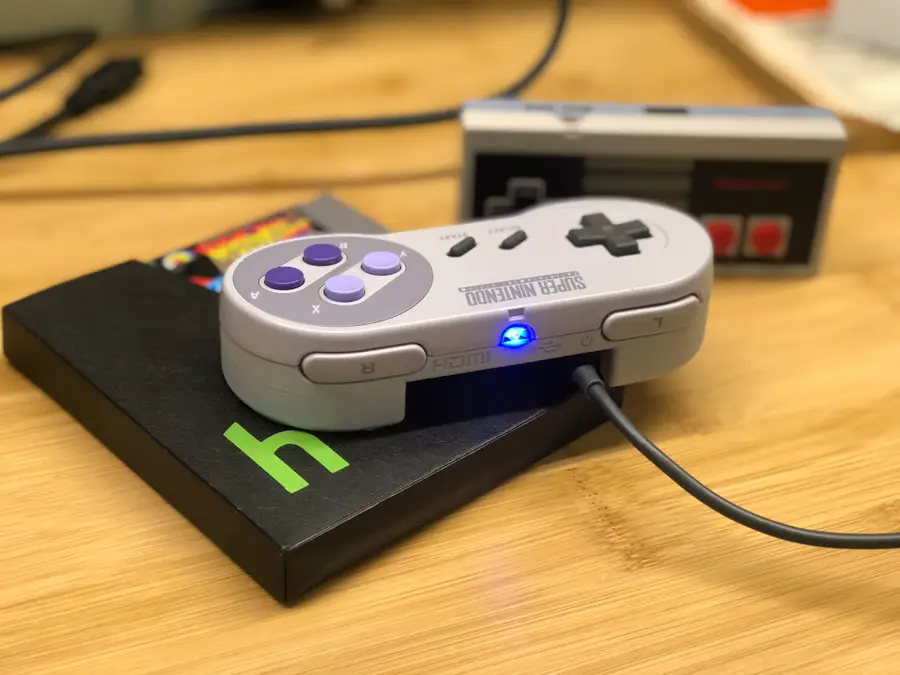
| New: Be sure to check out my followup to this guide — the Super Gamepad Zero — a Raspberry Pi retro gaming rig in an original Super Nintendo controller! |
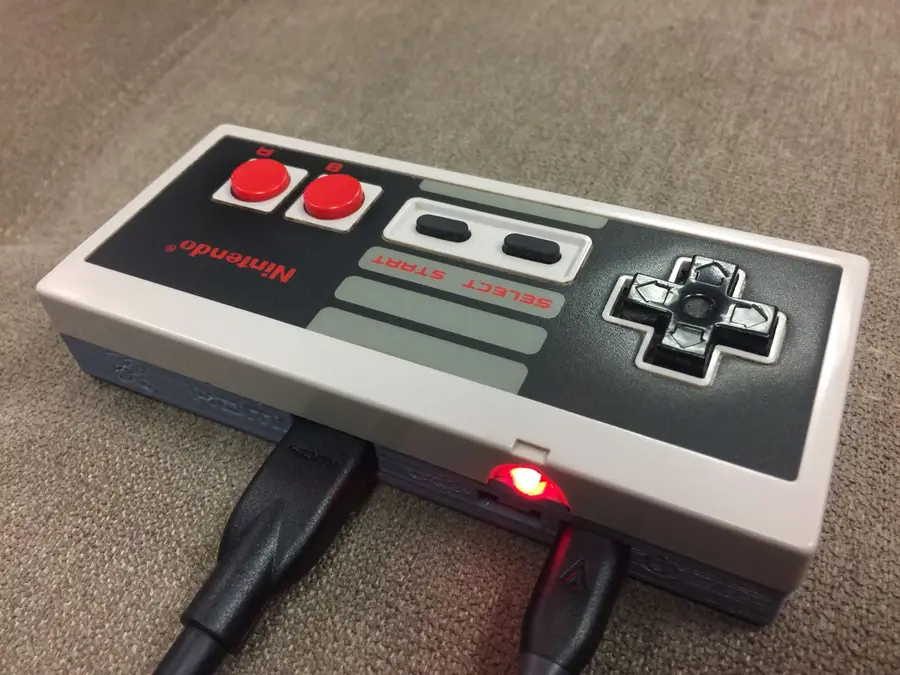
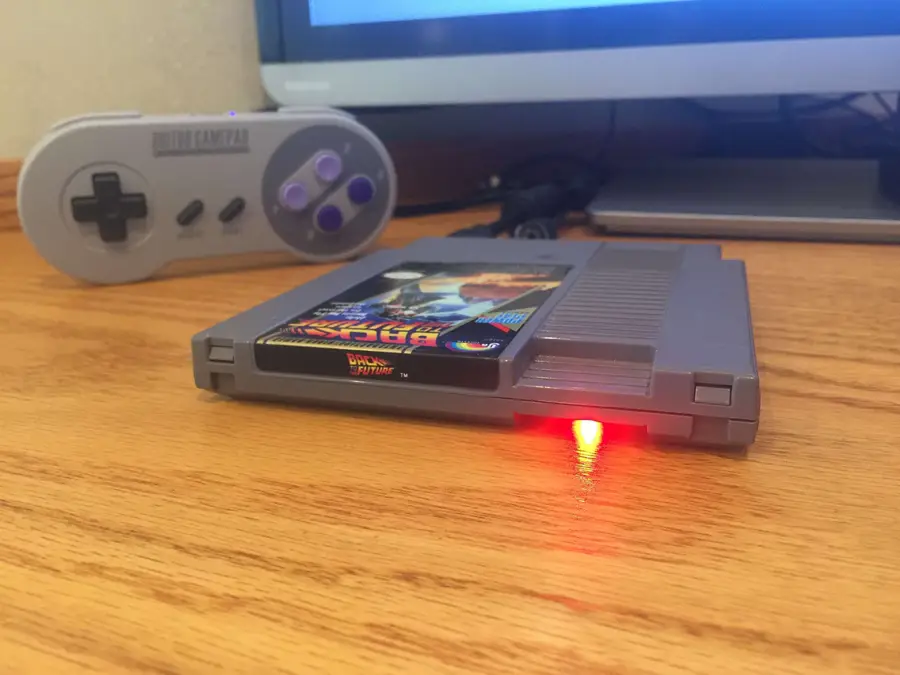
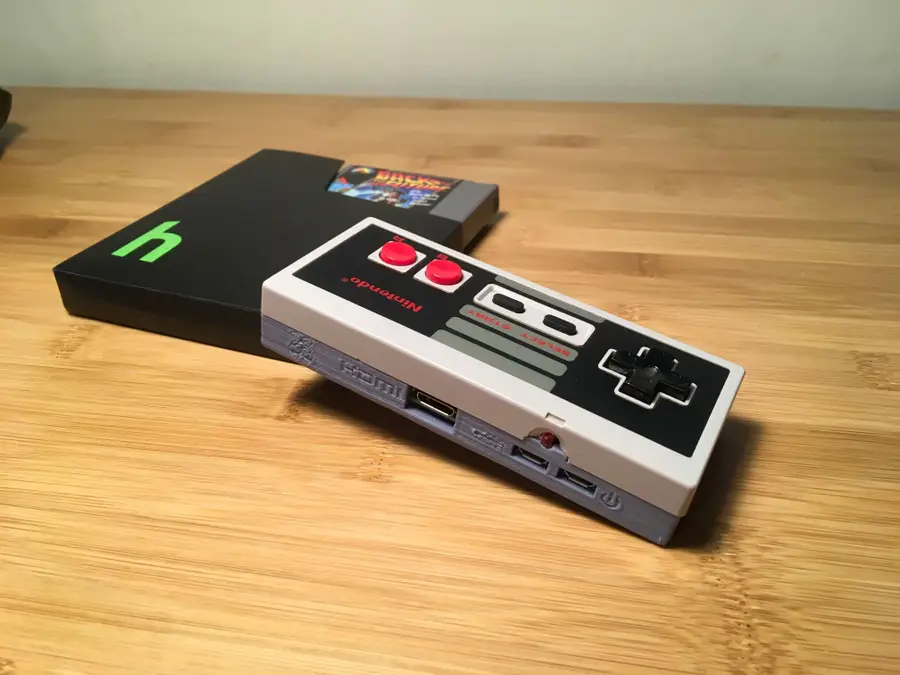
1 – The completed project
2 – Overview
Project cost
The total materials for this project cost me about $50. I already had most of the tools needed.Project time
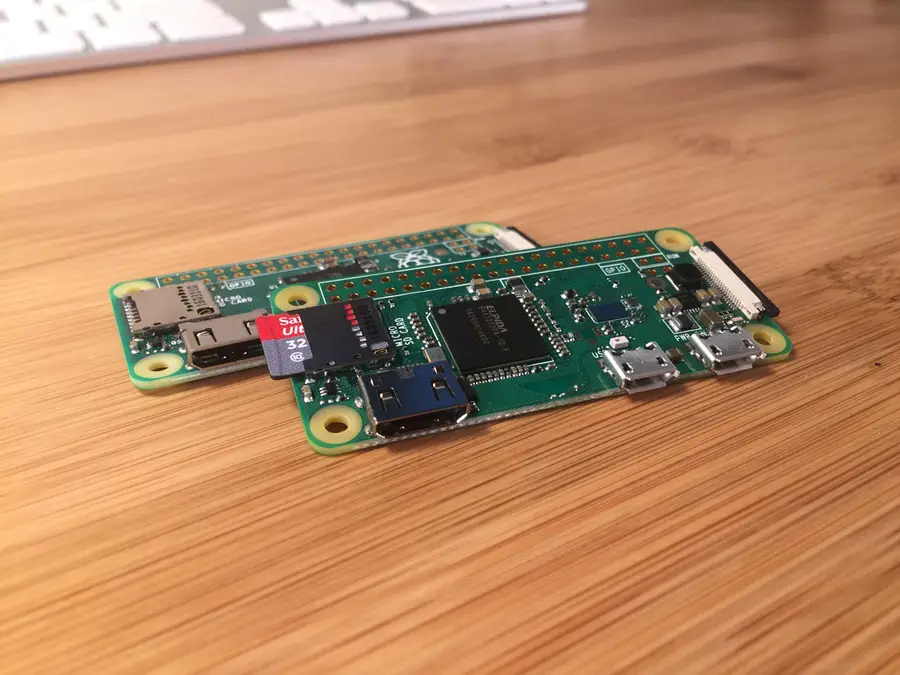
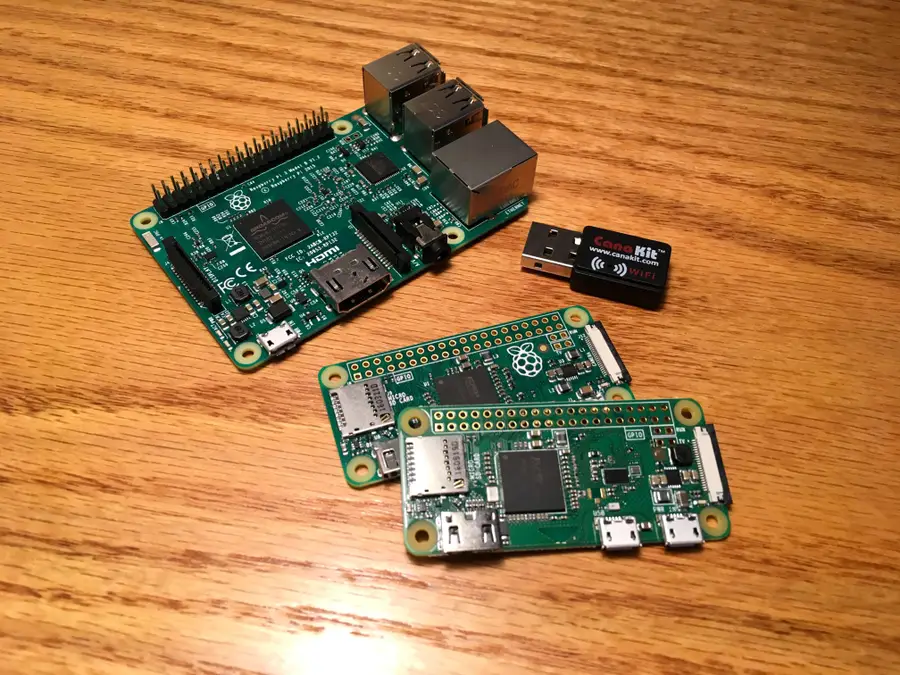
The actual time to assemble this project was only about 30 minutes — the print took about 4 hours, and I just ran it while I was doing things around the house (and napping).3 – Choose your Zero
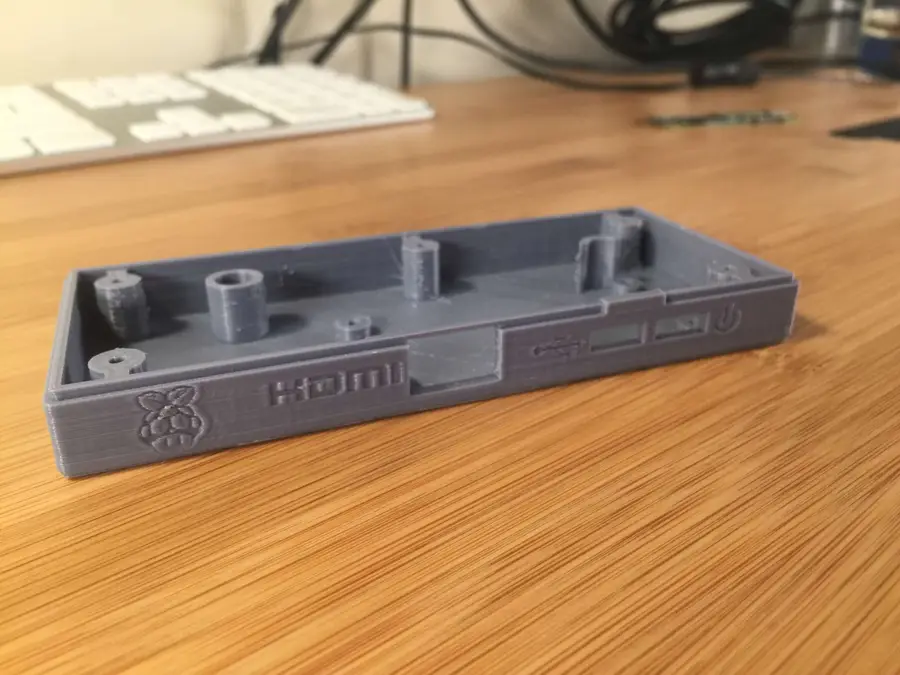
4 – Print the model
For this project, we’re going to 3D print a model that designer bfesser created and uploaded to Thingiverse. bfesser did an amazing job on this model and was the inspiration for this project. This model will serve as the housing for the bottom half of the controller and will securely store our Raspberry Pi. Download the model and print it using your filament of choice (I used PLA+, which is a slightly stronger variant of PLA).| 🛈 Thanks bfesser! |
5 – Don’t have a 3D printer?
Use an online 3D printing service
Many online services exist that will print your model and ship it to you. However, make sure the model you use has a license that allows a service to print it commercially. You can order this model 3D printed on Shapeways.Find your local hackerspace/makerspace
Chances are, there’s one near you. Most have “Open Make Nights” where you can pop in and use the equipment without needing a membership. You can find your local hackerspace using this tool.Check your local library
You may be surprised to find that many libraries now have 3D printers available for your use. If you’re a student, your university can provide you with access to one.Check Craigslist
Many people advertise their printing services on Craigslist.Buy a 3D printer
3D printers have never been cheaper. I picked up my Creality Ender 3 for under $200 here and I couldn’t be happier. For more information on the Ender 3 budget 3D printer, be sure to check out my full Ender 3 review — I highly recommend it for any 3D printing beginner or professional.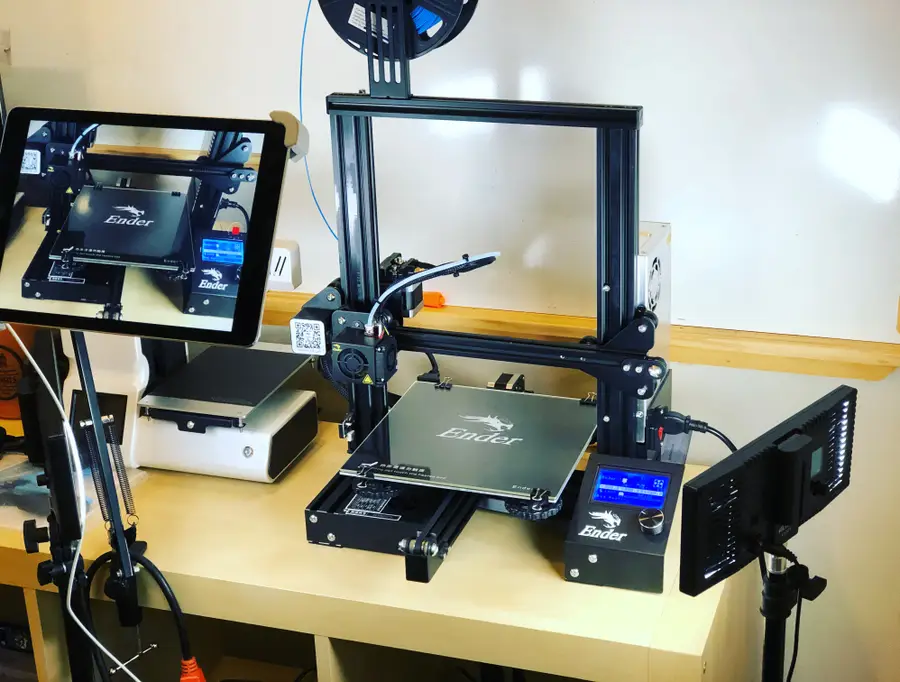
Creality Ender 3 Review: The Best 3D Printer Under $200
Behold the Anet A8 slayer.
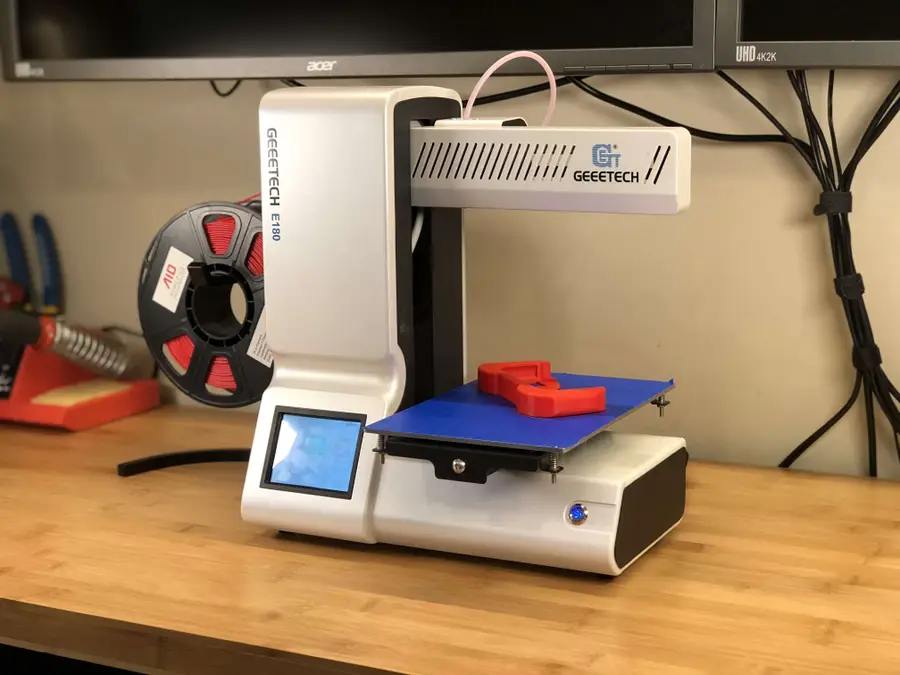
Geeetech E180 3D Printer Review: A Mini Budget 3D Printer
This tiny printer packs a lot of punch.
6 – Install RetroPie
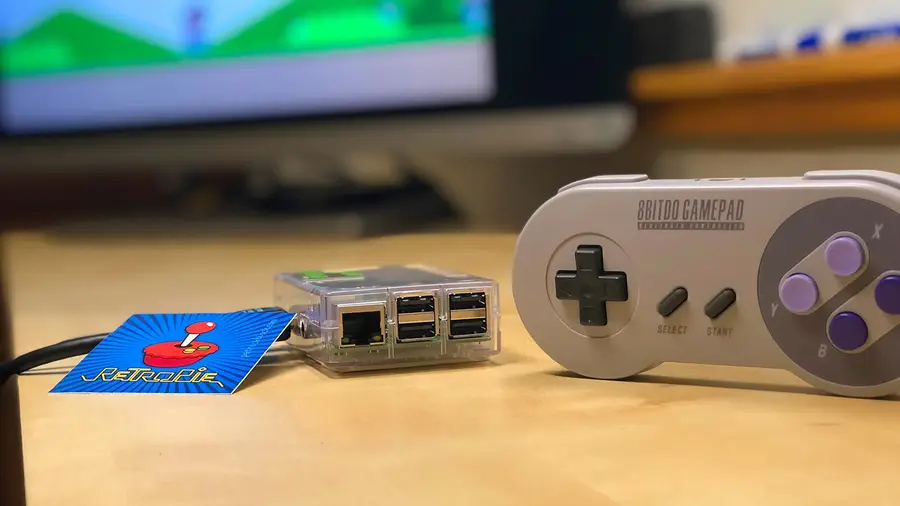
RetroPie: Build Your Own Raspberry Pi Retro Gaming Rig
How to install (and use) RetroPie!
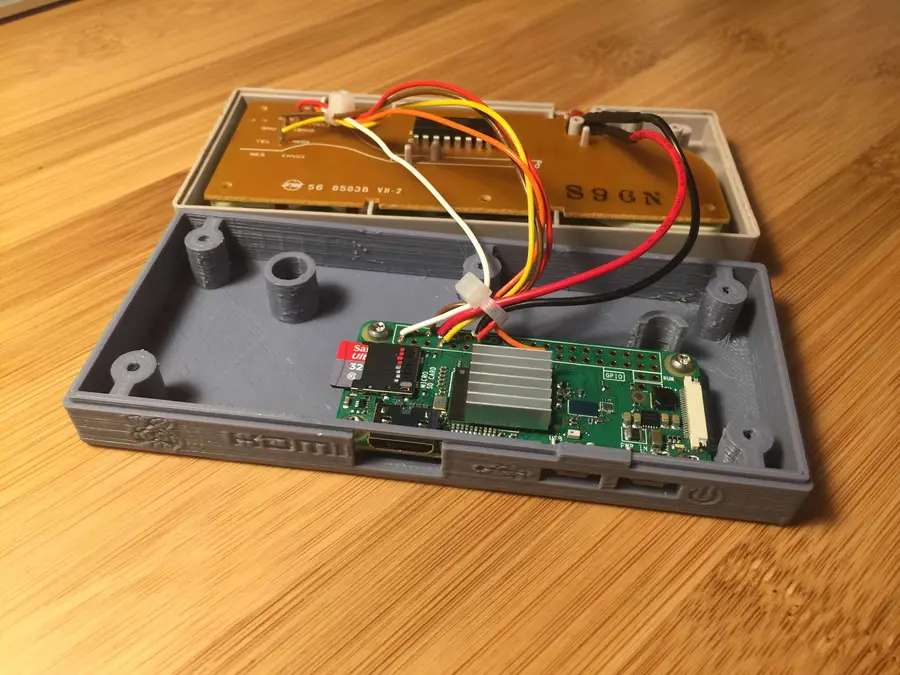
7 – Disassemble your NES controller

| 🛈 Once inside, you may want to give your controller a good cleaning with some rubbing alcohol and Q-tips. There’s going to be a lot of strange build-up in there after 30+ years. |
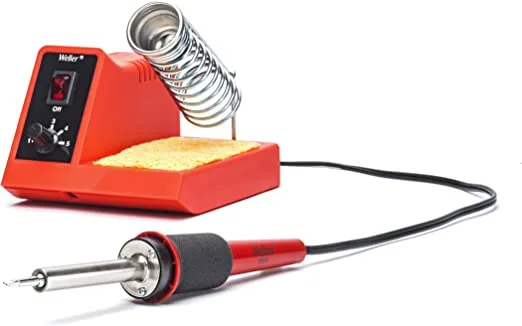
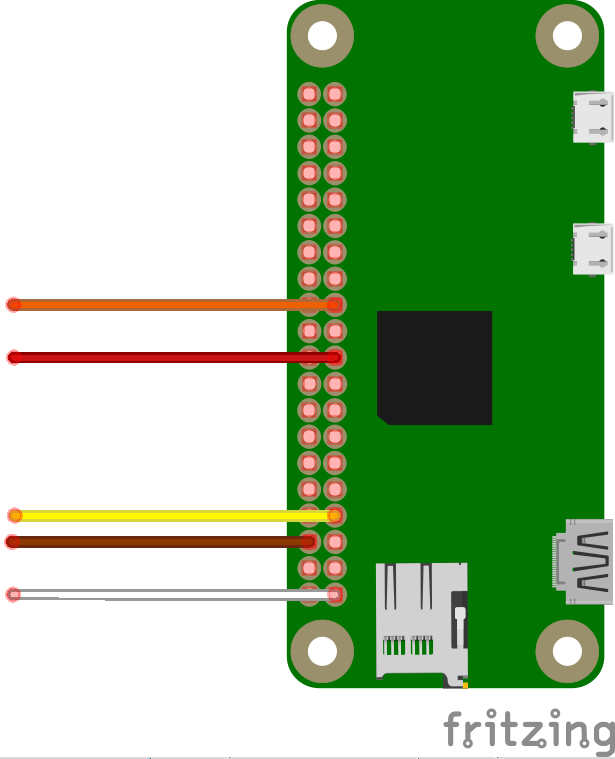
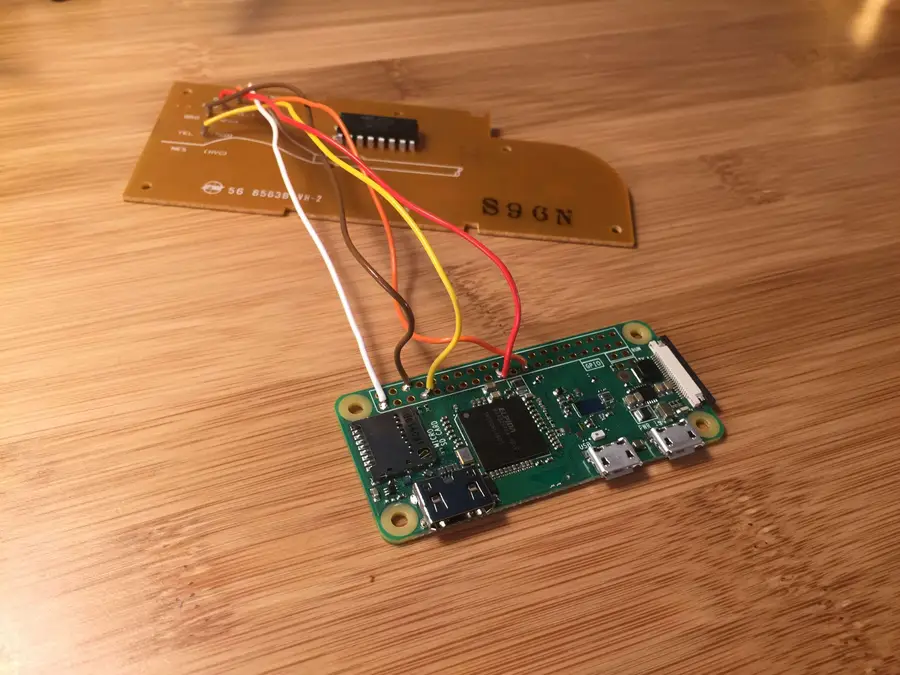
8 – Solder your connections
Need a good soldering iron?
We got you. Check out our guide on the best soldering irons for different tasks.
The Best Soldering Irons: Read This Before You Invest (2022)
We’ve put together a guide to help you find the best soldering iron for your next project.
Don’t know how to solder?
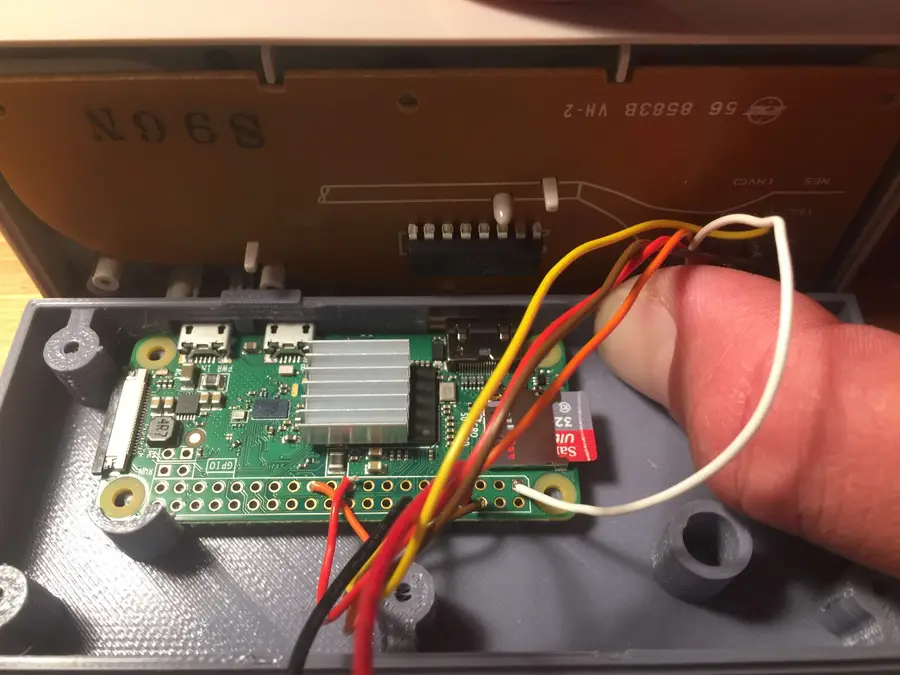
No worries, it’s easy and this is a great opportunity to learn! This video will get you started.9 – All soldered up!
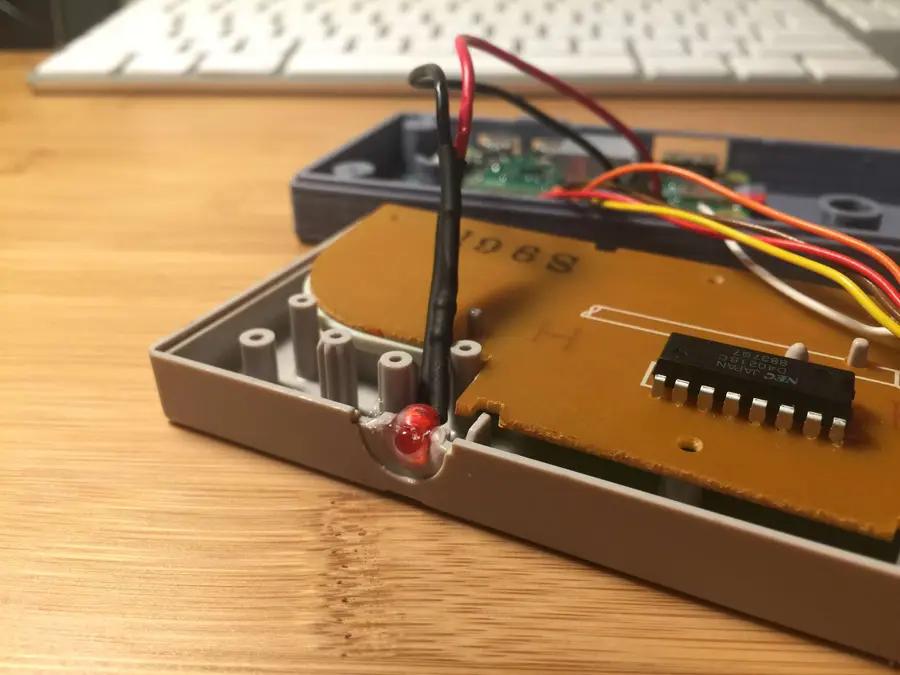
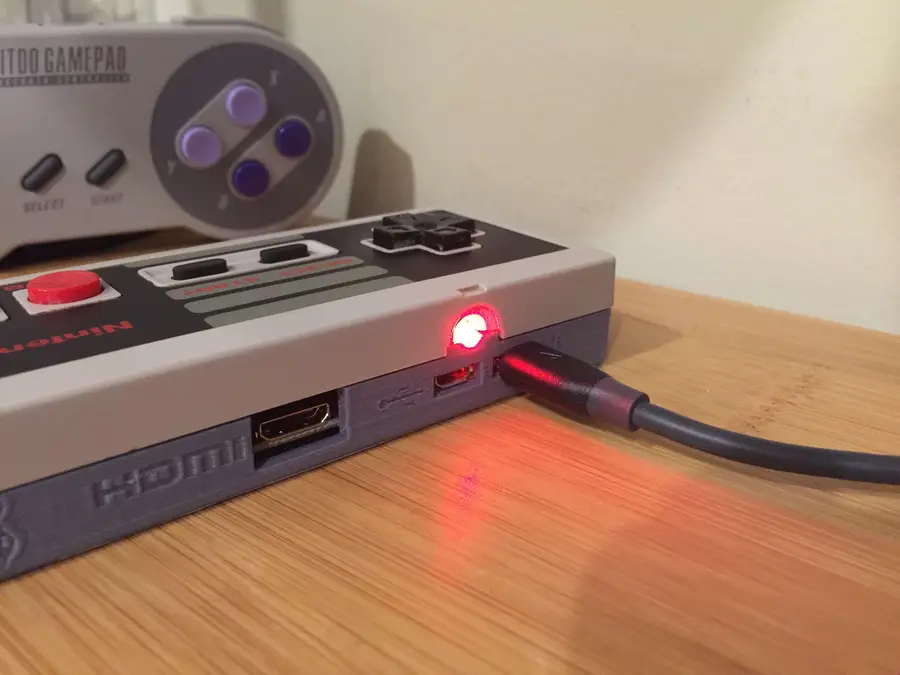
10 – Add a power LED (Optional)
11 – Add a heatsink (Optional)
12 – Mount your Pi
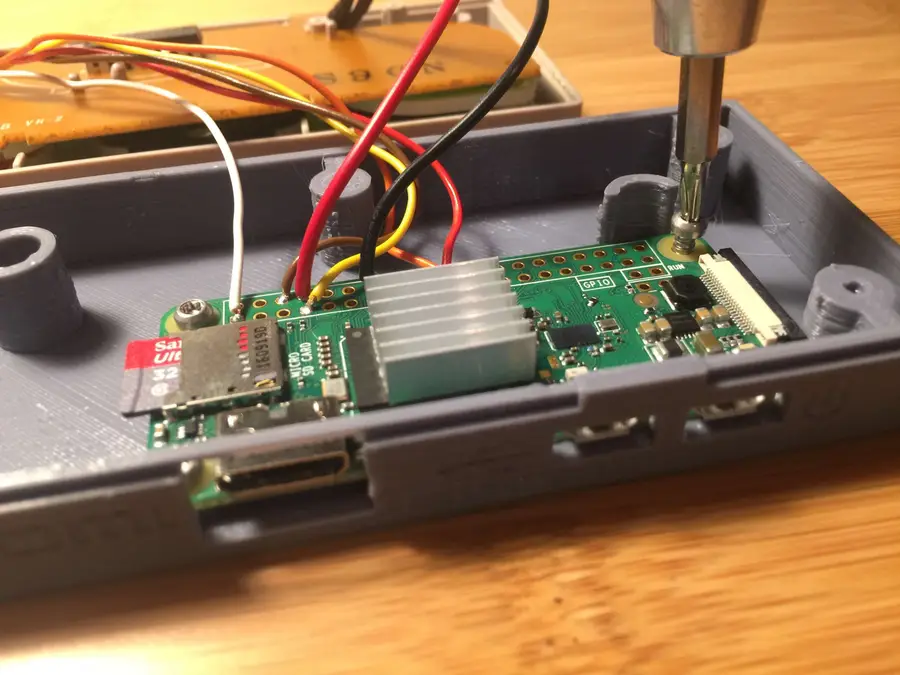
13 – Reassemble the housing
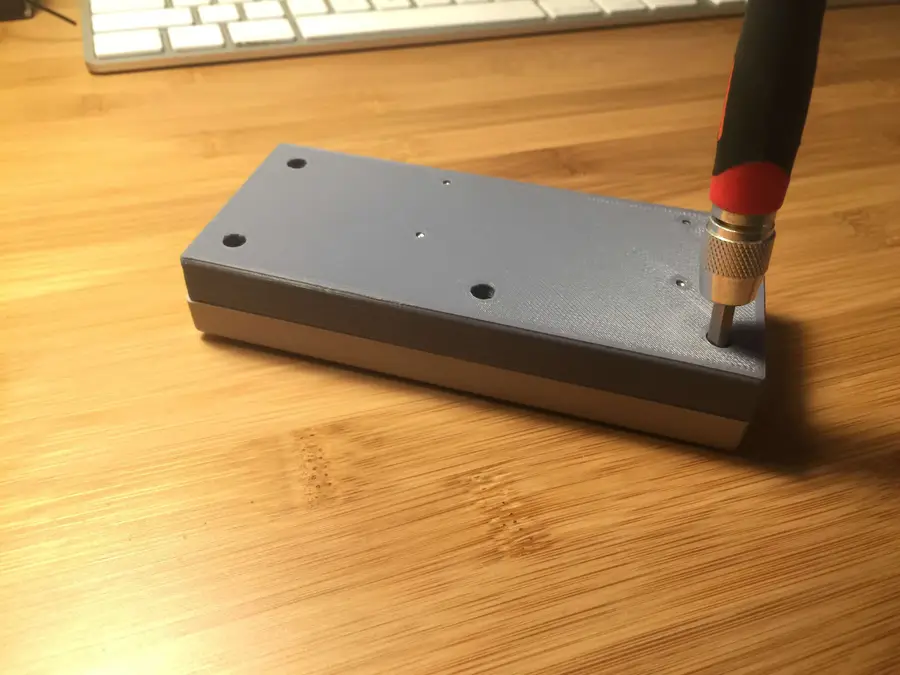
| 🛈 You can also use the controller’s original screws here if you want to save a few bucks. |
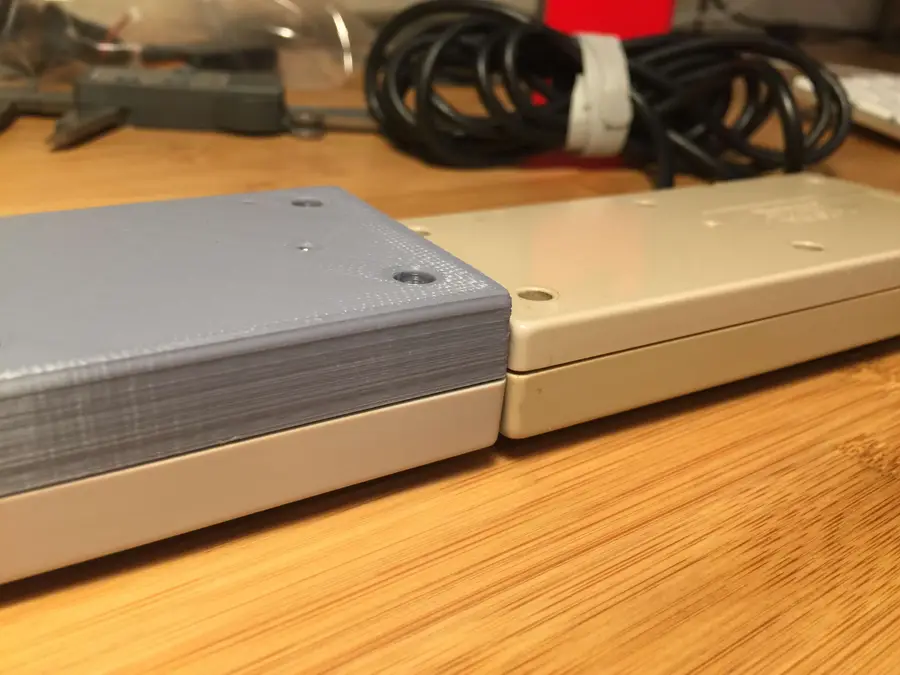
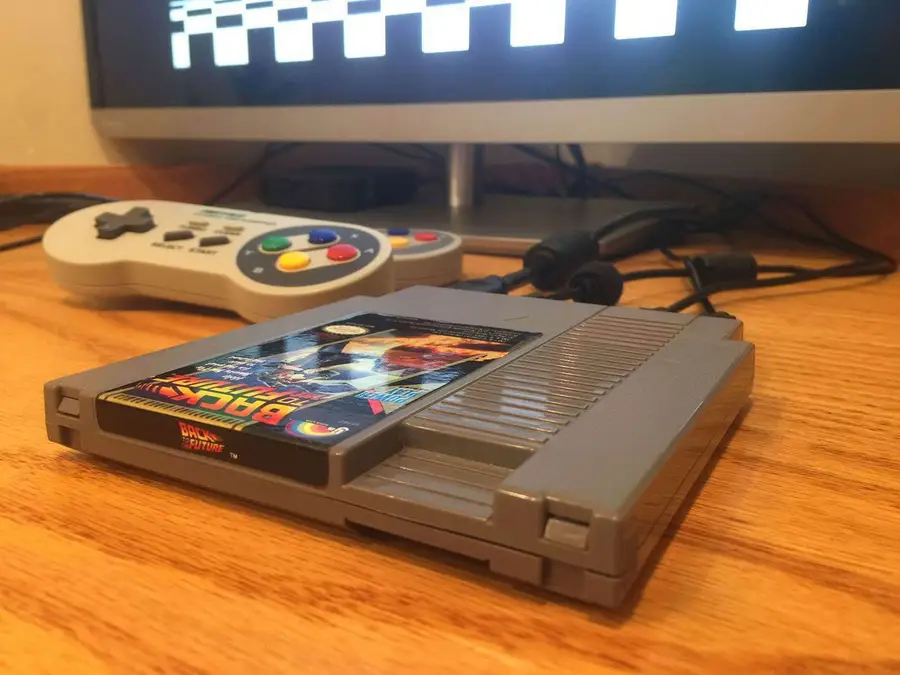
14 – Size comparison
15 – Configure your NES controller for RetroPie
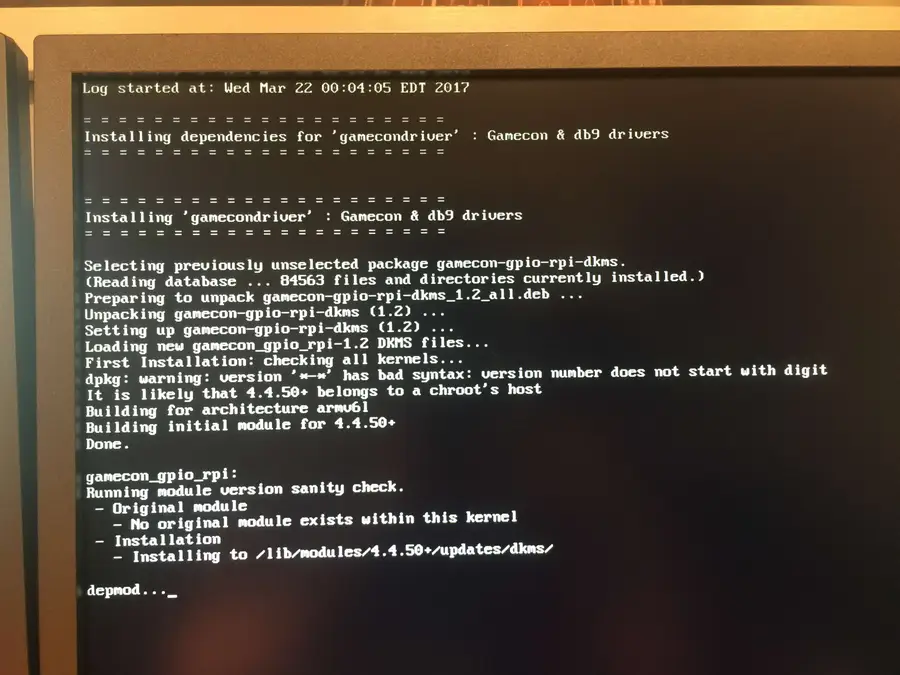
gamecondriver as a different index (e.g. 813: gamecondriver). Just select whichever gamecondriver listing you have.
Install from binary, accept the firmware warning, wait for everything to install, and select “no” if prompted to install SNES configs. Exit the setup menu.
Next, you’ll need internet access to connect to your Pi — you can connect to your wireless network using either the RetroPie settings menu or by dropping a file on your SD card.
How to Set up WiFi on Your Raspberry Pi Without a Monitor (Headless)
No monitor, keyboard, or mouse? No problem.
sudo sh -c 'echo "gamecon_gpio_rpi" >> /etc/modules && echo "options gamecon_gpio_rpi map=0,0,2,0,0,0" > /etc/modprobe.d/gamecon.conf && reboot'| 🛈 If you’re using the non-wireless version of the Raspberry Pi Zero, you’ll need to connect a USB WiFi or ethernet adapter before you can connect to your Pi. |
16 – Add a power button (Optional)
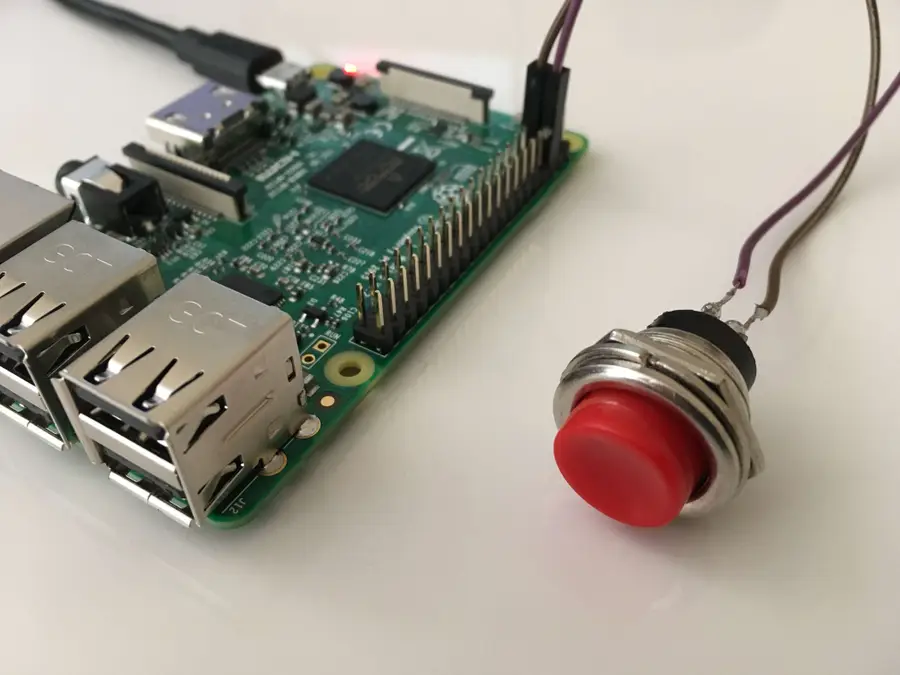
How to Add a Power Button to Your Raspberry Pi
Because you should always safely shut down your Pi.
17 – Ready Player Two!
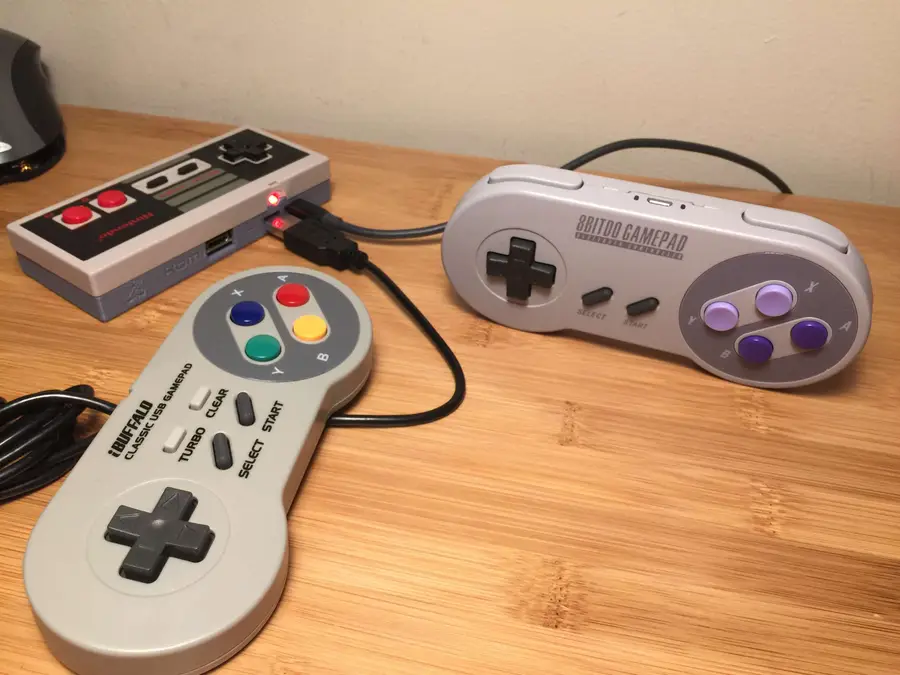
1. Connect a USB gamepad:
You can connect a second USB controller directly into your Gamepad Zero. You’ll need a small USB to Micro USB adapter to make the connection.2. Use a bluetooth controller:
I wrote yet another guide on configuring RetroPie bluetooth controllers that will get you started.
How to Use a Wireless Bluetooth Controller with RetroPie
No more wires!
| 🛈 To use a bluetooth controller, you’ll need to use the Raspberry Pi Zero W or a USB bluetooth dongle. |
18 – All done!
How to Run a Minecraft Server on the Raspberry Pi


December 7, 2023
There are several ways to go about running a Minecraft server on the Raspberry Pi. In this guide, I’ll cover how to install Nukkit—a cross-platform Minecraft server that’s super easy to set up on the Raspberry Pi. This server should work with PCs, consoles, and tablets running Minecraft 1.14. I’ll be using a Raspberry Pi
Continue Reading
In these interests
3D Printing 3dprinting • 36 guides
Raspberry Pi pi • 92 guides
RetroPie retropie • 17 guides
Related to this guide:
How to Run a Minecraft Server on the Raspberry Pi
There are several ways to go about running a Minecraft server on the Raspberry Pi. In this guide, I&
HeaterMeter: Control your Grill Using a Raspberry Pi!
With summer right around the corner, it’s time to fire up the grill! But who will watch the gr
How to Update Blender
Blender is one of the most popular open-source 3D creation suites today. It doesn’t cost a dim
How to Set Up a New Raspberry Pi
So you just got your brand new Raspberry Pi. Awesome! This guide will show you how to set up a brandIn these interests:
Raspberry Pi

How to Sculpt in Blender
Blender has made a name for itself over the years as the go-to open source 3D modeling application.
How to 3D print custom rubber stamps
Let’s make some stamps! Why bother buying a pre-made design when you can create one yourself?In these interests:
3D PrintingArt

RetroPie scrapers: what they are and how to use them
You’ve put so much work into setting up RetroPie or EmulationStation. You load it up
How to Enable the OctoPrint Dark Theme
Like dark themes? Me too! This short guide will show you how to add a dark theme to your OctoPrint�In these interests:
3D PrintingOctoPrint

Power Your Raspberry Pi Zero with a Battery Using the JuiceBox Zero
The Raspberry Pi Zero is an incredible tool for building a wide variety of IoT devices. And until laIn these interests:
DIYRaspberry Pi
How do I connect my Raspberry Pi to my computer?
There are many reasons you may want to connect your Raspberry Pi to your computer, and there are a fIn these interests:
Raspberry Pi
Posted in these interests:
3D Printing 3dprinting • 36 guides
Explore