Share
How to Level the Bed on Your Ender 3 V2
Share
What you’ll need
Interests
Series


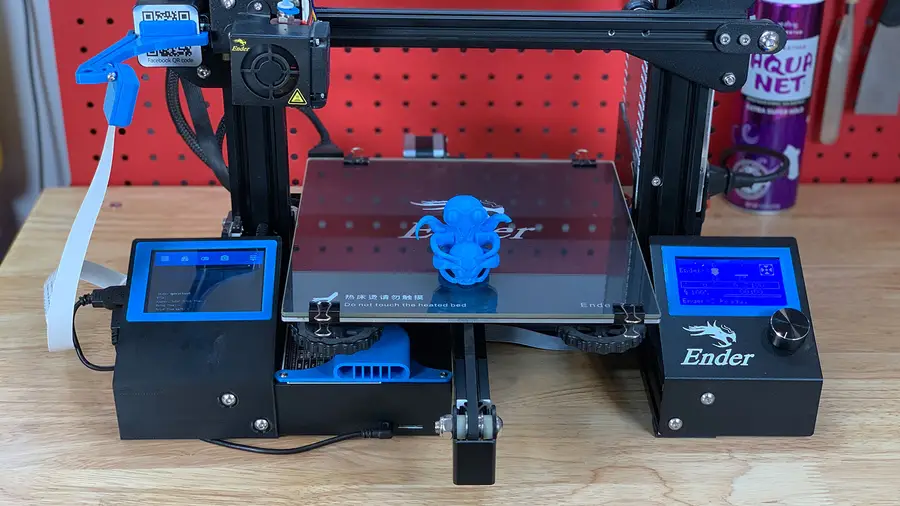
Ah…bed leveling. It’s the first thing you absolutely need to learn how to do with your Ender 3 V2. And don’t feel bad if you get this wrong at first. I did.
The directions for bed leveling that come with the Creality Ender 3 V2 instructional booklet are stupefyingly subpar and definitely will not make sense to those with little to no experience with 3D printers. And getting this wrong could not only mess up your 3D prints but also cause some damage to your beautiful new Ender 3 V2, which you definitely don’t want.
That’s why I’m here to make sure you don’t make the same mistakes that I did, and, say…scratch the printing surface. You haven’t done that already, have you?
Why you need to level the bed
Really what you’re doing when you’re leveling the bed is ensuring that—as the extruder nozzle moves along the x and y-axis of your printing bed—it’s neither too close nor too far away from the printing surface.
If it’s too close, it will either scratch your printing bed or stop the nozzle from extruding any filament.
If it’s too far away, the plastic filament will not stick to the bed and your 3D print will be—well—it won’t be.
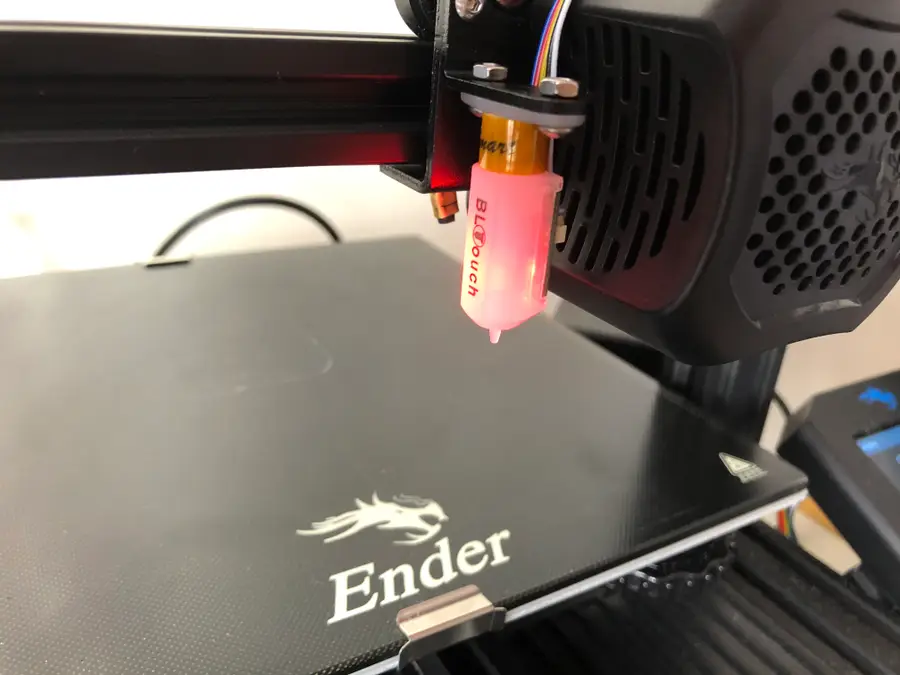
Auto-bed leveling with the BLTouch
We highly recommend you install the BLTouch on your Ender 3 V2 to avoid having to repeat the process of manually leveling your bed. It’s an easy to install upgrade that’s going to make your life a million times easier.

How to Install BLTouch on the Creality Ender 3, Ender 3 V2, and Ender 3 Pro
This upgrade is going to level the playing field!
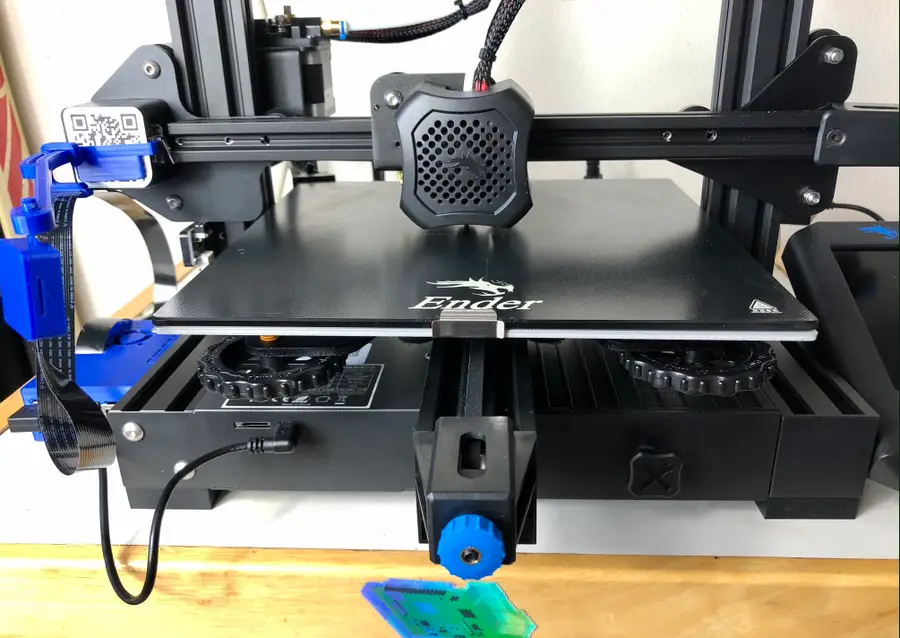
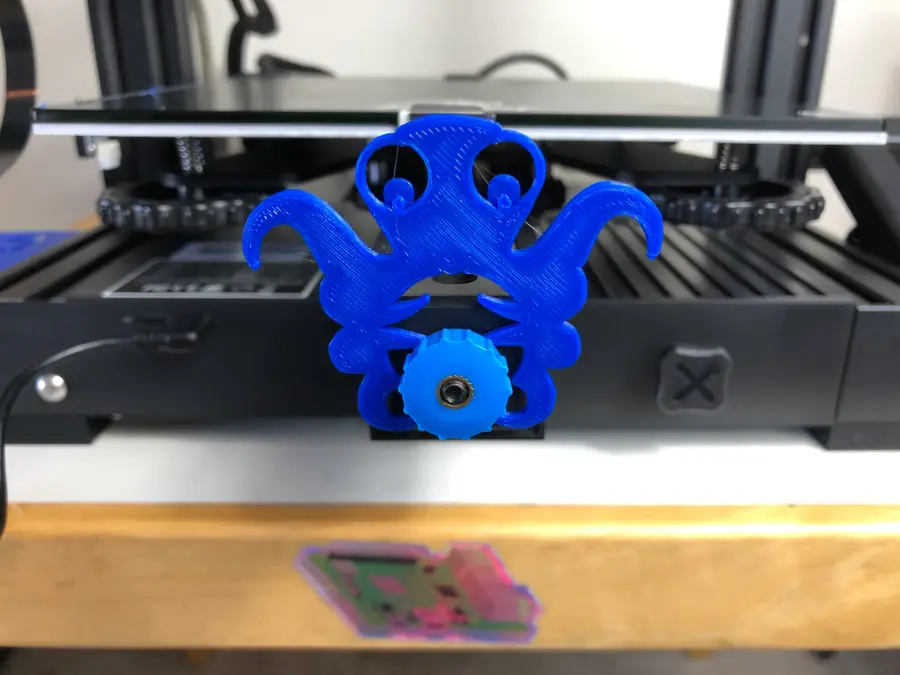
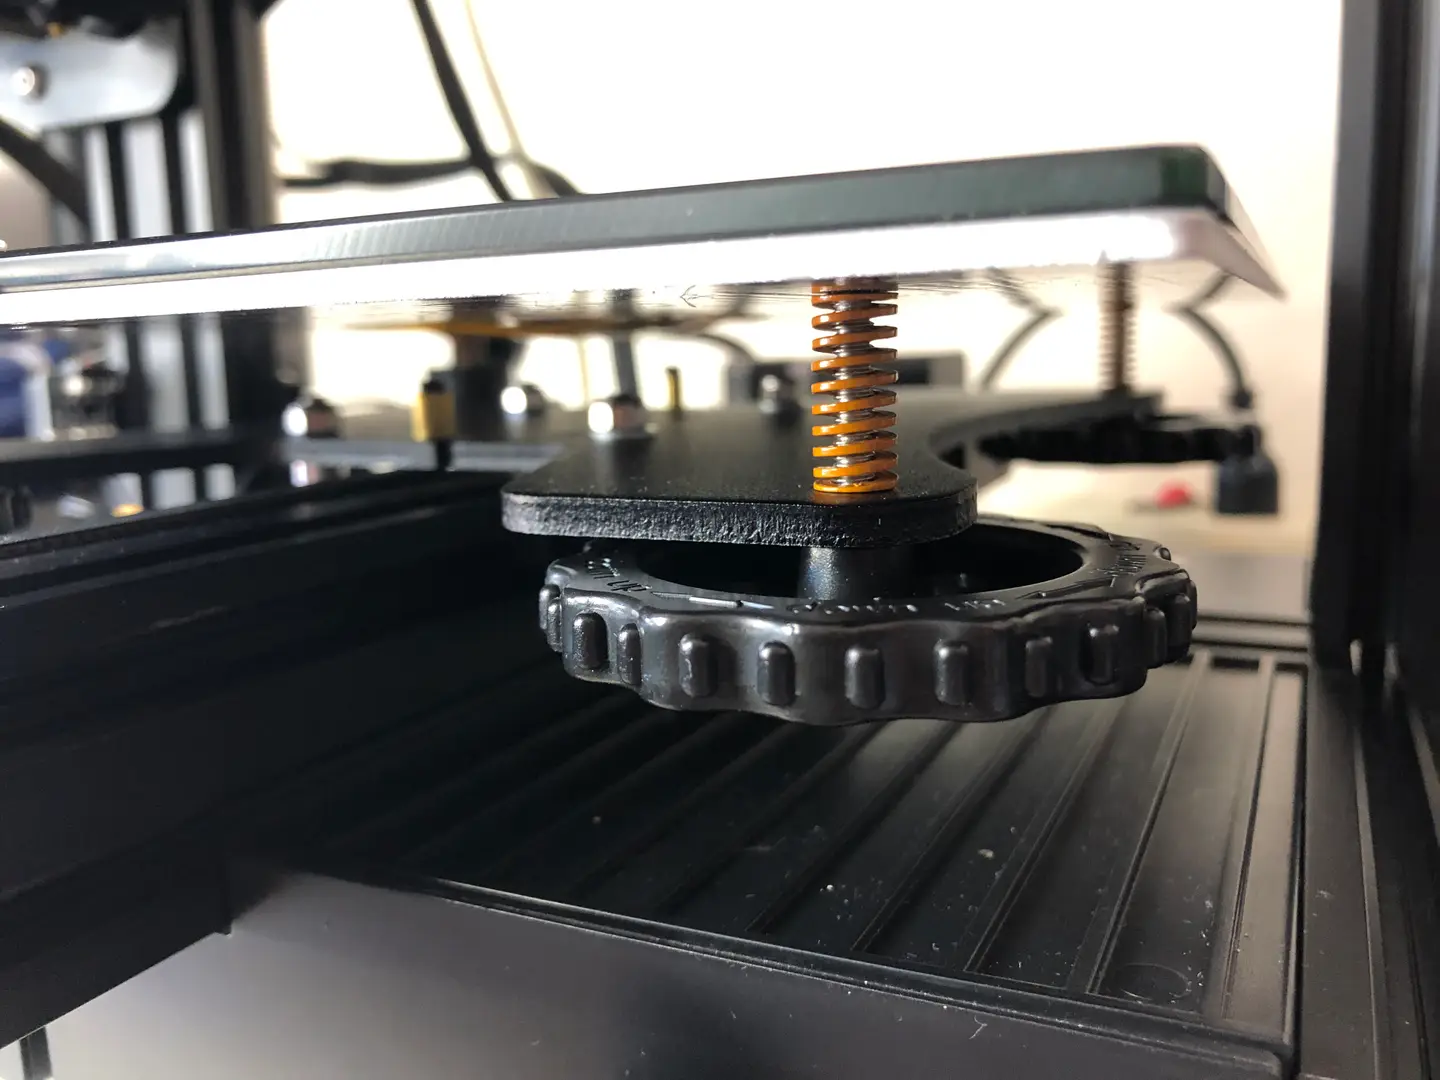
1 – Lower the bed slightly
Turn the bed adjustment wheel counter-clockwise a few times or until you’re sure that the nozzle will not hit the surface as it lowers.
| 🛈 If you’re unsure how low this is, then just lower it completely at first until you get a better sense of it. |
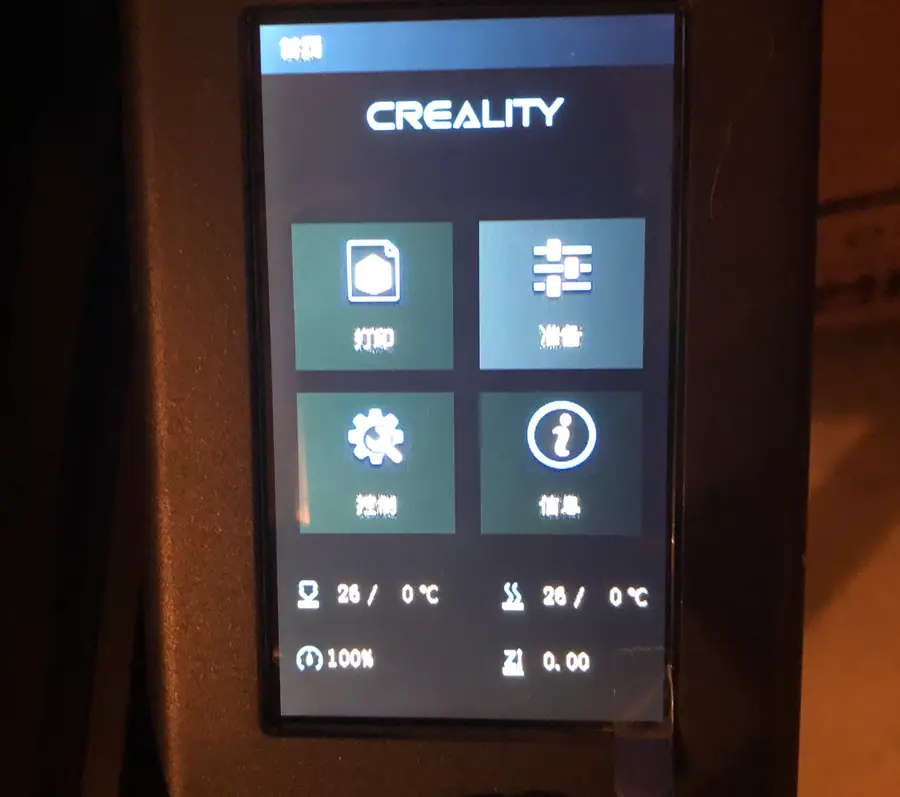
2 – Run “Auto home”
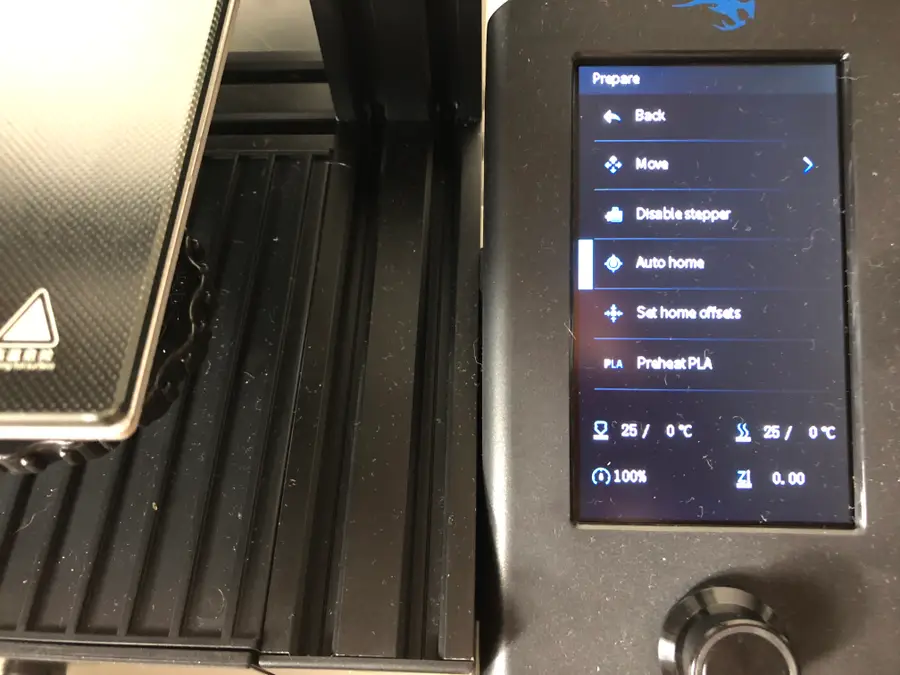
On your Ender 3 V2 screen, go to Prepare > Auto home.
This will run an automatic program that will move the print bed until the nozzle aligns with the left corner.
3 – Disable stepper
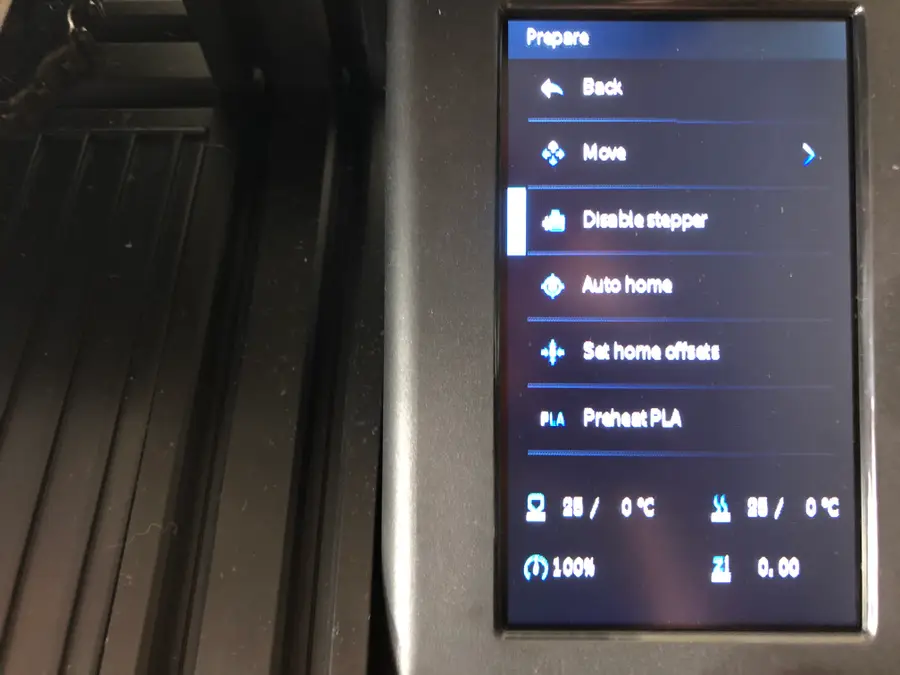
On your Ender 3 V2 screen, select Disable stepper.
This will allow you to move the print bed freely while you level it.
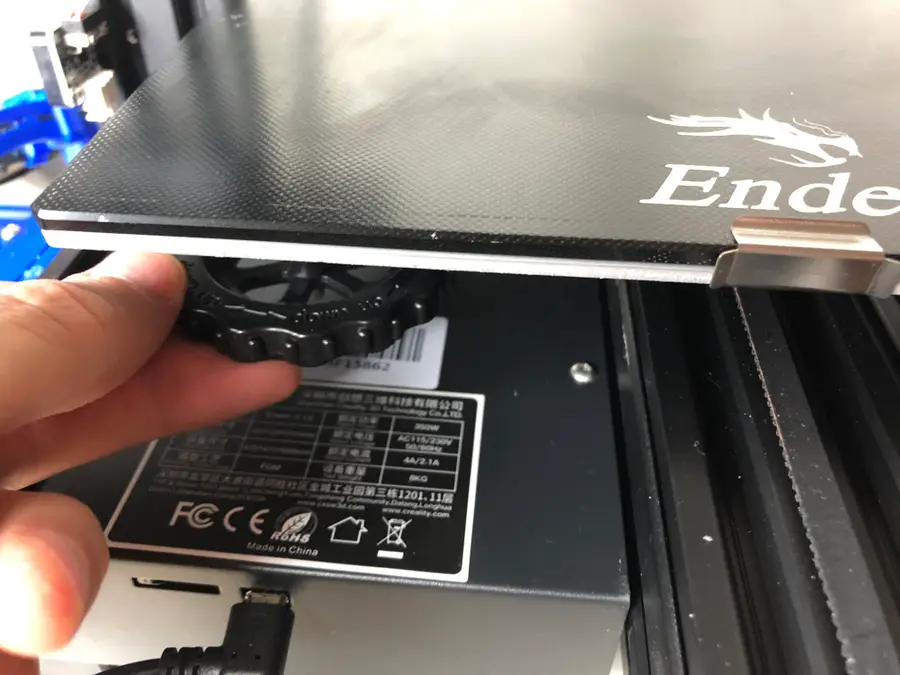
4 – Use sheet of paper to find the right level
This is the trickiest part of bed leveling and certainly one that you’ll get better at with practice.
- Slide a sheet of paper between the printing nozzle and the print bed.
- Simultaneously raise the print bed toward the nozzle by rotating the wheel clockwise, while sliding the sheet of paper back and forth.
- When you feel the slightest tension on the paper, stop. It feels almost like the paper is vibrating.
Repeat this process two times around, on each corner of the print bed, moving to the bottom-right, top-right, and top-left.
You’ll need to move the print bed to get the nozzle on the different corners of the printing surface. Make sure you’re not scratching the surface with the nozzle as you move the print bed.
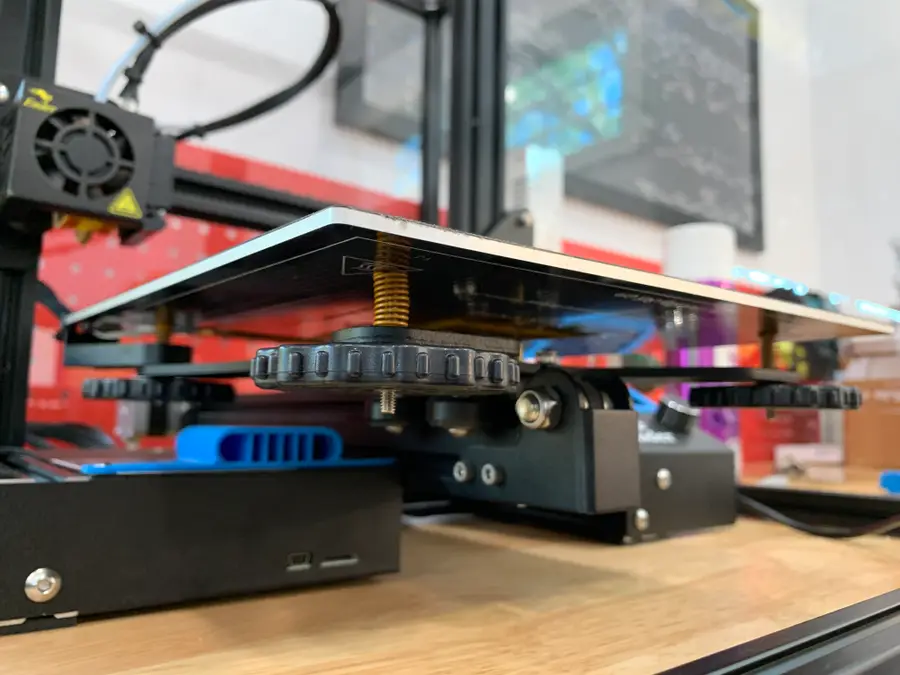
Next: Upgrade those springs
Now, if you haven’t already, you’ll want to upgrade the springs on your Ender 3 V2, so you don’t have to level the bed endlessly!

Ender 3 V2 Bed Spring Upgrade: A Necessary Mod for the V2
Choosing and installing new bed springs on the Ender 3 V2.
5 – How did it go?
Did you manage to level the bed on your Ender 3 V2? Any suggestions or tips for others looking to level their beds? We’d love to hear more suggestions!
Troubleshooting tip: Z-offset
Many people are running into an issue with an improperly aligned Z-offset. This means that your extruder sits too close or too far away from the print bed when trying to level it.
We have a guide that shows you how to easily adjust the Z-offset on the Ender 3, Ender 3 V2, and Ender 3 Pro 3D printers to fix this issue!

How to Correct the Z-Offset on Your Ender 3, Ender 3 V2 and Ender 3 Pro
You’ll need to manually adjust the Z-offset to get this right.
How to Update Blender


Blender is one of the most popular open-source 3D creation suites today. It doesn’t cost a dime to use and everything you create is yours to own for good. The community is robust and the dev team still releases new updates on the regular. If you want to get the latest version, you may have
Introducing Howchoo, an enigmatic author whose unique pen name reflects their boundless curiosity and limitless creativity. Mysterious and multifaceted, Howchoo has emerged as a captivating storyteller, leaving readers mesmerized by the uncharted realms they craft with their words. With an insatiable appetite for knowledge and a love for exploration, Howchoo’s writing transcends conventional genres, blurring the lines between fantasy, science fiction, and the surreal. Their narratives are a kaleidoscope of ideas, weaving together intricate plots, unforgettable characters, and thought-provoking themes that challenge the boundaries of imagination.
Related to this guide:
How to Update Blender
Blender is one of the most popular open-source 3D creation suites today. It doesn’t cost a dim

How to Sculpt in Blender
Blender has made a name for itself over the years as the go-to open source 3D modeling application.

How to 3D print custom rubber stamps
Let’s make some stamps! Why bother buying a pre-made design when you can create one yourself?

How to Enable the OctoPrint Dark Theme
Like dark themes? Me too! This short guide will show you how to add a dark theme to your OctoPrint�

Ender 3 V2 – The Easiest Guide to Leveling and Test-Printing
If you’re like me and are just starting out on your 3D printing journey, there’s little doubt in

How to Upgrade Your Ender 3 Power Supply to a MeanWell PSU
Aside from upgrading your Ender 3 board, upgrading your stock PSU to a Mean Well PSU is one of

Anycubic Photon/Photon S Full Print Guide: Your First Print
This guide will show you how to use your Anycubic Photon or Photon S. I’ll walk you through th

Build your Own 3D-Printed Nintendo Switch Arcade Cabinet
Today I’m going to show you how to build your own 3D-printed Nintendo Switch arcade cabinet! S

How to Choose the Best Camera for OctoPrint (including USB)
OctoPrint is a platform designed for the Raspberry Pi that makes it possible to monitor and control

How to Set Up and Use OctoPrint on the Creality Ender 3
The Creality Ender 3 is amazing. The only thing that could make it more amazing is modding it so tha
Posted in these interests: