Share
The Most Popular OctoPrint Plugins (And How to Install Them)

Share
Interests
Series
Posted in these interests:

OctoPrint is an incredibly useful tool for any 3D printer owner. Setting it up is easy, just follow our guide on how to install OctoPrint on Raspberry Pi.

OctoPrint: Control Your 3D Printer Remotely with Raspberry Pi and OctoPi
Untether your printer!
But today we’re taking things a step further. We’re going to add plugins. Why bother tinkering with something that’s already so awesome? Because we can make OctoPrint go above and beyond—print from the office, stream your progress, and much much more!
Installing OctoPrint plugins
If you’ve never installed a plugin for OctoPrint before, don’t worry. The developers made the process super simple.
Just open the settings menu for OctoPrint by clicking the wrench icon in the upper right. On the Plugin Manager screen is a nice big button that says “Get More…”. This screen loads tons of useful plugins. Installing them is as easy as clicking “Install” next to the plugin you want.
Recommended OctoPrint plugins
This guide covers the most popular OctoPrint plugins. I compiled this list using data gathered from top discussions on Reddit, search volume data, and metrics from a few other sources.
1 – Octolapse

What’s it do?
The Octolapse plugin provides a great way to take time lapse footage of your 3D prints. After each layer, it moves the extruder nozzle out of the way and snaps a picture. The final result is a super smooth timelapse video without your nozzle getting in the way!
Octolapse demo
Tips & tricks
The most common issue people have with Octolapse is stringing—when the extruder nozzle leaves a nice filament spaghetti dinner on your plate after moving out of the way for each picture. This thread on reddit outlines some great tips for reducing and preventing Octolapse stringing entirely.
| 🛈 Octolapse prints also take longer than normal prints. |
2 – Heater Timeout

What’s it do?
This HeaterTimeout plugin does exactly what it sounds like. Once a pre-set amount of time has passed, Octoprint will turn off the heat to both your printer bed and nozzle. This is useful for safety reasons and as a last step to prevent thermal runaway.
Tips & tricks
You can choose how often the heaters are checked by adjusting the plugin settings. Open the settings menu using the wrench icon in the upper right section of the navigation bar. Scroll down to HeaterTimeout and select it to customize.
3 – Webcam Streamer

What’s it do?
If you want to print something to show the world and have no time to waste, this is the plugin for you. WebcamStreamer lets you stream your print job in real time!
Tips & tricks
You may have better luck with different streaming platforms. Be sure to experiment and test before your stream goes live. The stream server settings can be easily adjusted in the plugin settings.
4 – IFTTT

What’s it do?
If you’re an IFTTT user, get stoked. The IFTTT OctoPrint plugin lets you trigger custom events and set up crazy creative rules involving your 3D printer. Learn more about how IFTTT works, visit the official IFTTT website here.
Tips & tricks
Some cool ideas to get you started: Trigger notifications when printing jobs are complete Turn lights on and off when print jobs are complete Integrate various webhooks Set special events to initiate print jobs
5 – Octoprint Anywhere

2/24/2020: Note—OctoPrint Anywhere is being deprecated and replaced by the developer with a new service called The Spaghetti Detective.

How to Access OctoPrint Remotely With the Spaghetti Detective
Access OctoPrint from anywhere with this OctoPrint Anywhere replacement.
What’s it do?
Can’t wait to come home and print? Why wait?! With OctoPrint Anywhere, you can control your printer on the go from any supporting mobile device. Start jobs, stop them, or just check in to see how that 10 hour print is coming along. Setup is easy and totally worth the effort. OctoPrint Anywhere is 100% free for your first printer — then $5/mo for each printer thereafter.

OctoPrint Anywhere: Access OctoPrint Remotely Over the Internet
Now you can monitor your prints from the coffee shop!
Since your printer connects directly to the OctoPrint Anywhere servers, this is a far more secure option than opening up a direct connection to your network.
Tips & tricks
You can modify the OctoPrint Anywhere settings to reduce video streaming bandwidth usage.
6 – The Spaghetti Detective

What’s it do?
The Spaghetti Detective is the new replacement for OctoPrint Anywhere. It let’s you check on your prints remotely and even keep an eye out for failed prints. If it detects a failed print (producing what looks like spaghetti made of filament), the printer can be programmed to turn off or pause in response.
Tips & Tricks
Visit our guide on how to set up The Spaghetti detective on your OctoPrint server.

How to Access OctoPrint Remotely With the Spaghetti Detective
Access OctoPrint from anywhere with this OctoPrint Anywhere replacement.
7 – Autoscroll

What’s it do?
Octoprint provides a terminal that prints lines of text throughout the 3D printing process. If you want to review the text, it can be a nightmare. Every time a new line is printed, the window scrolls to the very bottom. The Autoscroll plugin gives you a new button to turn that feature OFF—so you can scroll up and stay up!
Tips & tricks
If you don’t see the button after installing, be sure to enable the plugin. You can do this by accessing the main Octoprint settings (wrench icon in the upper right corner) and look for Autoscroll under Plugin Manager.
8 – Bed Level Visualizer

Image Source: OctoPrint
What’s it do?
A level bed is critical to a solid first layer, and your first layer affects the whole print job! Bed Level Visualizer is a really cool tool that makes leveling the printer bed much easier. The tool probes across the bed to produce a color-coded visual aid for leveling accuracy.
Tips & tricks
This plugin doesn’t work for every printer. I highly suggest researching into the plugin before using it. There’s a useful troubleshooting section on the official Bed Level Visualizer GitHub you can visit for help and support.
9 – Gcode Editor

What’s it do?
How many times have you sliced a model just to realize you made one teeny mistake? Instead of reslicing the whole thing, GcodeEditor lets you make gcode file modifications instantly. The plugin adds a small pencil icon next to each file loaded for printing.
Tips & tricks
This is perfect for things like adjusting bed temperature or nozzle temperature for each print. Open up the GcodeEditor and tinker with it to see what adjustments you can set. It’s very useful in a pinch!
10 – Tab Order

What’s it do?
If you’re looking to customize, you need the Tab Order plugin. This tool, as you may have guessed, lets you adjust the order of the OctoPrint tabs. It’s ideal for setting up OctoPrint to match your personal workflow (by moving the tabs you never use to the end, for example).
Tips & tricks
The tool also comes with a few icons that can be set on individual tabs. Check out the Font Awesome icon set and see what you can come up with!
11 – Themeify

What’s it do?
Last up is Themeify, which lets you set OctoPrint themes. You may be wondering why my OctoPrint screenshots look so dark, you can thank Themeify! This plugin lets you make adjustments to the look and feel of OctoPrint, including setting an OctoPrint dark theme.

How to Enable the OctoPrint Dark Theme
Will somebody please think of the eyes!
Tips & tricks
Themeify settings can be manually adjusted under the plugin settings. Access the main OctoPrint settings and look for Themeify on the left under Plugins.
OctoPrint themes
You can select various themes for OctoPrint directly in the Themeify menu item.
12 – Did I miss one?
If you think I missed a must-have OctoPrint plugin, please post in the comments section below and let me know!
For more great OctoPrint plugins, check out the OctoPrint plugin repository.
How to Enable the OctoPrint Dark Theme


Like dark themes? Me too! This short guide will show you how to add a dark theme to your OctoPrint (or OctoPi) interface. OctoPrint: Control Your 3D Printer Remotely with Raspberry Pi and OctoPiUntether your printer! 1 – Install Themeify Themeify is one of the most popular OctoPrint plugins. The Most Popular OctoPrint Plugins (And How to Install Them)Wrap
In these interests
OctoPrint octoprint • 10 guides
Introducing Howchoo, an enigmatic author whose unique pen name reflects their boundless curiosity and limitless creativity. Mysterious and multifaceted, Howchoo has emerged as a captivating storyteller, leaving readers mesmerized by the uncharted realms they craft with their words. With an insatiable appetite for knowledge and a love for exploration, Howchoo’s writing transcends conventional genres, blurring the lines between fantasy, science fiction, and the surreal. Their narratives are a kaleidoscope of ideas, weaving together intricate plots, unforgettable characters, and thought-provoking themes that challenge the boundaries of imagination.
Related to this guide:
How to Enable the OctoPrint Dark Theme
Like dark themes? Me too! This short guide will show you how to add a dark theme to your OctoPrint�

How to Choose the Best Camera for OctoPrint (including USB)
OctoPrint is a platform designed for the Raspberry Pi that makes it possible to monitor and control

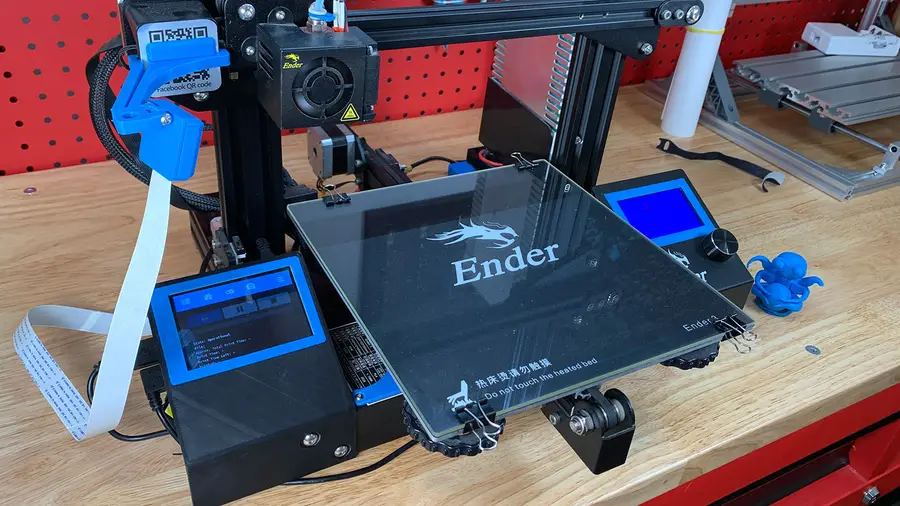
How to Set Up and Use OctoPrint on the Creality Ender 3
The Creality Ender 3 is amazing. The only thing that could make it more amazing is modding it so tha
How to Set Up and Use OctoPrint on the Creality Ender 3 V2
With the release of the Creality Ender 3 V2, many of the Ender’s biggest fans who upgraded to
How to Power a Raspberry Pi from a 3D Printer Using Your Printer’s Power Supply Unit (PSU)
This guide will show you how to power a Raspberry Pi using your 3D printer’s power supply. Thi
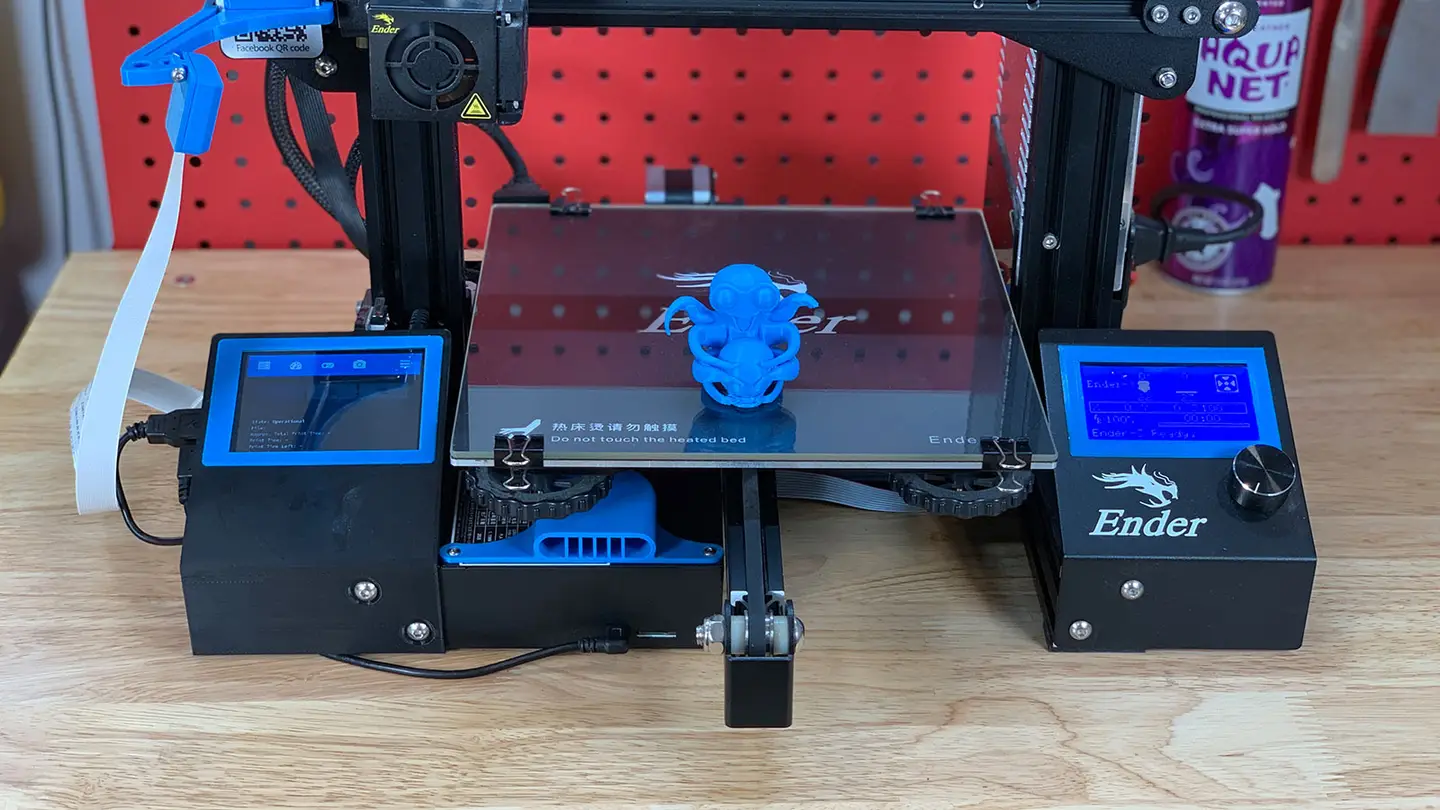
How to Add an OctoPrint Touchscreen to Any 3D Printer
This guide will show you how to add a touchscreen to any 3D printer for use with OctoPrint, a popula

OctoPrint FAQ – Everything You Need to Know About Octoprint
1 – What is OctoPrint? OctoPrint is 3D printing software. You install it onto a computer, typ
How to Add an OctoPrint Touchscreen to Your Ender 3
This guide will teach you how to add a touchscreen to your Creality Ender 3 or Ender 3 Pro for use w
How to Update OctoPrint
This short guide will show you how to update or upgrade OctoPrint and OctoPi on your Raspberry Pi. U