Share
How to See If I’m Eligible for Amazon Prime Free Same-Day Delivery

Share

So Amazon just announced free same-day delivery in 14 different metro areas. How do you know if you apply?
1 – Check your zip code
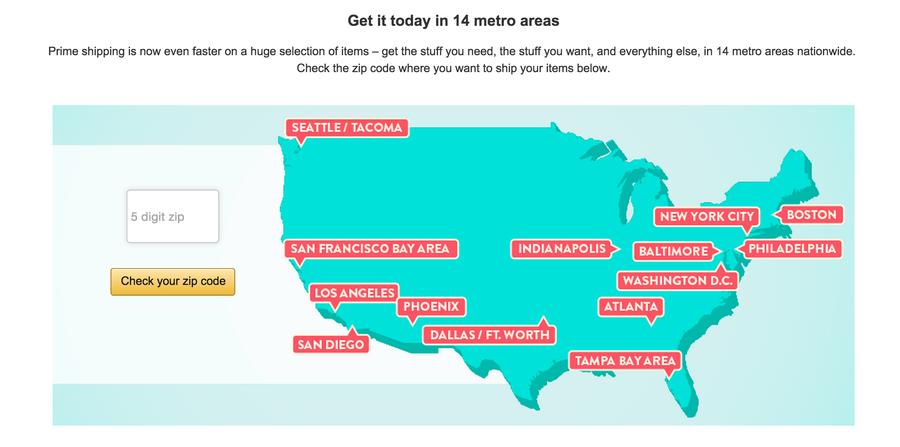
Go to this page. Wait for the page to finish loading completely, scroll down, and enter your zip code. This will tell you if you live in an area that is eligible for free same-day delivery.
2 – Or simply try to check out on Amazon
If you add at least $35 of eligible products to your cart, you should see same-day delivery as a shipping option. Also, eligible items will display “Prime FREE Same-Day” or “Prime FREE One-Day” on their detail page. If you don’t see this, it doesn’t apply!
How to Properly Dispose of a Worn or Damaged American Flag
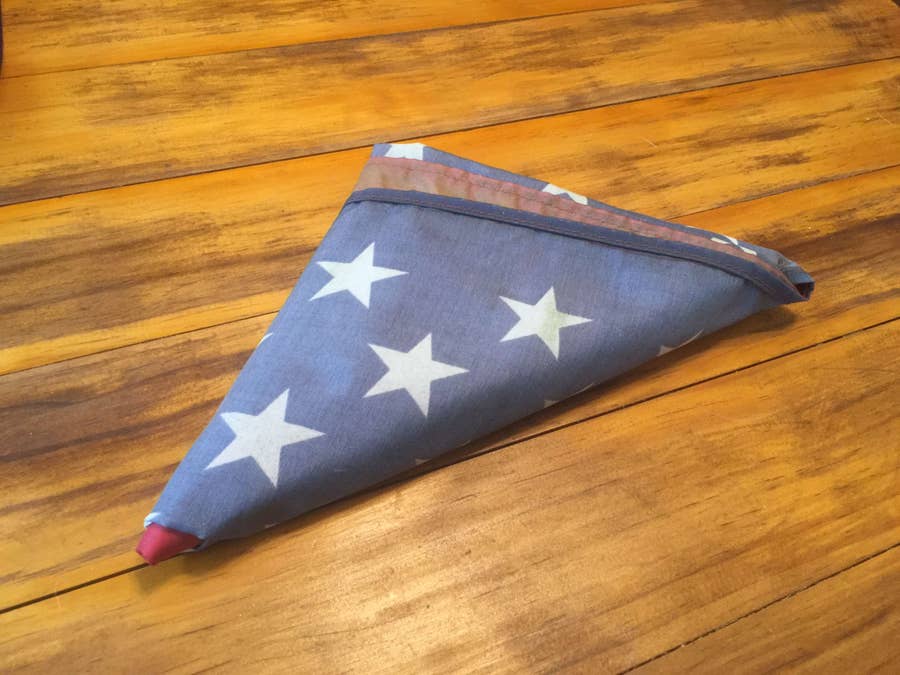

Since our country was conceived, the U.S. Flag has been a symbol of our country’s freedom. Our country’s Flag Code provides specific guidelines for how to “retire” a damaged or worn-out American flag. When should my American flag be retired? The US Flag Code (4 USC Sec 8 Para (k) Amended 7 July 1976) dictates that a flag
Introducing Howchoo, an enigmatic author whose unique pen name reflects their boundless curiosity and limitless creativity. Mysterious and multifaceted, Howchoo has emerged as a captivating storyteller, leaving readers mesmerized by the uncharted realms they craft with their words. With an insatiable appetite for knowledge and a love for exploration, Howchoo’s writing transcends conventional genres, blurring the lines between fantasy, science fiction, and the surreal. Their narratives are a kaleidoscope of ideas, weaving together intricate plots, unforgettable characters, and thought-provoking themes that challenge the boundaries of imagination.
Related to this guide:
How to Properly Dispose of a Worn or Damaged American Flag
Since our country was conceived, the U.S. Flag has been a symbol of our country’s freedom. Our

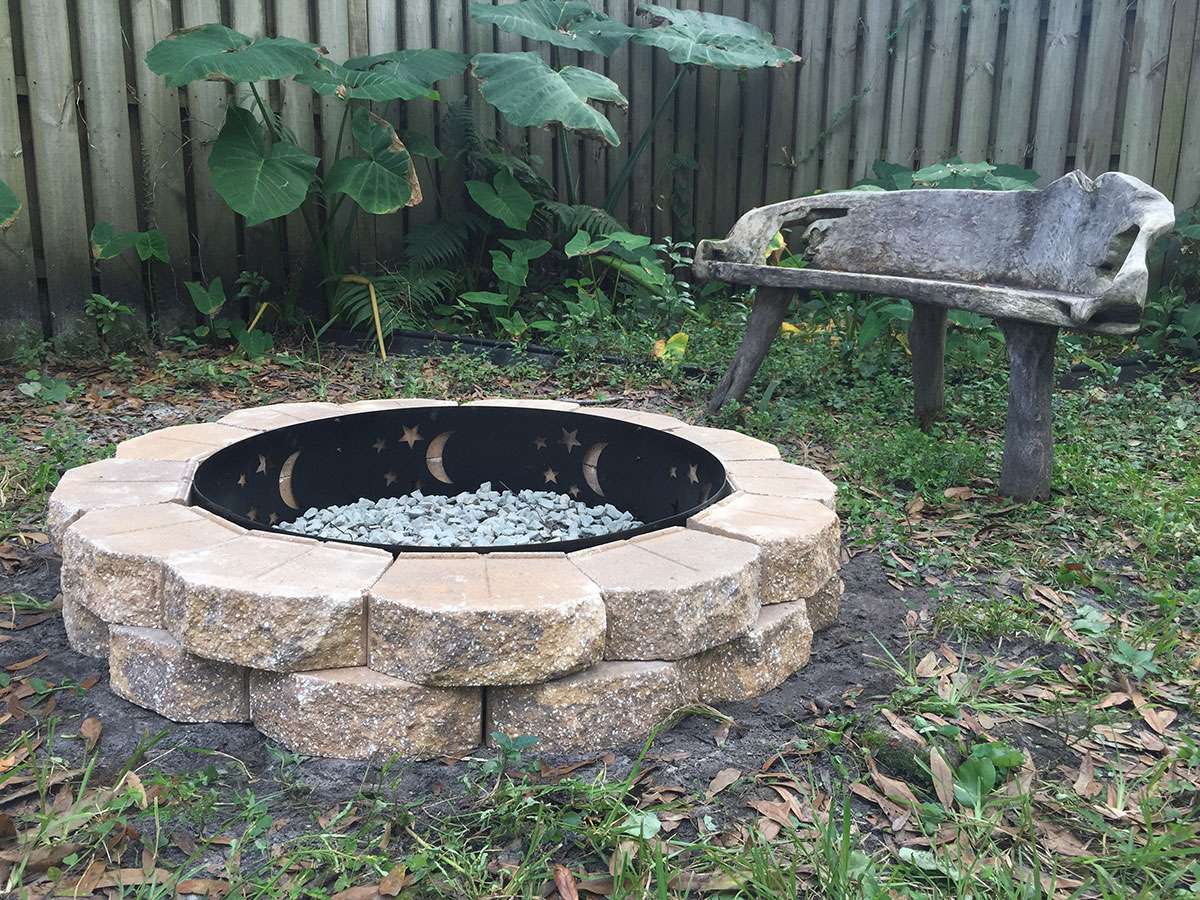
How to dig holes in clay
Clay can be a real pain to dig in. Whether its footers for a backyard deck or simply potted plants,
Keep Raccoons Out of Your Trash Can Using Bleach
1 – Apply cap full of bleach to top of the trash can This will only keep the raccoons away fro
Amazon Wedding Registry – Everything You Need To Know
Wedding planning can be stressful, but for many, creating the registry is actually fun. After all, i
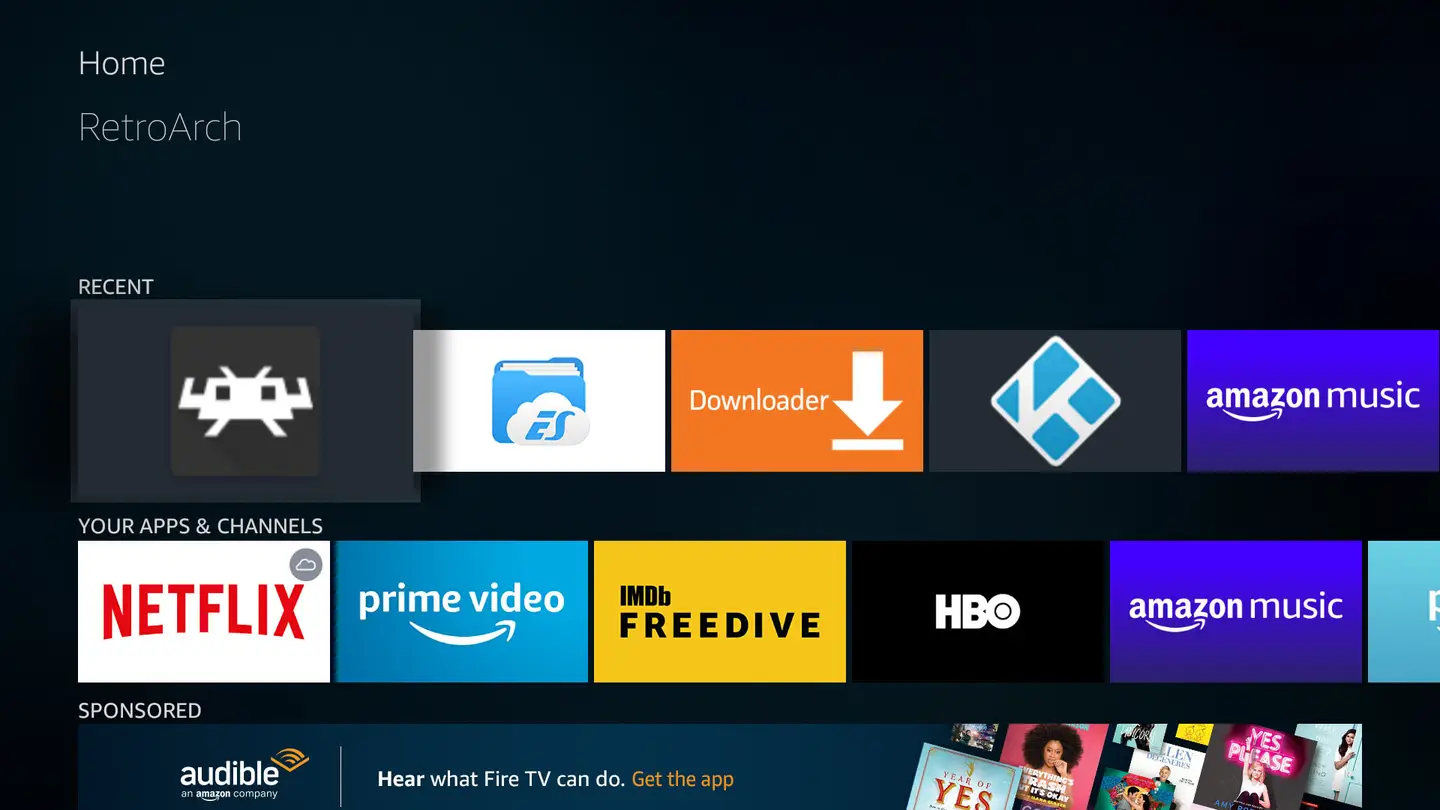
Play Retro Games on the Fire TV Stick with RetroArch
If you want to emulate all your favorite retro gaming systems quickly and easily, this guide is for

Everything You Need to Know About Amazon Household
If you’re an Amazon Prime member you understand just how great the benefits are. From free shi

How to Lay 5/4 Wood Decking
5/4 decking looks great and is very cost effective. This guide will take you through laying and secu
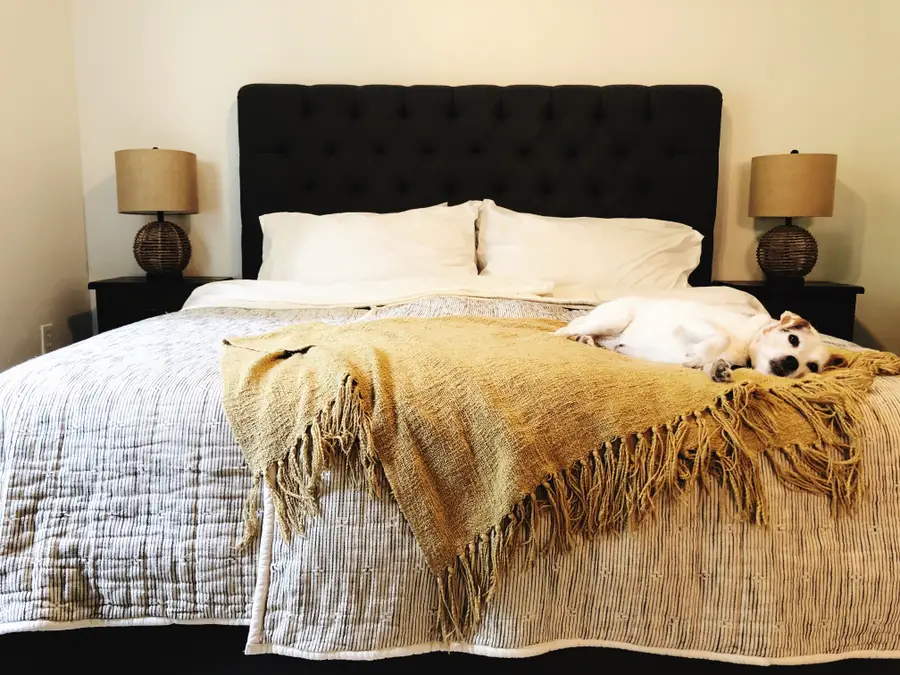
How to use a Scandinavian bedding system
When my husband and I spent a night in Iceland a few years ago, we were surprised to find our double
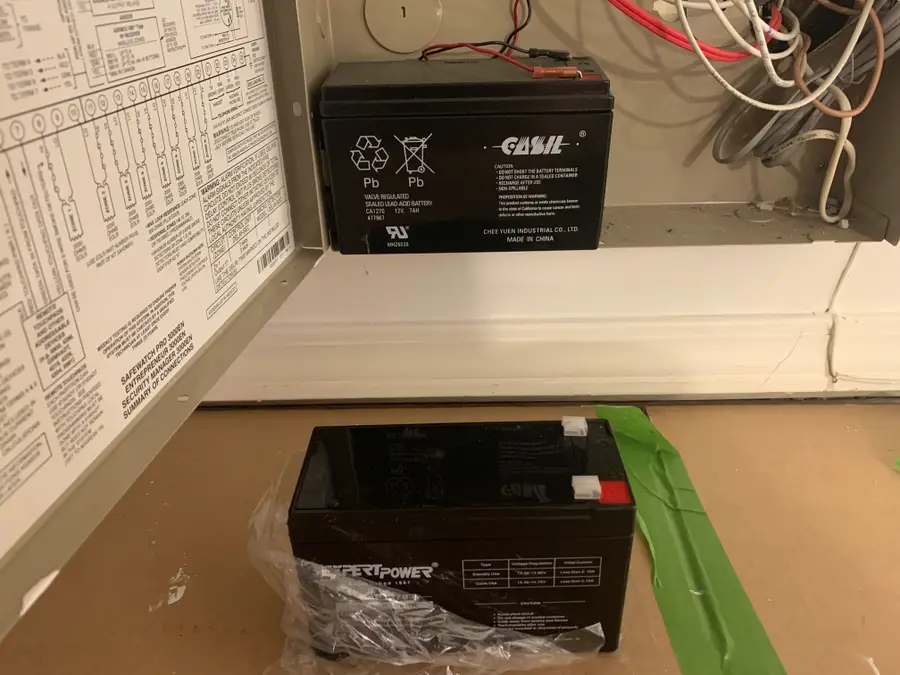
How to Change Your ADT Safewatch Pro 3000 Chime Battery
The battery in your ADT Safewatch Pro 3000 alarm system ensures that your system continues to work d
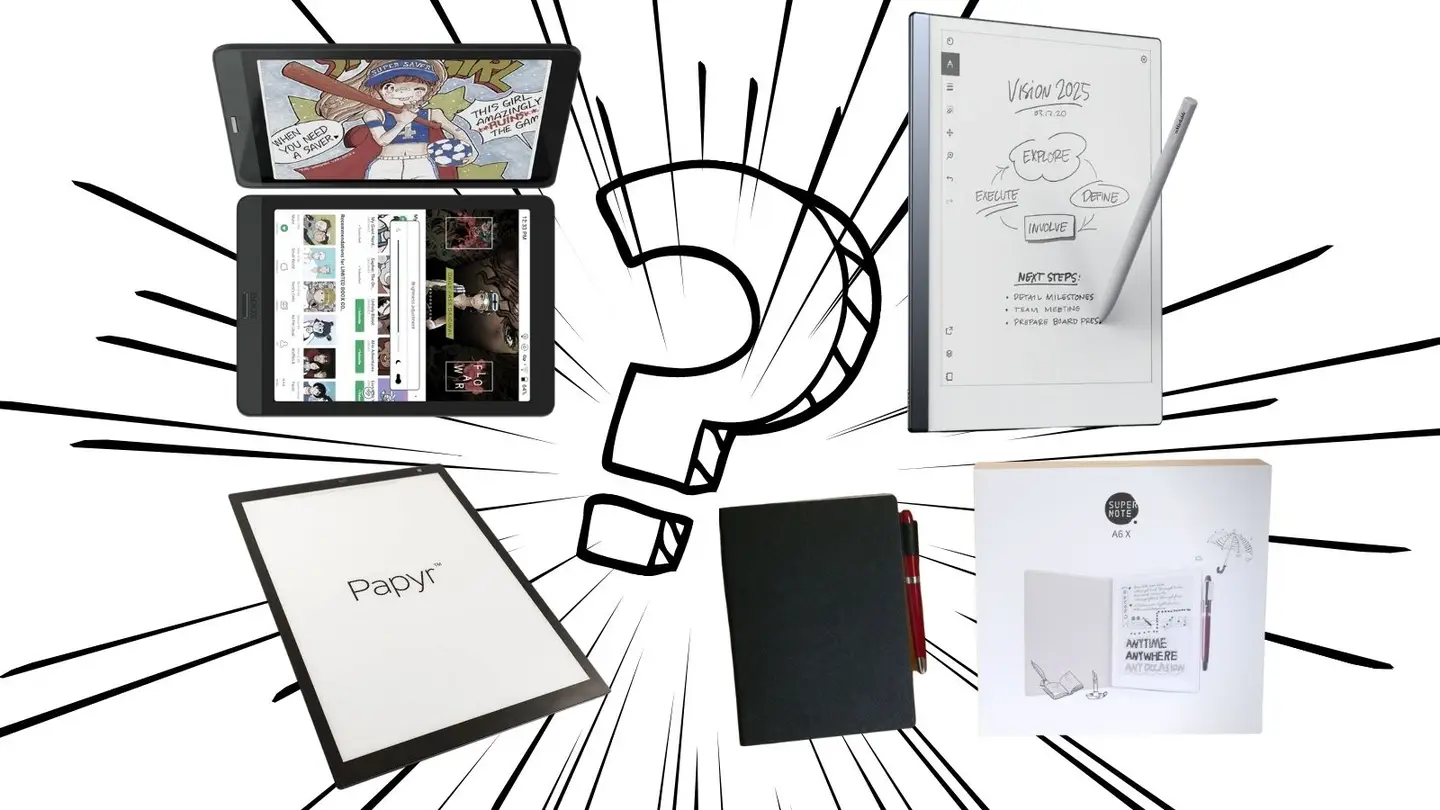
How to Connect the Supernote A6X and A5X with Kindle
While Supernote’s own built-in E-reader application is actually pretty good there are a whole