Share
How to Set Up and Use OctoPrint on the Creality Ender 3

Share
What you’ll need
Interests
Series
Howchoo is reader-supported. As an Amazon Associate, we may earn a small affiliate commission at no cost to you when you buy through our links.


Posted in these interests:


OctoPrint: Control Your 3D Printer Remotely with Raspberry Pi and OctoPi
Untether your printer!
How to Set Up and Use OctoPrint on the Creality Ender 3 V2
Remotely control your Ender 3 V2 with OctoPrint.
1 – Ender 3 OctoPrint settings
While you’re setting up OctoPrint, use the following settings for your Ender 3:Printer settings
Form factor: Rectangular
Origin: Lower Left
Heated Bed: Yes (checked)
Heated Chamber: No (unchecked)
Width: 220mm
Depth: 220mm
Height: 250mm
Axes: Default**
Custom Bounding Box: No (unchecked)
Nozzle Diameter: 0.4mm
Number of Extruders: 1
Connection settings
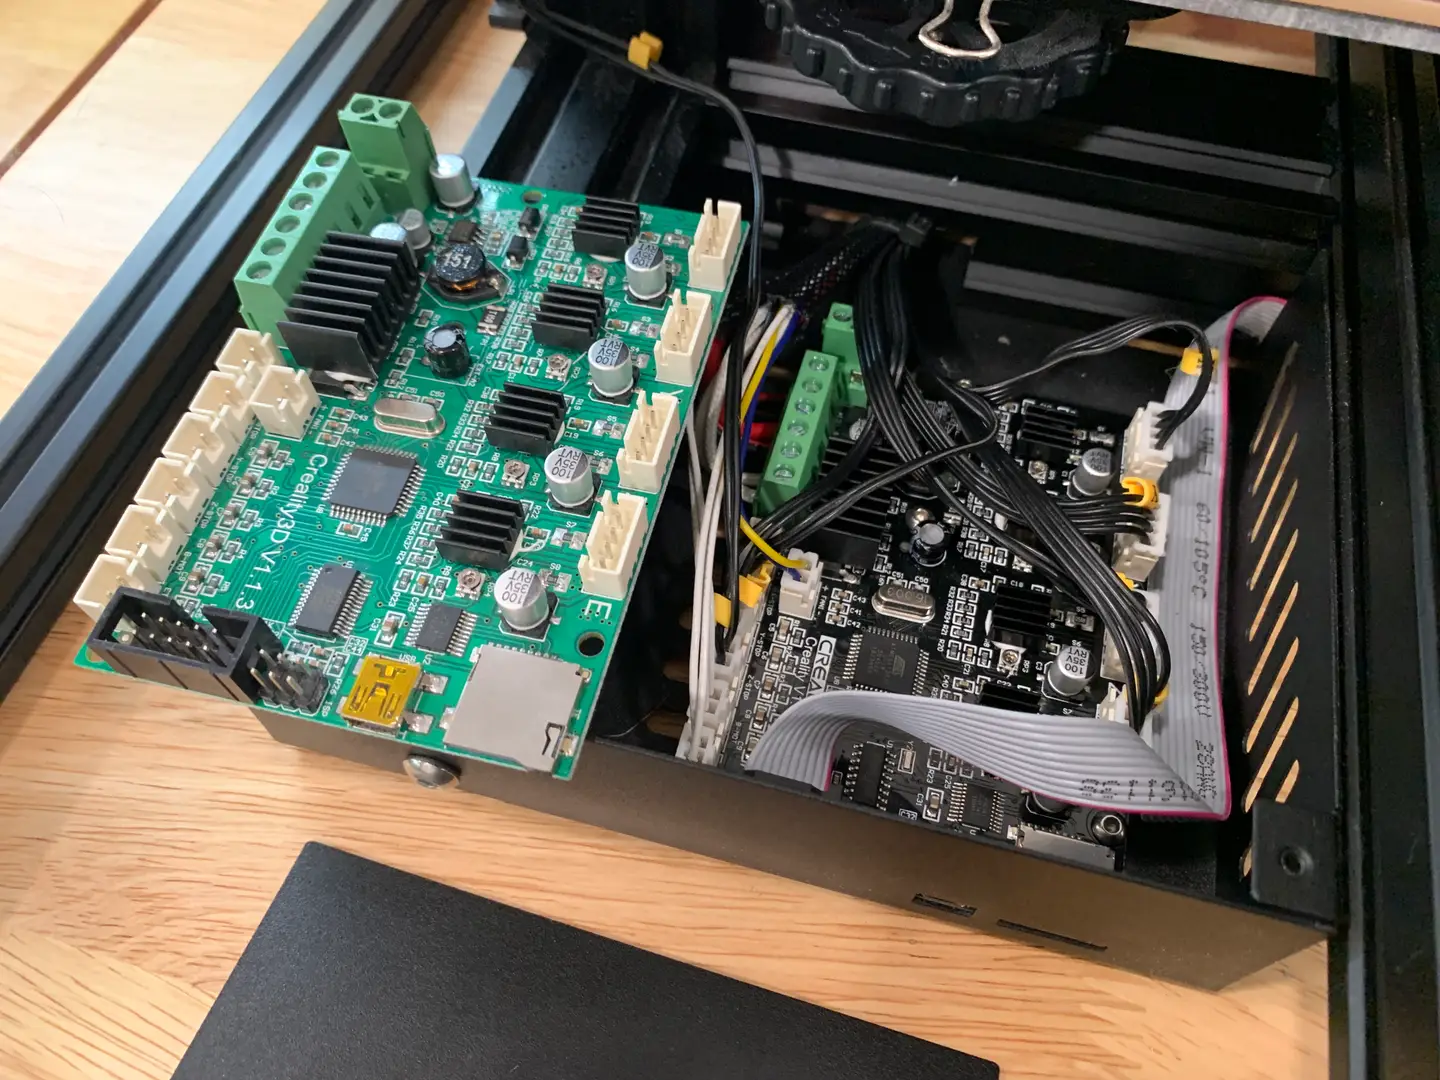
Serial Port: /dev/ttyUSB0
Baudrate: AUTO| 🛈 You’ll need to connect your Pi to the Ender 3 via USB before you can change the Connection Settings. |
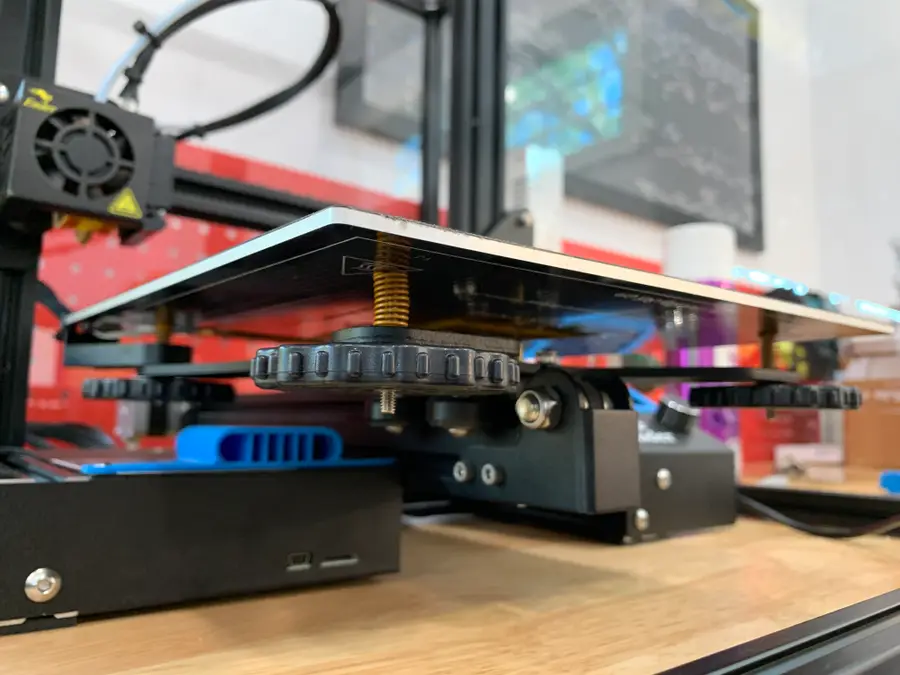
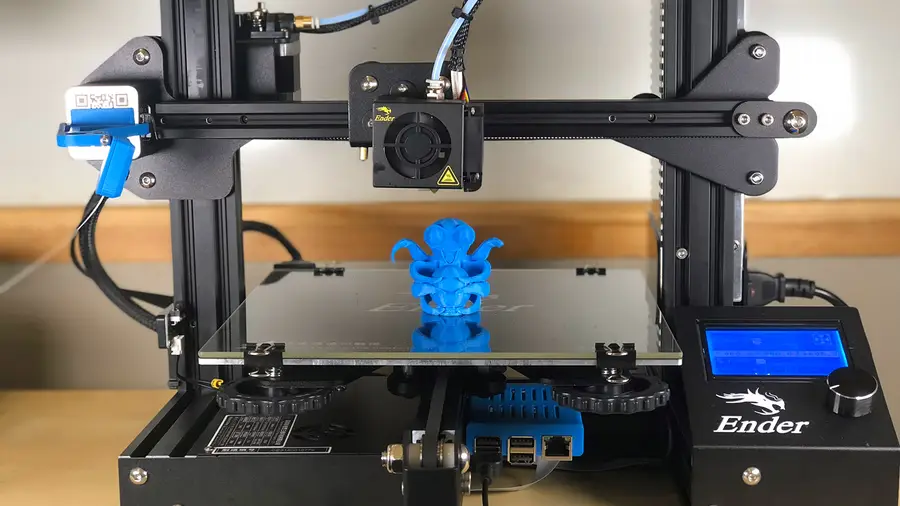
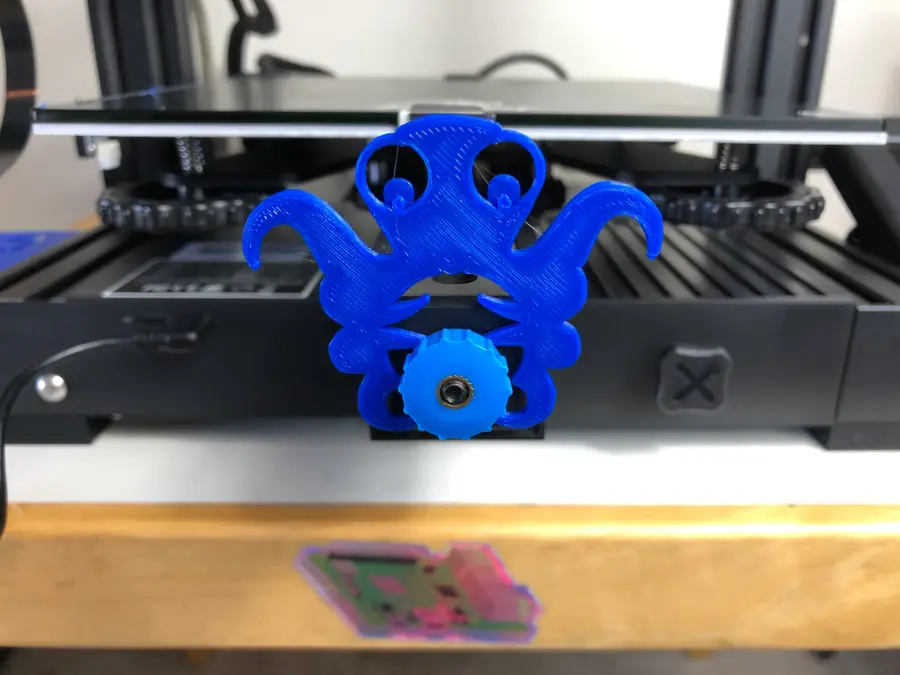
2 – Print the Ender 3 OctoPrint parts
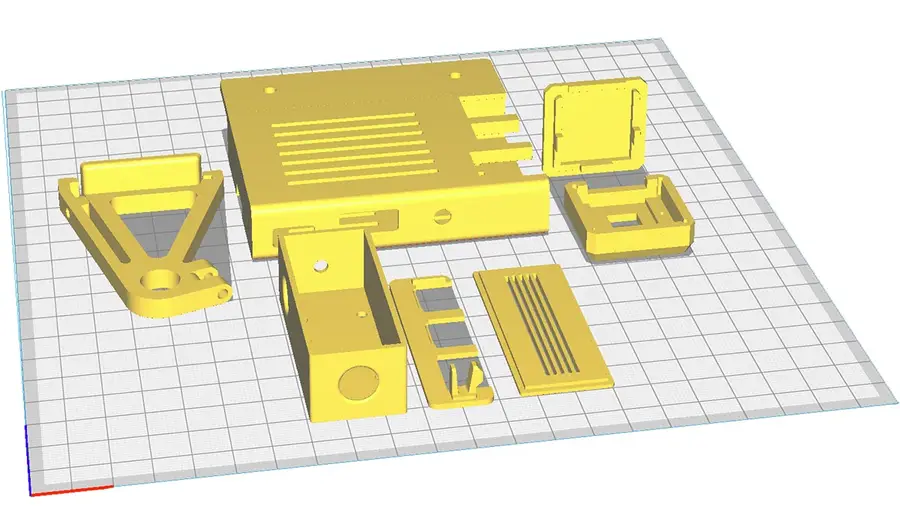
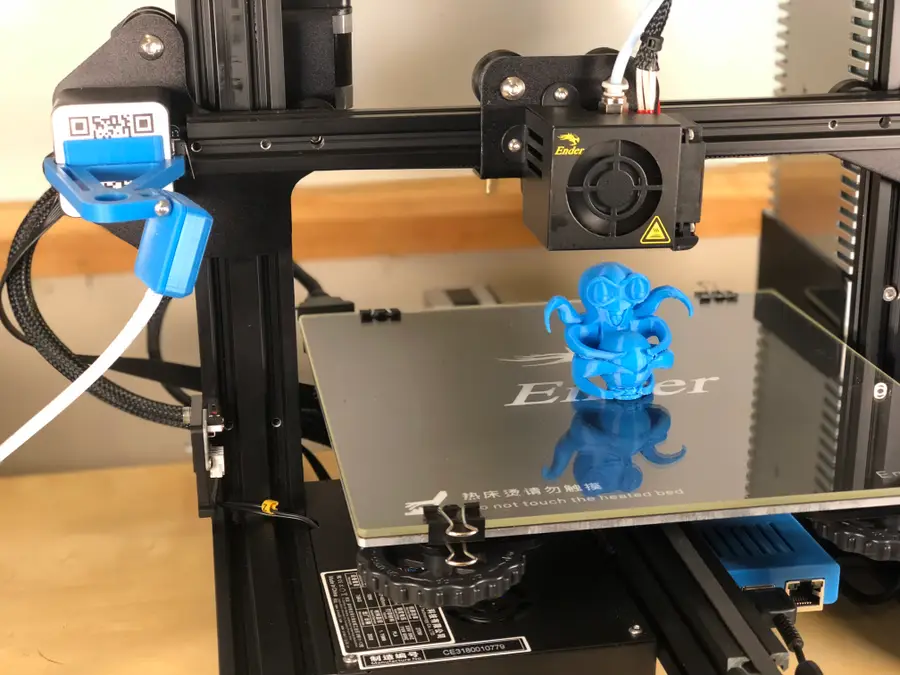
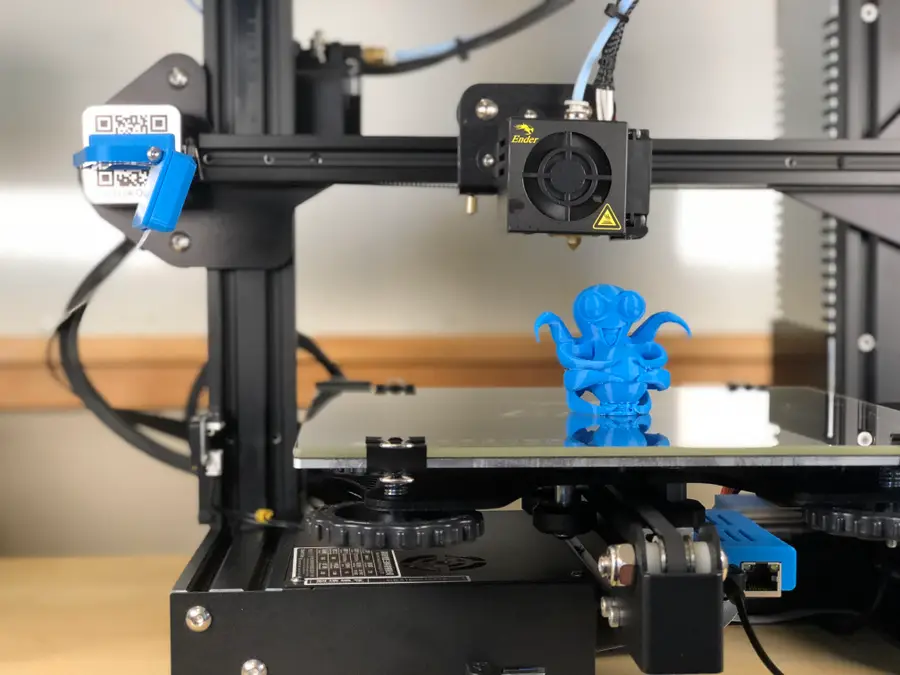
Ender 3 camera mount
This component mounts your Raspberry Pi’s camera to the Z-axis stepper motor. This will give you a nice view of your extruder and print. First, print this bracket/arm. If you’re using the Raspberry Pi camera v1, also print the included camera holder. If you’re using the Pi camera v2, I recommend printing this camera holder instead, as it’s much easier to work with.Ender 3 Raspberry Pi enclosure
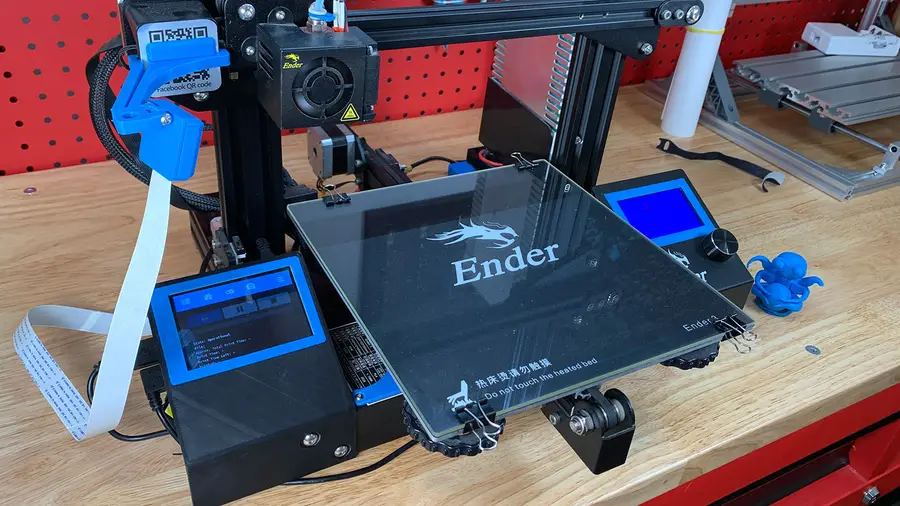
This component mounts the Raspberry Pi itself to the Ender 3’s extruded aluminum rails and can also be found on Thingiverse. There are two versions: one for the Raspberry Pi 3, and one for the Raspberry Pi 4. I’m using a Raspberry Pi 3 for OctoPrint, but the 4 will work fine too. If you decide to use a Raspberry Pi 4 for OctoPrint, I recommend adding a Raspberry Pi 4 fan to the case since things can get a bit hot.
How to Add a Fan to the Raspberry Pi 4 for Proper Cooling (You Need One)
It’s getting hot in here, a fan will cool your Pi.
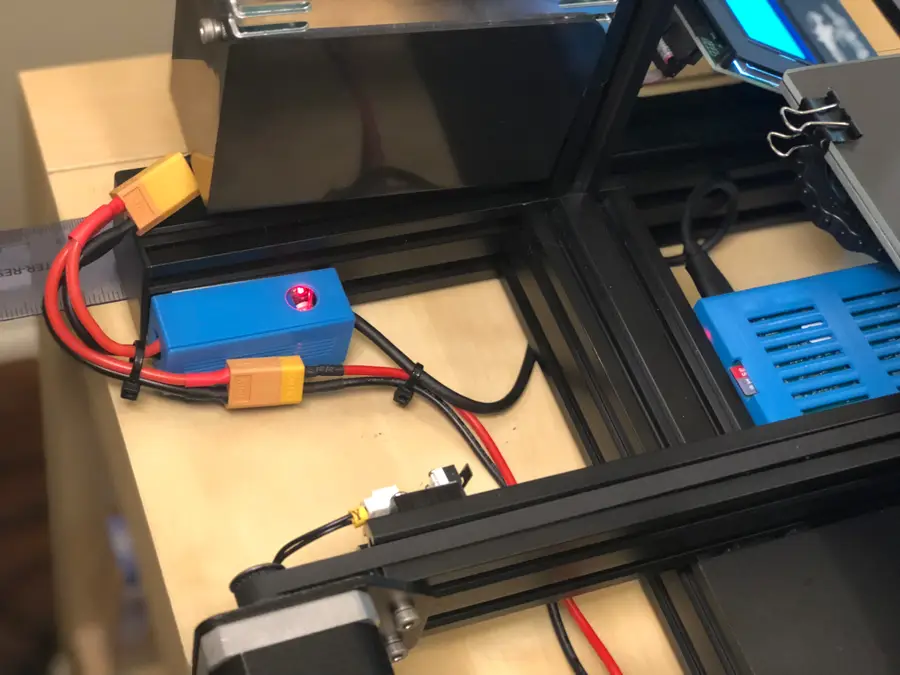
Buck converter enclosure
If you plan on powering your Pi directly from the Ender 3, be sure to print out the included LM2596S buck converter enclosure as well. Later on, I’ll show you how to connect your Pi to your Ender 3’s power supply.
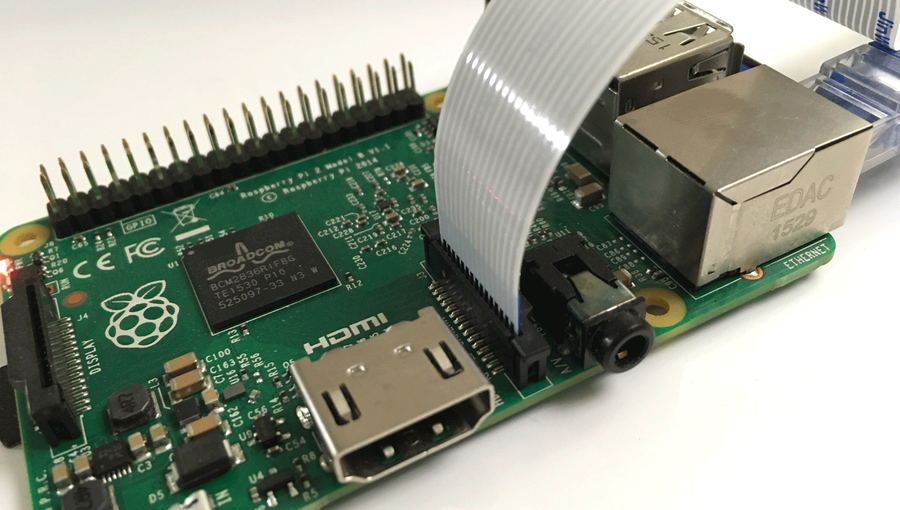
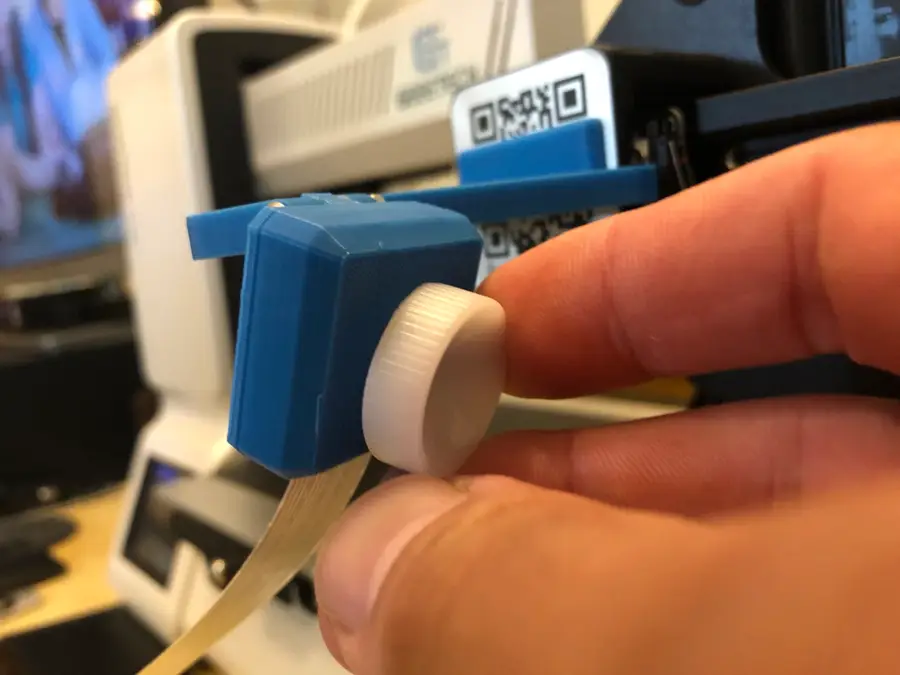
3 – Mount the Raspberry Pi camera
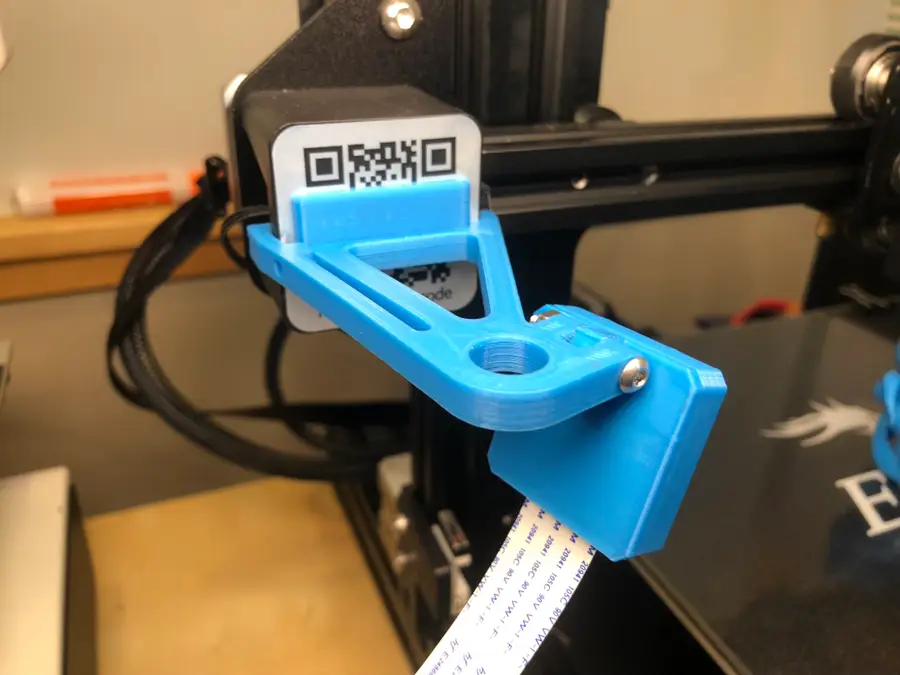
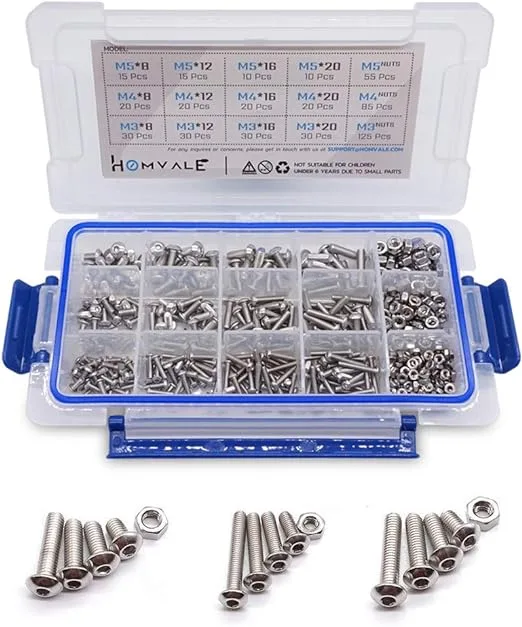
M3 x 20mm bolt and nut to connect the two pieces of the Pi mount. Then, connect the Raspberry Pi ribbon cable to the camera, click the camera into place and slide the camera cover back on.
How to Connect a Camera to the Raspberry Pi
Get ready to record!
Ender 3 Raspberry Pi camera cable length
To mount the camera, you’ll need to use this Pi camera extension ribbon cable since the cable that came with your camera isn’t long enough. I’ve found the 610mm cable works perfectly. It’s a tight fit. Be patient so that you don’t break your camera. 🙂 You might need to file some edges down. If you have no camera feed later, check and make sure the tiny connector that presses onto the camera itself hasn’t come loose. It’s also possible to use other OctoPrint cameras and webcams rather than the official Raspberry Pi camera, though you’ll need a different mount to do this.
How to Choose the Best Camera for OctoPrint (including USB)
Keep an eye on your prints!
| 🛈 Before mounting everything to your printer, I recommend testing your connections in place. It’s easier to troubleshoot things without needing to connect and disconnect your mounts. |
4 – Put the Pi into its case
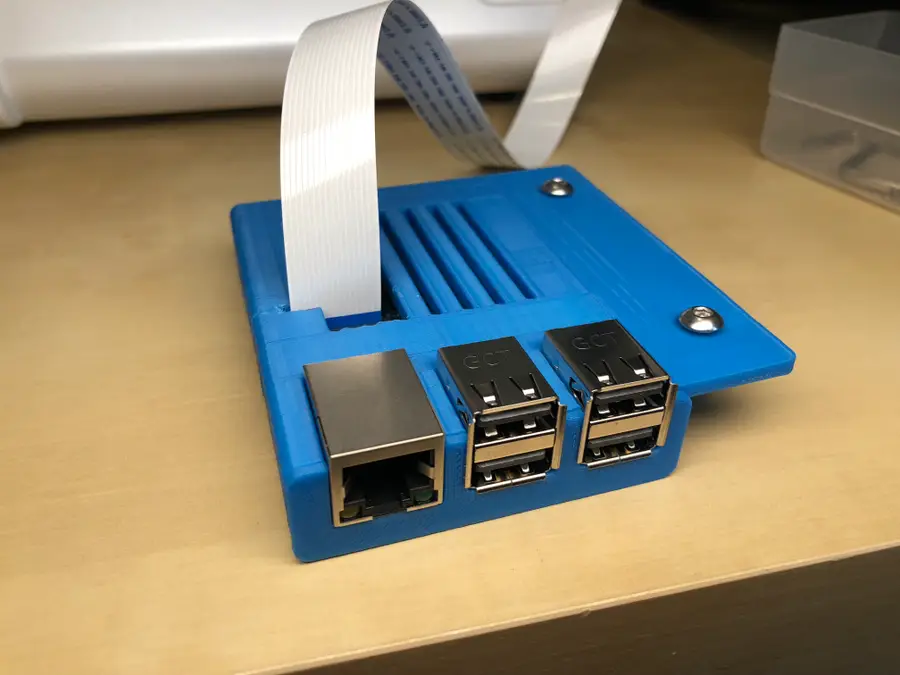
5 – Mount the Raspberry Pi
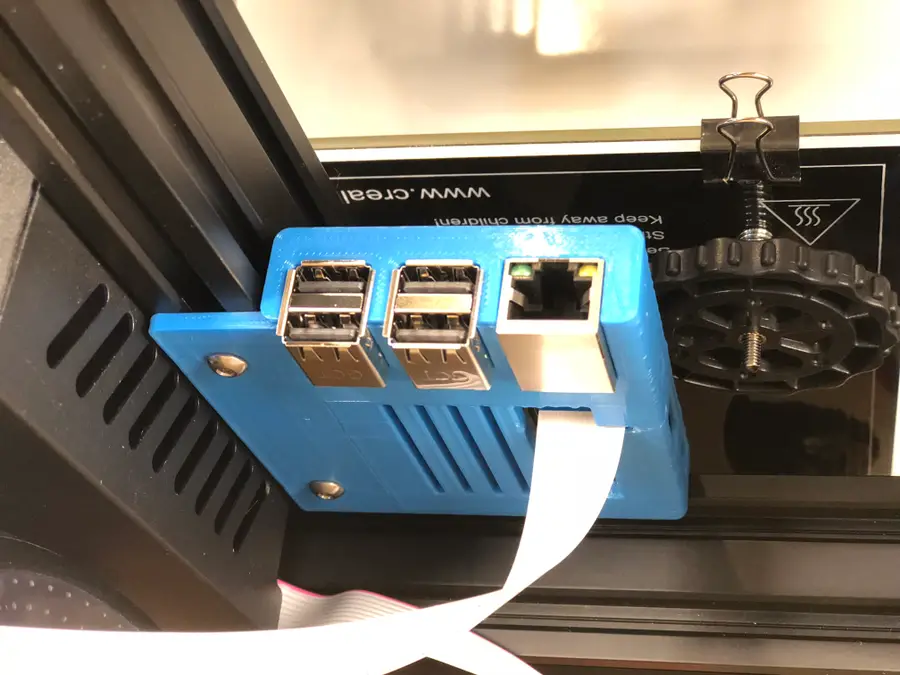
M4 x 8mm bolts and two M4 aluminum channel “T-nuts”. I reused two extra T-nuts that came with the printer.
Attach the bolts and nuts to the Pi case first (with the nuts facing up) and then slide the nut end of the bolts into the bottom piece of extruded aluminum. Finally, tighten the two screws from beneath.
Route the camera cable under the bottom of your printer, between the printer and your table. The printer’s rubber feet will allow it some freedom of movement.
| 🛈 You’ll need to tilt your printer back or move it to the edge of your desk to reach and tighten the bolts. |
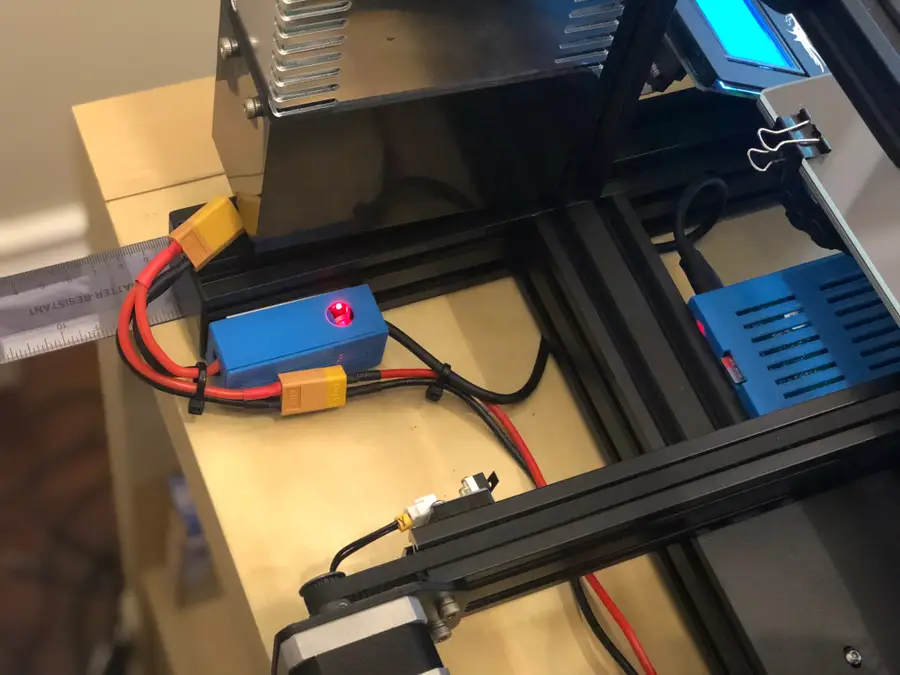
6 – Power the Pi from the Ender 3
How to Power a Raspberry Pi from a 3D Printer Using Your Printer’s Power Supply Unit (PSU)
Who needs more power bricks?
7 – Focus the Pi camera
8 – Final setup!

How to Add an OctoPrint Touchscreen to Your Ender 3
An inexpensive upgrade to make your Ender 3 even better!
OctoPrint: Control Your 3D Printer Remotely with Raspberry Pi and OctoPi
Untether your printer!
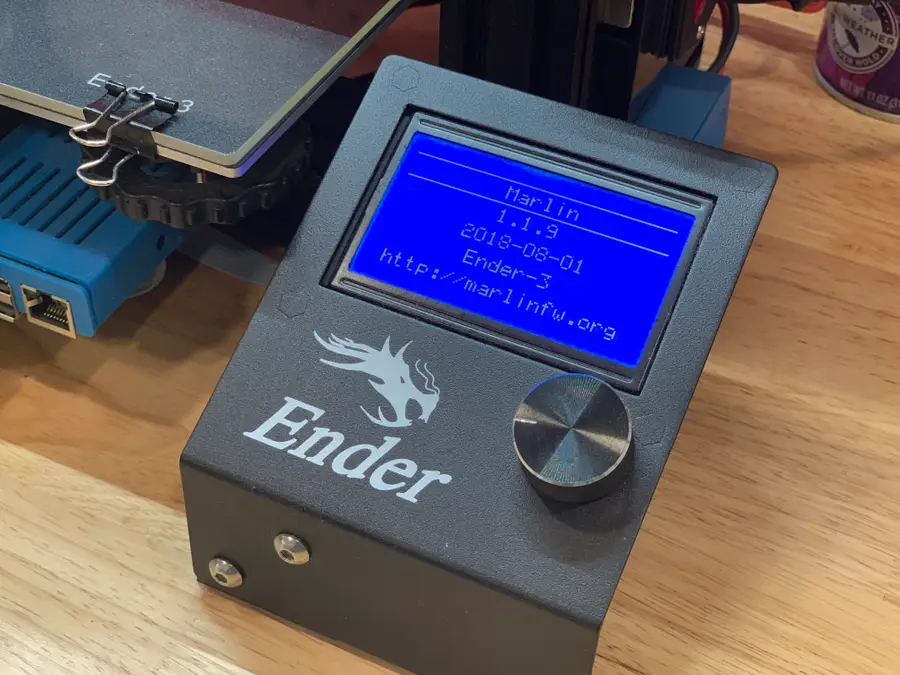
9 – Recommended: Update Your Firmware
Now that you’ve gotten OctoPrint up and running, I highly recommend updating your Ender 3’s firmware. Why? The newer versions of Marlin add thermal runaway protection, which helps to prevent 3D printer fires. Also, be sure to check out my full Ender 3 upgrades and mods guide!
The Best Creality Ender 3 (and Pro) Upgrades and Mods (2022)
Improve your overall printing experience—and quality.
Ender 3: How to Install a Bootloader and Update Marlin Firmware
Update your 3D printer’s firmware and add thermal runaway protection.
How to Update Blender


November 24, 2023
Blender is one of the most popular open-source 3D creation suites today. It doesn’t cost a dime to use and everything you create is yours to own for good. The community is robust and the dev team still releases new updates on the regular. If you want to get the latest version, you may have
Continue Reading
In these interests
3D Printing 3dprinting • 36 guides
Ender 3 ender3 • 19 guides
OctoPrint octoprint • 10 guides
Related to this guide:
How to Update Blender
Blender is one of the most popular open-source 3D creation suites today. It doesn’t cost a dim
How to Sculpt in Blender
Blender has made a name for itself over the years as the go-to open source 3D modeling application.
How to 3D print custom rubber stamps
Let’s make some stamps! Why bother buying a pre-made design when you can create one yourself?In these interests:
3D PrintingArt

How to Enable the OctoPrint Dark Theme
Like dark themes? Me too! This short guide will show you how to add a dark theme to your OctoPrint�In these interests:
3D PrintingOctoPrint

Ender 3 V2 – The Easiest Guide to Leveling and Test-Printing
If you’re like me and are just starting out on your 3D printing journey, there’s little doubt in
How to Upgrade Your Ender 3 Power Supply to a MeanWell PSU
Aside from upgrading your Ender 3 board, upgrading your stock PSU to a Mean Well PSU is one ofIn these interests:
3D PrintingEnder 3

Anycubic Photon/Photon S Full Print Guide: Your First Print
This guide will show you how to use your Anycubic Photon or Photon S. I’ll walk you through thIn these interests:
3D PrintingAnycubic

Build your Own 3D-Printed Nintendo Switch Arcade Cabinet
Today I’m going to show you how to build your own 3D-printed Nintendo Switch arcade cabinet! S
How to Choose the Best Camera for OctoPrint (including USB)
OctoPrint is a platform designed for the Raspberry Pi that makes it possible to monitor and control