Share
Anycubic Photon/Photon S Full Print Guide: Your First Print

Share
What you’ll need
Interests
Series
Howchoo is reader-supported. As an Amazon Associate, we may earn a small affiliate commission at no cost to you when you buy through our links.


-
Anycubic Photon Print Guide
-
Anycubic Photon Bed Leveling
How the Photon works
Whether or not you’re new to 3D printing, printing on the Photon is different than most 3D printers on the market today. This is because the Photon is an SLA (Stereolithography Apparatus) printer, whereas most 3D printers are FDM (Fused Deposition Modeling). SLA printers use a focused or UV light on a resin vat to “cure” each layer of your print, whereas FDM printers melt a spool of plastic filament to generate each layer. In other words, each layer is basically a “photo” projected using a projector. This fundamental difference means that you can’t use “normal” slicing programs such as Cura to generate files for printing, nor can you use OctoPrint.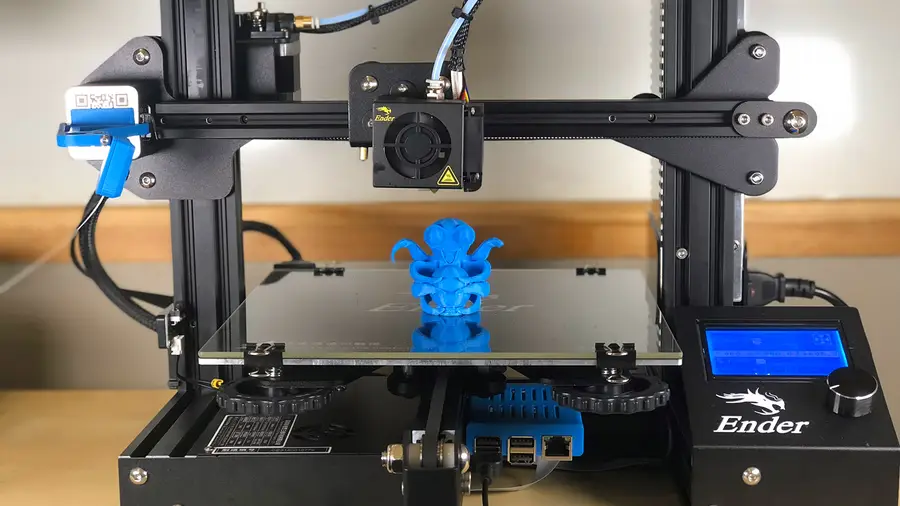
OctoPrint: Control Your 3D Printer Remotely with Raspberry Pi and OctoPi
Untether your printer!
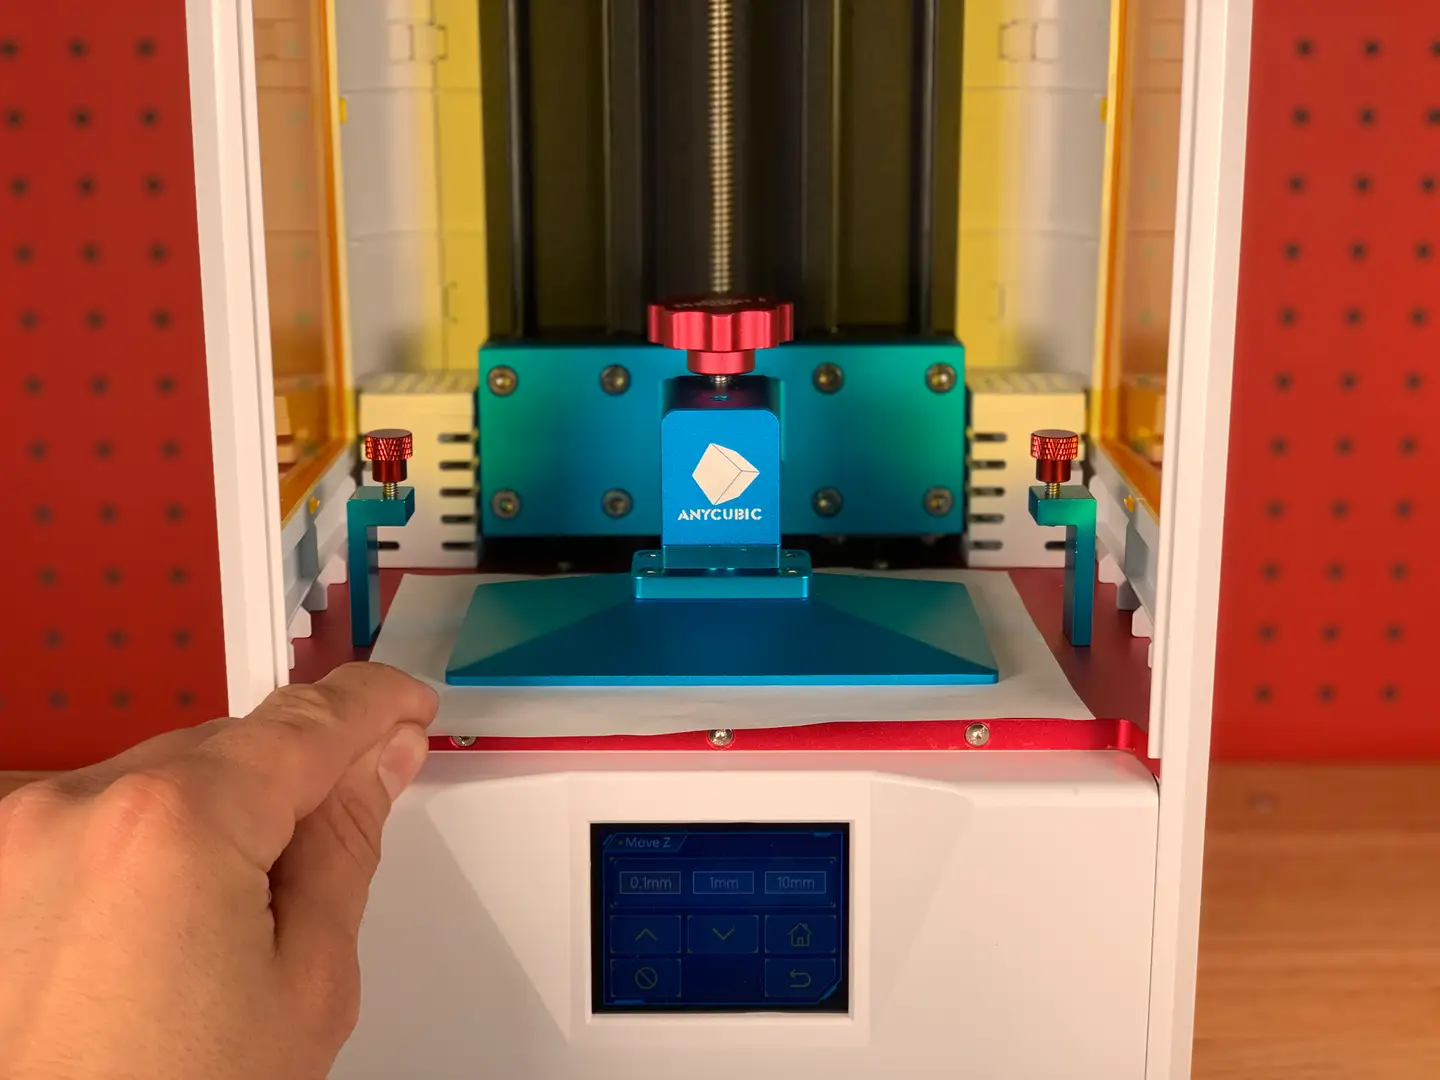
1 – Level the printer

How to Level the Bed on the Anycubic Photon or Photon S
A quick and reliable method for leveling your Photon or Photon S.
2 – Download the slicing software
As stated previously, you can’t use Cura or any other standard slicing software to prepare prints for the Photon or Photon S. This is because the printer doesn’t use standard.gcode files. Instead, it uses a proprietary .photons file, which essentially contains a photo of each layer to be projected and cured.
SLA software options
There are basically two pieces of software that you can use: ChiTuBox or Photon Workshop. Photon Workshop can be found on the USB drive that came with your printer or downloaded from the Anycubic website. I’m going to use ChiTuBox since it’s the industry standard for SLA/DLP/LCD 3D printing. It’s basically the “Cura” of SLA printing. Download and install the free version from the ChiTuBox downloads page.| 🛈 If you’re using a Mac, you may need to navigate to “System Preferences > Security & Privacy > Open Anyway” after attempting to launch ChiTuBox for the first time. |
3 – Configure your machine

4 – Configure your resin

| Layer height | Exposure time | Off time | Bottom exposure | Bottom layers |
|---|---|---|---|---|
| 0.04 | 12 | 3 | 80 | 5 |
| 🛈 A layer height of 0.02 is overkill for most prints; I just want to see what this thing can do at super fine detail. |
5 – Choose and import your model

A note on print time
One thing that’s super interesting about SLA vs. FDM printers is that adding additional models to an SLA print doesn’t always increase print time. As long as the additional models are shorter than the tallest model, there’s no difference in print time whatsoever. This is because the same number of layers are being generated. Pretty neat!Scale the model
Drag the model into ChiTuBox to load it. If the model is larger than the print bed, click the resize button in the sidebar and then choose either the desired size or select Scale to fit. I scaled each model down an arbitrary amount for the sake of time. Next, make sure the model is touching the plate! I made this mistake, assuming it would do this by default, but instead I had a print hovering above the build plate. To do this, click the move button in the sidebar and select Put on the plate.6 – Optional: Hollow the model and add drain holes

7 – Slice the model
For your first print, you can keep the default settings intact and click the Slice button to slice the model. Save the generated.photons file to an external USB drive, such as the one that came with your printer.
| 🛈 The file must be saved in the root directory of the USB drive or else the printer won’t read it. ¯_(ツ)_/¯ |
8 – Don your safety gear

9 – Add your resin

| 🛈 Make sure the printer itself is on a level surface, or the resin will all pool to one side. |
10 – Load and start the print

.photons file into the USB port on the right side of the printer. From the main menu, choose Print, select your print, and press the print icon that looks like a play button.
11 – Post-processing

Remove the print
Use the supplied print scraper to carefully pry the print from the plate. Then, run the print under your sink to get the excess resin off.Clean the print
Next, use 99.9% isopropyl alcohol (IPA) to clean off any uncured resin. There are numerous ways to do this, including the use of an ultrasonic bath, but I normally just submerge the print into a bath of IPA for about 3 minutes. If you spill any resin on your skin or another surface, thoroughly and immediately clean the area with soap and water.Cure the print
Finally, let your print sit in the sun or under a UV lamp to allow it to cure fully, maximizing its strength.Disposing of IPA
To properly dispose of the saturated IPA “bathwater”, leave the container in the sun to allow the resin to cure and then pour the water into a clean container through a coffee or paint filter for safe disposal.| 🛈 Never clean your prints in the kitchen or anywhere that food is prepared, unless the resin manufacturer has published an SDS (safety data sheet) indicating that there’s no ingestion health risk. |
12 – Clean the machine

Reusing excess resin
If you want to reuse the excess resin, you can do so by running it through the paper filters that came with the printer and pouring it back into the resin bottle. Even though resin can be expensive, I normally don’t do this, as getting particulates into the resin isn’t worth potential print problems.13 – Admire your work!

How to Update Blender


November 24, 2023
Blender is one of the most popular open-source 3D creation suites today. It doesn’t cost a dime to use and everything you create is yours to own for good. The community is robust and the dev team still releases new updates on the regular. If you want to get the latest version, you may have
Continue Reading
Anycubic Photon Series
-
Anycubic Photon Print Guide
-
Anycubic Photon Bed Leveling
Related to this guide:
How to Update Blender
Blender is one of the most popular open-source 3D creation suites today. It doesn’t cost a dim
How to Sculpt in Blender
Blender has made a name for itself over the years as the go-to open source 3D modeling application.
How to 3D print custom rubber stamps
Let’s make some stamps! Why bother buying a pre-made design when you can create one yourself?In these interests:
3D PrintingArt

How to Enable the OctoPrint Dark Theme
Like dark themes? Me too! This short guide will show you how to add a dark theme to your OctoPrint�In these interests:
3D PrintingOctoPrint

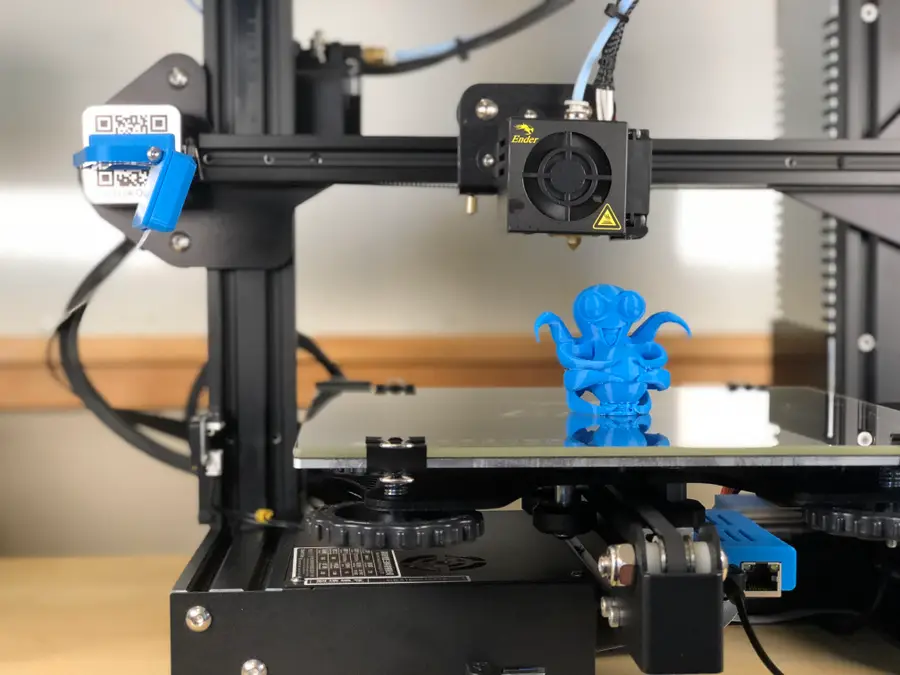
Ender 3 V2 – The Easiest Guide to Leveling and Test-Printing
If you’re like me and are just starting out on your 3D printing journey, there’s little doubt in
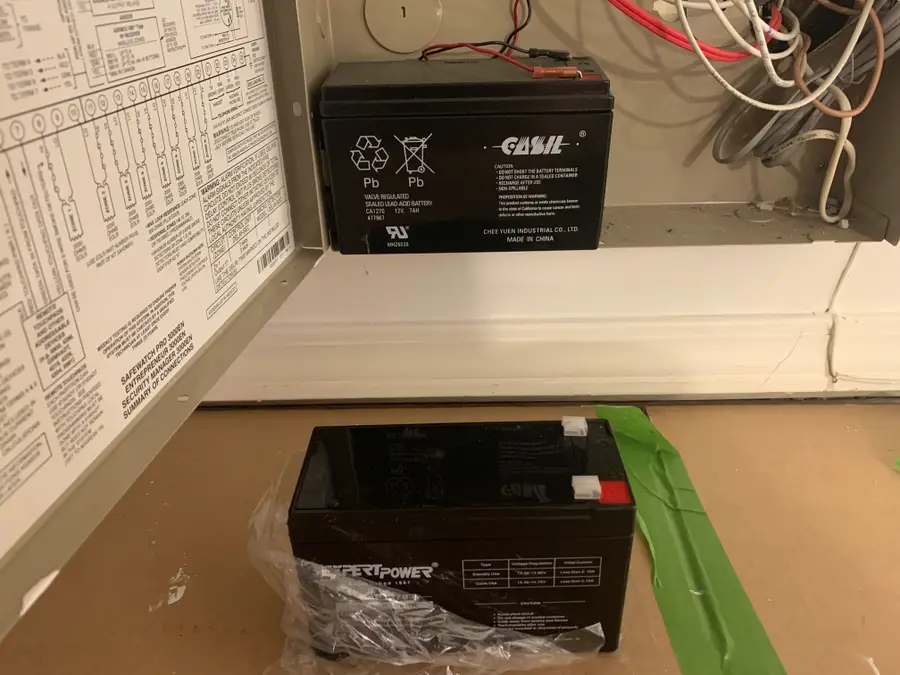
How to Upgrade Your Ender 3 Power Supply to a MeanWell PSU
Aside from upgrading your Ender 3 board, upgrading your stock PSU to a Mean Well PSU is one ofIn these interests:
3D PrintingEnder 3

Build your Own 3D-Printed Nintendo Switch Arcade Cabinet
Today I’m going to show you how to build your own 3D-printed Nintendo Switch arcade cabinet! S
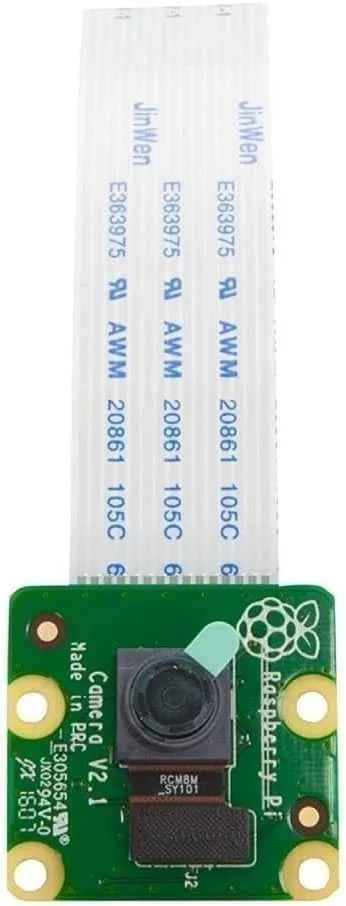
How to Choose the Best Camera for OctoPrint (including USB)
OctoPrint is a platform designed for the Raspberry Pi that makes it possible to monitor and control
How to Set Up and Use OctoPrint on the Creality Ender 3
The Creality Ender 3 is amazing. The only thing that could make it more amazing is modding it so tha
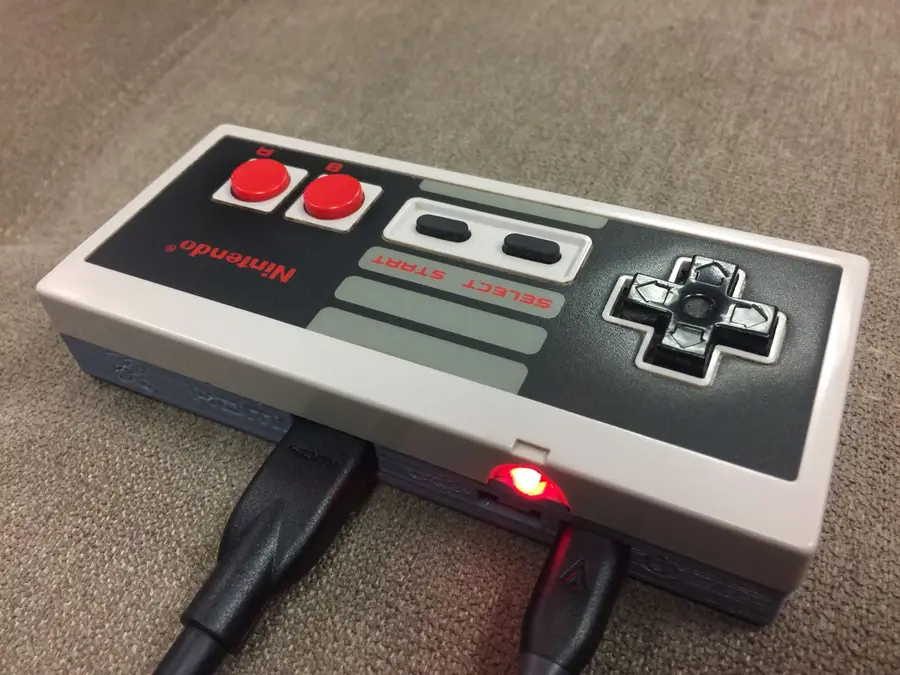
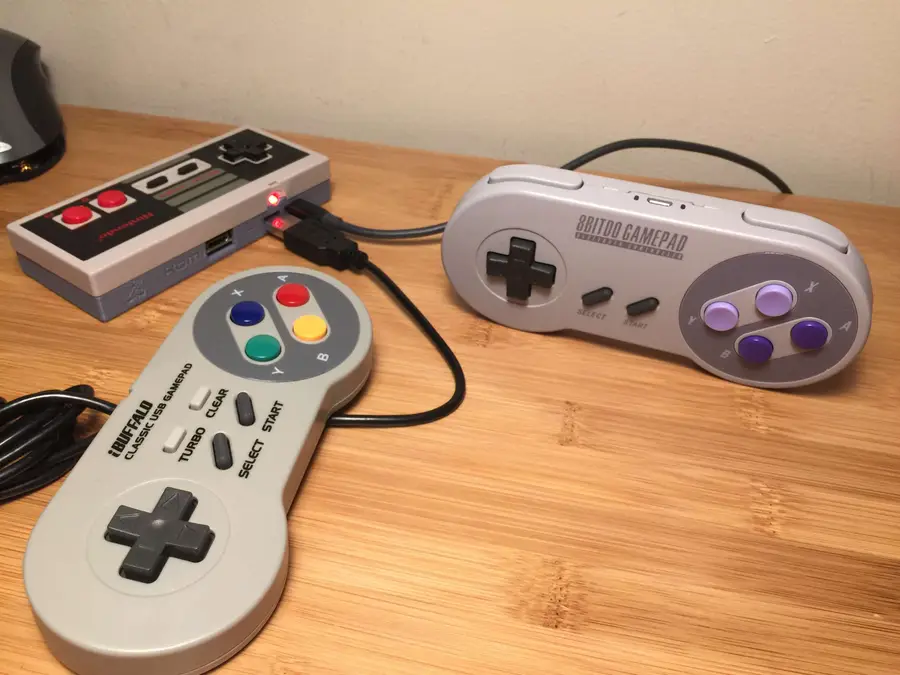
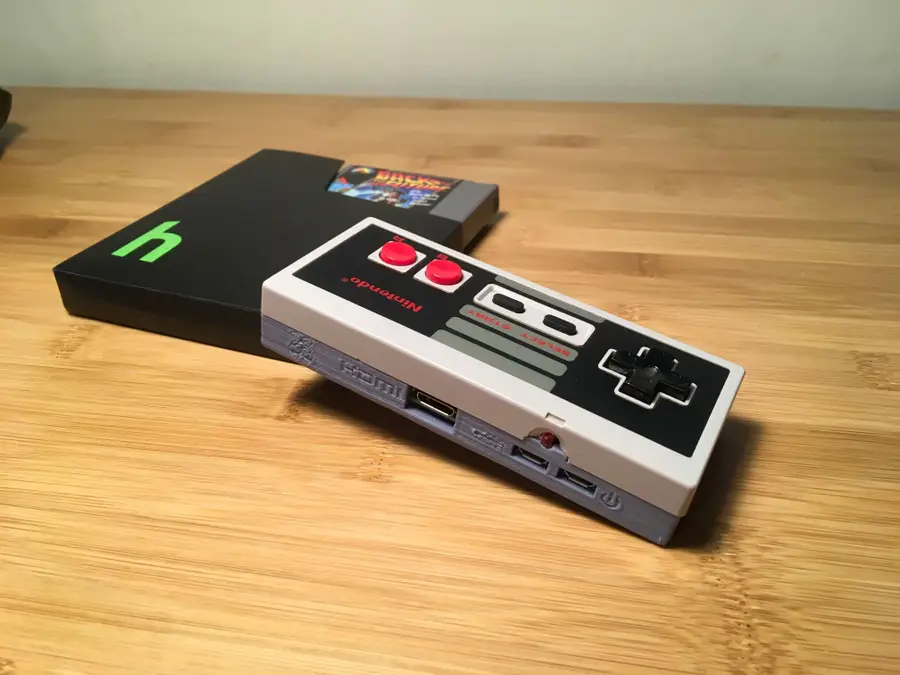
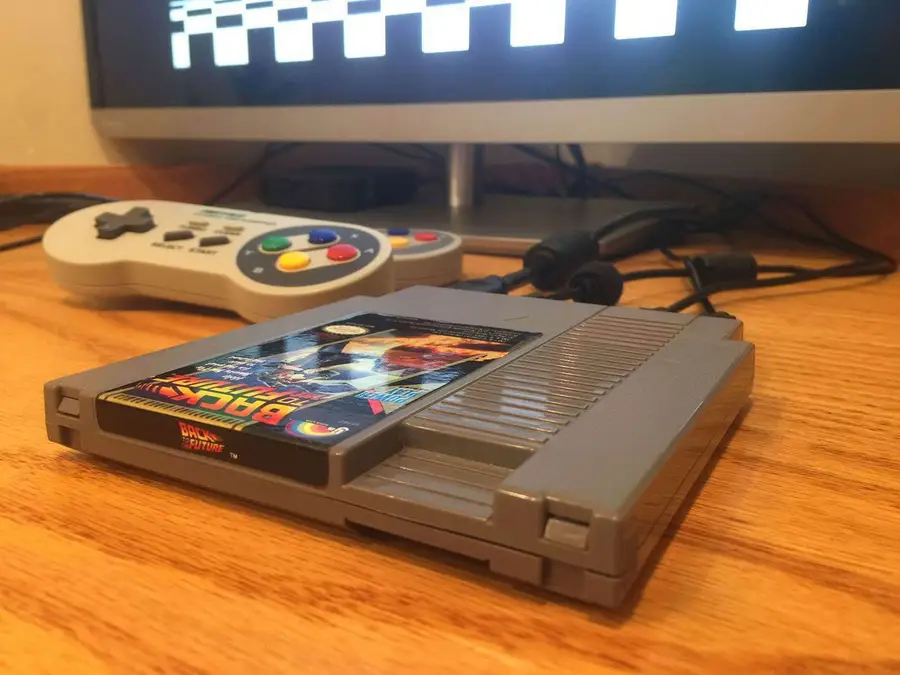
Gamepad Zero: A Raspberry Pi Retro Gaming Rig Inside an Original NES Controller
What’s cooler than running all your favorite emulated games on a $10 computer? Putting that coPosted in these interests: