Share
How to Fix Speaker Whining on a Backlit Game Boy

Share
What you’ll need
Interests
Series
Posted in these interests:

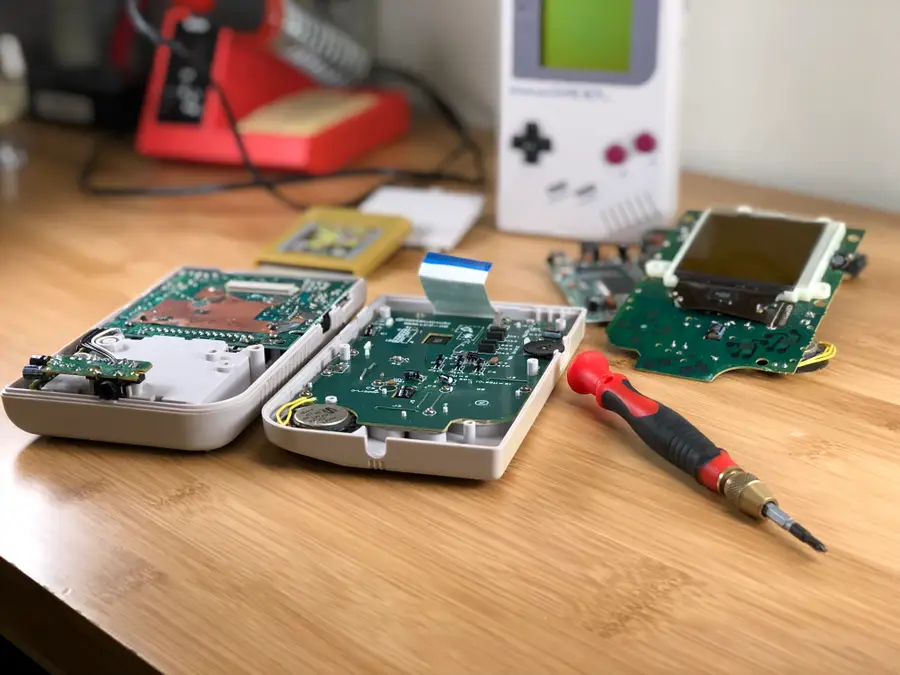
Installing a Game Boy backlight is arguably one of the coolest mods today. Such a minor detail would have made a tremendous difference back in 1989. However, Game Boys werenât exactly designed with a backlight in mind.
This mod requires a significant amount of power, affecting other areas of the device. One of the most noticeable impacts is a consistent whine from the speaker.
Thankfully, this issue is anything but detrimental. With a little bit of work, we can let more power through and cease this incessant whining!
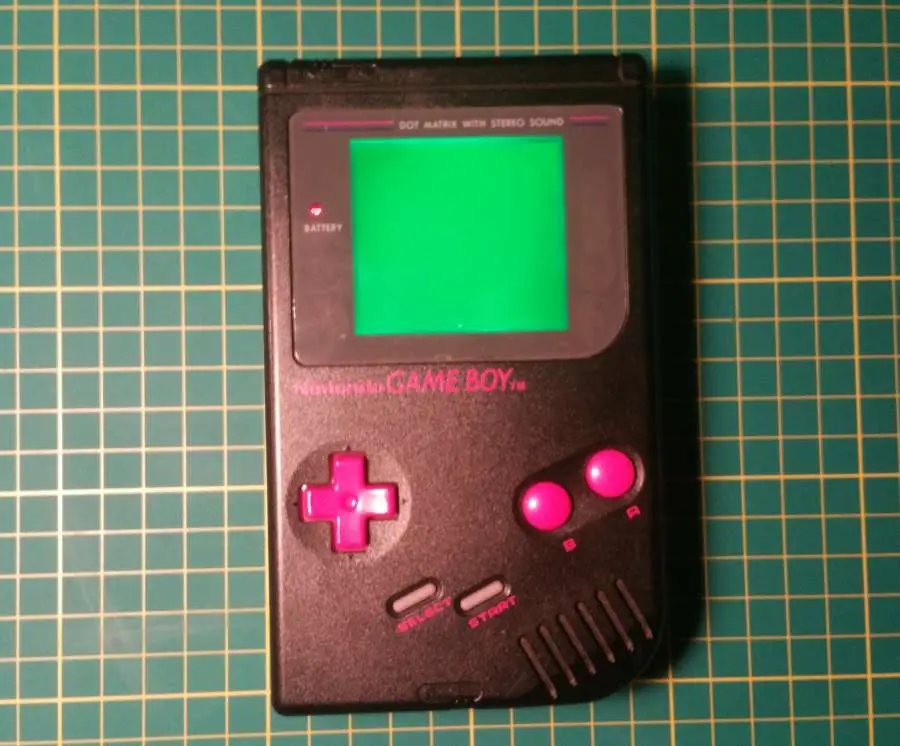
1 – Examine the Game Boy
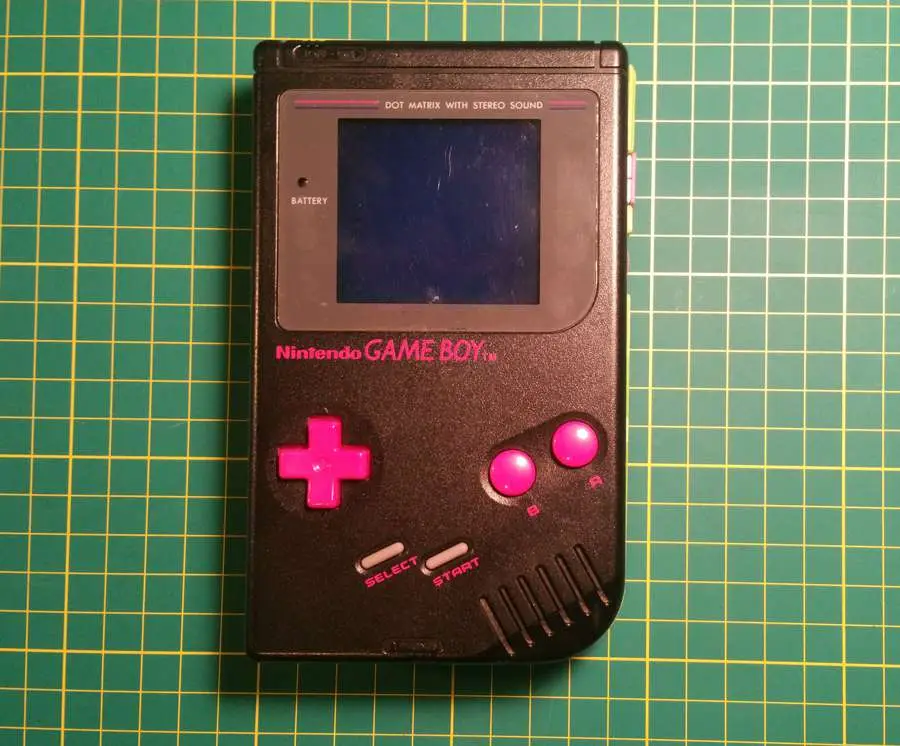
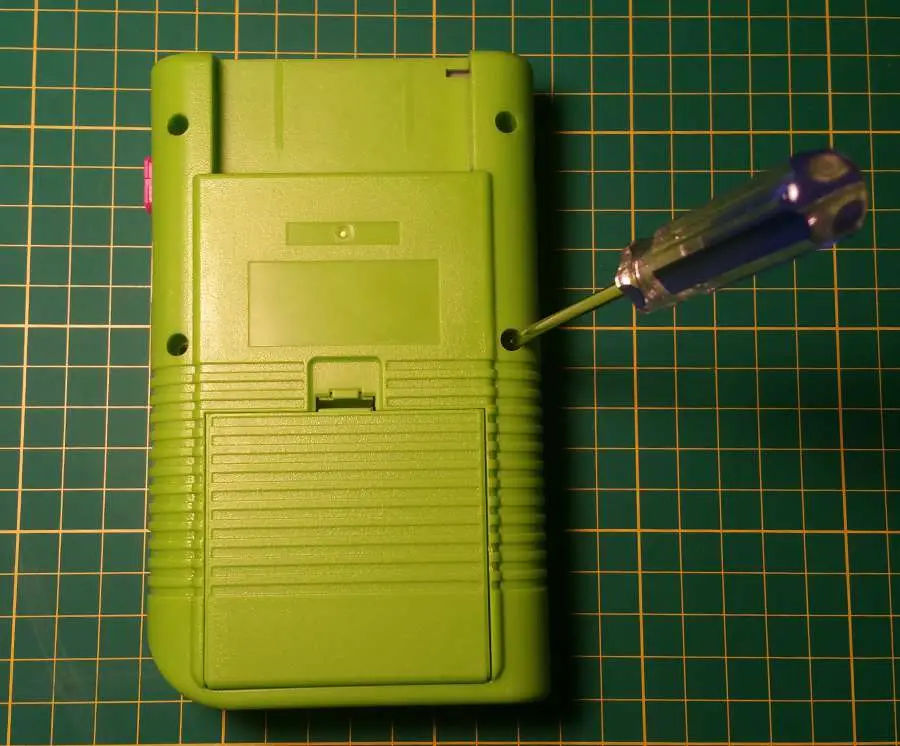
Itâs always best to start with a thorough examination of the Game Boy. Weâre looking for any missing pieces like link port covers, screws or battery covers. The Game Boy shell is held together using six screwsâmost of them tri-wing, but the earliest models use Phillips number 1 screws.
Because these devices are almost 30 years old, itâs not uncommon to find battery acid damage. When stored improperly, battery acid can leak into the Game Boy and affect the components inside. If your device has any signs of battery acid damage, donât worry! We wrote a guide on cleaning Game Boy battery corrosion.
How to Clean the Original Game Boy Battery Contacts and Remove Corrosion
Game Boy won’t turn on? No problem.
2 – Open the Game Boy
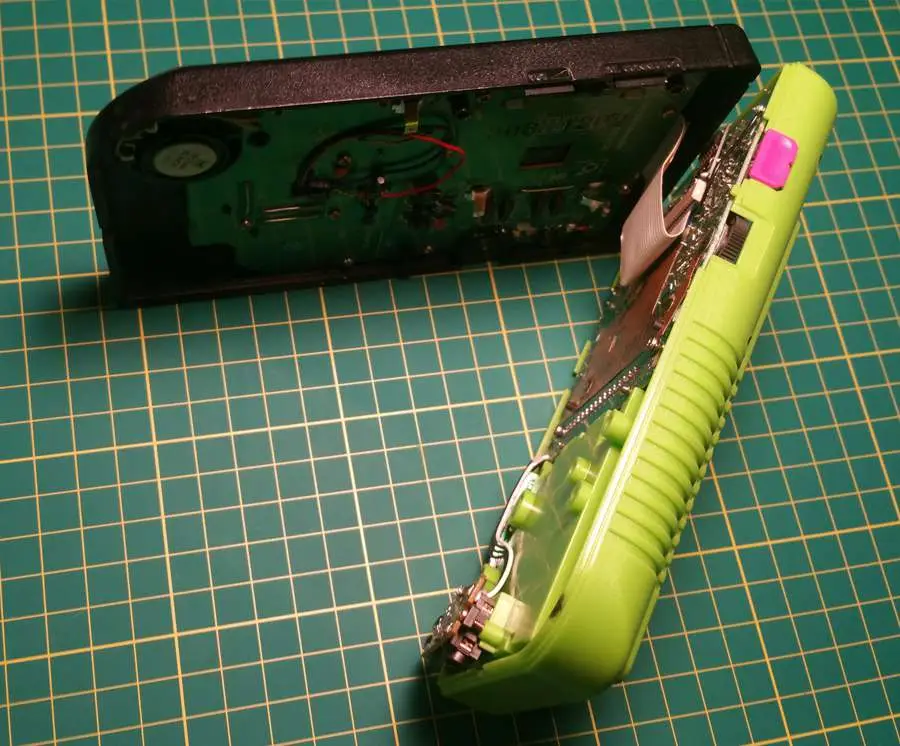
Using an appropriate screwdriver, remove all of the screws used to hold the shell together. You will need to remove the battery cover to remove every screw.
The Game Boy is comprised of two halves. These halves are held together by a very sensitive ribbon cable. This cable is responsible for feeding information to the LCD display. Exercise extreme caution when handling this cable!
Gently unplug the ribbon cable from itâs slot. The Game Boy should now be separated into two halves.
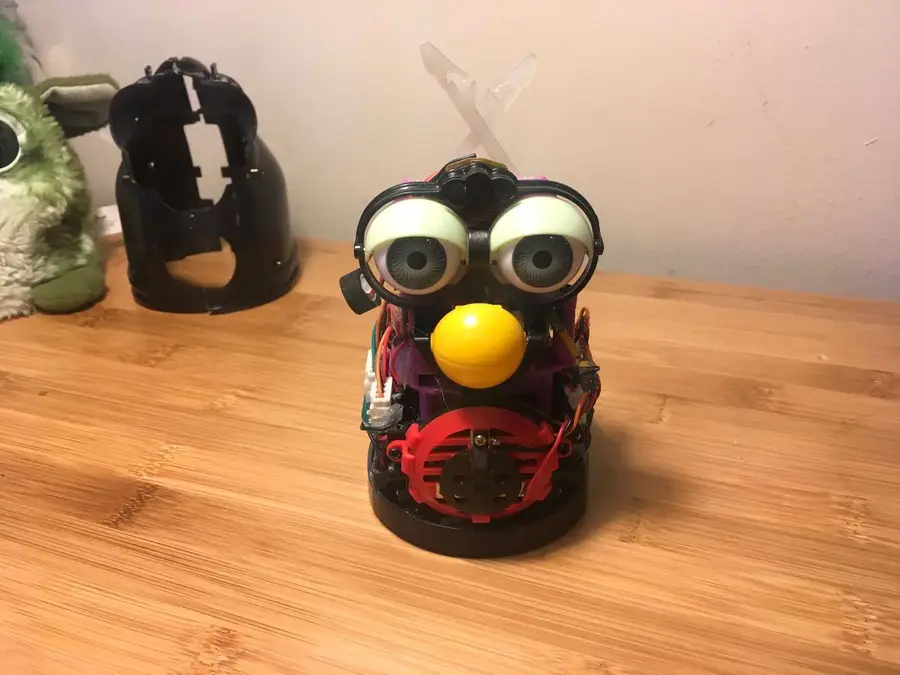
3 – Remove the back motherboard
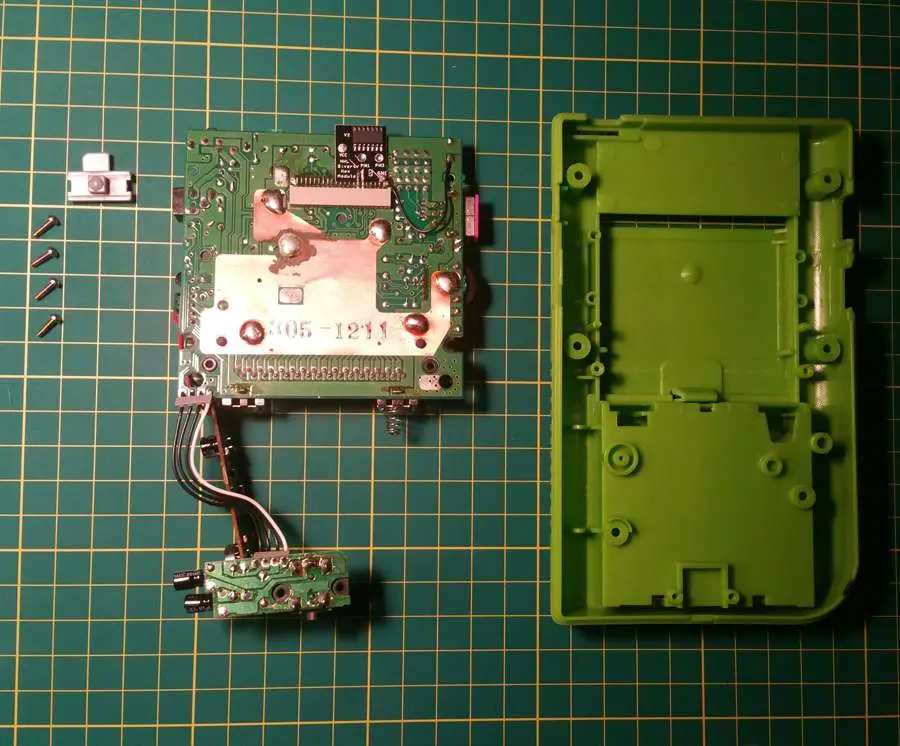
Using a Phillips number 1 screwdriver, remove the screws used to hold the back motherboard into place. There will be four screws total.
When the screws are removed, gently pull the motherboard from the back shell. Be mindful of the power switch in the upper left hand corner and set it aside during this step.
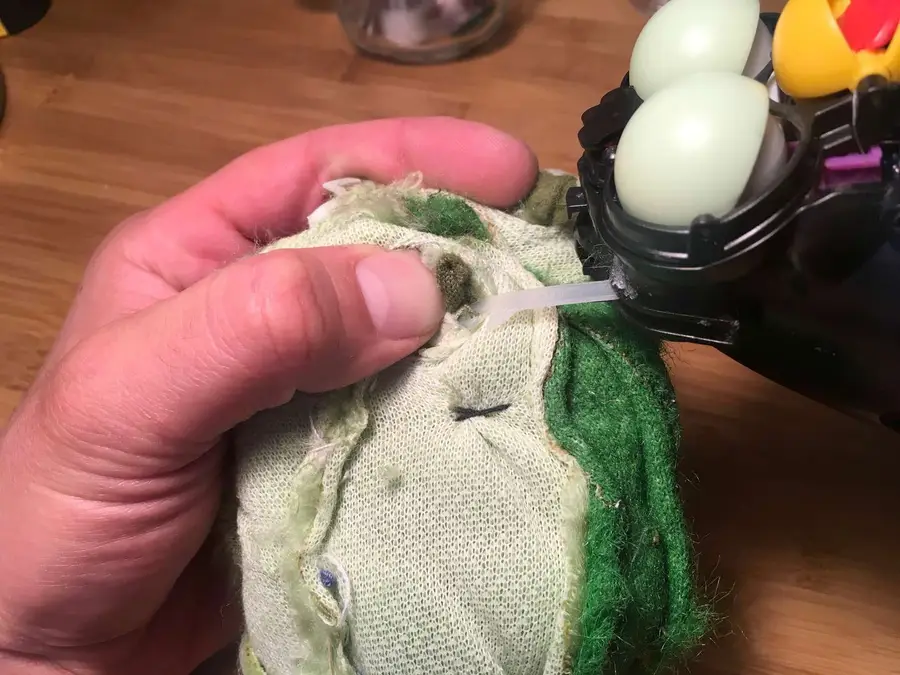
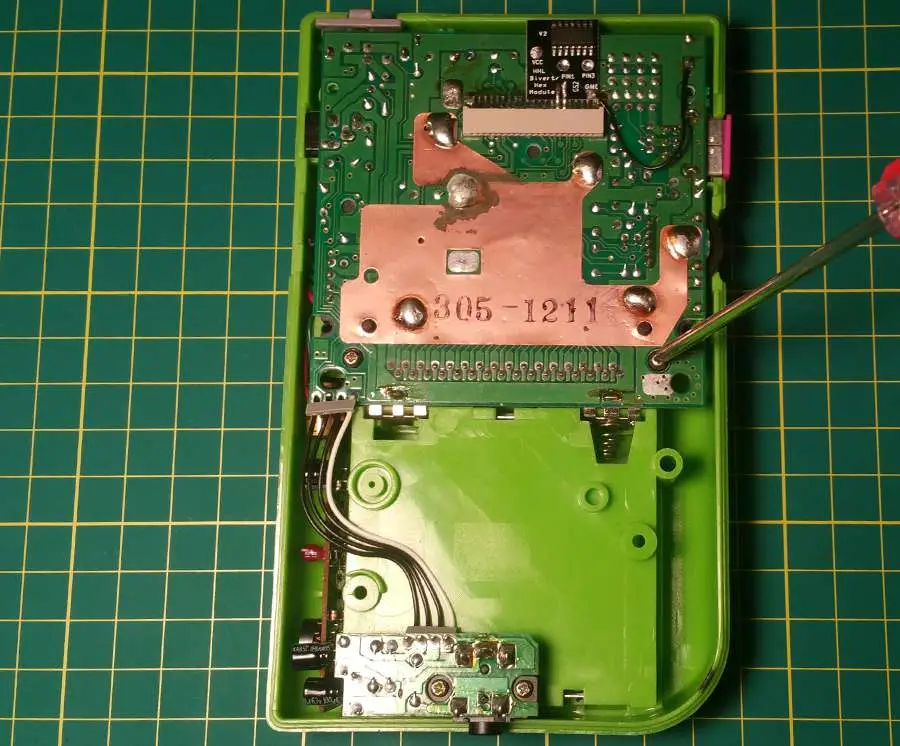
4 – Solder capacitor into place

The capacitor weâre installing will allow more power to reach the CPU. Itâs this little change that makes a big difference in the quality of sound output.
The capacitor will need to be soldered onto the small motherboard attached on the side near the bottom. Please reference the picture above to ensure the component is properly soldered.
The anode (positive leg on the capacitor) will need to be soldered to the top contact, highlighted above. The cathode (negative leg on the capacitor) will need to be soldered to the second contact, also highlighted above.
I recommend placing the capacitor before bending the legs into place. After all, you want to make sure the Gameboy fits together!
For a professional finish, add some liquid electrical tape.
5 – Attach the back motherboard
Place the back motherboard into the Game Boy shell. Don’t forget the power button placement in the upper left hand corner.
Using a Phillips number 1 screwdriver, screw the back motherboard into place. You will need four screws to mount the board to the shell.
6 – Close the Game Boy
The Game Boy will need to be reconnected before we screw it back together. Be extra careful when handling the ribbon cable and plug it into the port.
Using an appropriate screwdriver, likely tri-wing, screw the Game Boy shell together. There will be six screws used during this step.
7 – Time for a test
Itâs time to pop in a fresh set of batteries and crank it up! If everything worked, you should have a beautifully bright screen with a clean, crisp sound to accompany your adventures.
Something Not Right?
- The Game Boy has no power – Double check the battery installation. Keep an eye out for corrosion or battery acid damage.
- The speaker is still whining – Open the Game Boy once more and double check the capacitor installation.
RetroPie scrapers: what they are and how to use them


You’ve put so much work into setting up RetroPie or EmulationStation. You load it up with legally obtained ROMs only to find that custom theme you installedâyou remember, the one from my RetroPie themes guideâhas a big blank spot for box art! The Best RetroPie Themes (And How to Install Them)You deserve some personal flair! RetroPie: Build Your
In these interests
Game Boy gameboy ⢠8 guides
Nintendo nintendo ⢠13 guides
Retrogaming retrogaming ⢠29 guides
Original Game Boy Modding Series
Introducing Howchoo, an enigmatic author whose unique pen name reflects their boundless curiosity and limitless creativity. Mysterious and multifaceted, Howchoo has emerged as a captivating storyteller, leaving readers mesmerized by the uncharted realms they craft with their words. With an insatiable appetite for knowledge and a love for exploration, Howchoo’s writing transcends conventional genres, blurring the lines between fantasy, science fiction, and the surreal. Their narratives are a kaleidoscope of ideas, weaving together intricate plots, unforgettable characters, and thought-provoking themes that challenge the boundaries of imagination.
Related to this guide:
RetroPie scrapers: what they are and how to use them
You’ve put so much work into setting up RetroPie or EmulationStation. You load it up

How to Install a Backlight in a Game Boy
Are you struggling to see the pixels on your Game Boy? Why bother with ambient light fixtures when y

Build your Own 3D-Printed Nintendo Switch Arcade Cabinet
Today I’m going to show you how to build your own 3D-printed Nintendo Switch arcade cabinet! S
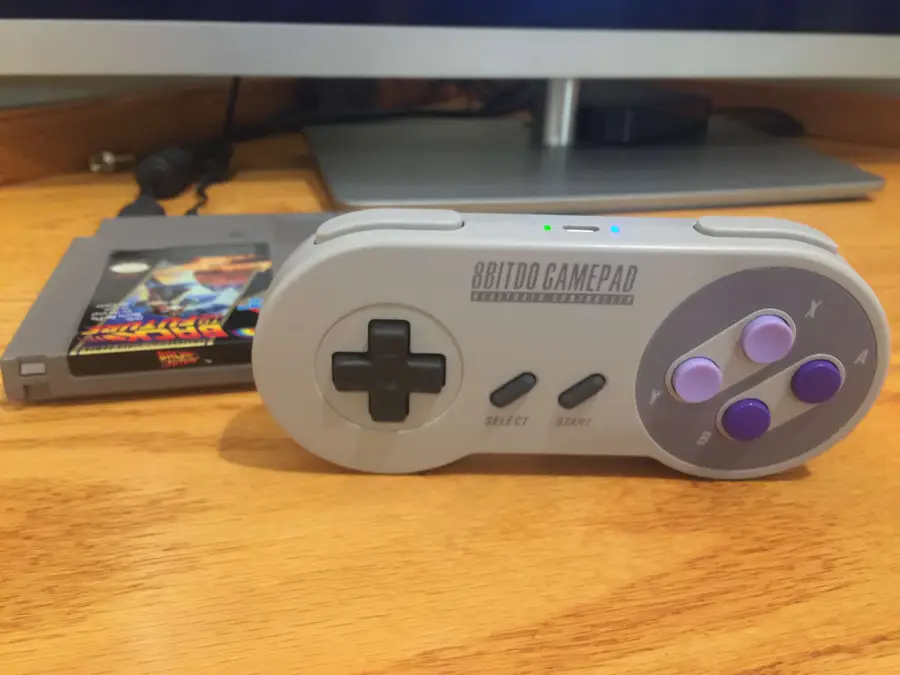
The Best RetroPie Controllers – Top 10 (2023)
If you want to play retro games on RetroPie, you need a controller. But not all controllers are crea
The Ultimate Original Game Boy (DMG-01) Troubleshooting and Repair Guide
Nobody wants to spend the whole day troubleshooting. Do you have a problem with your hand held? Nint
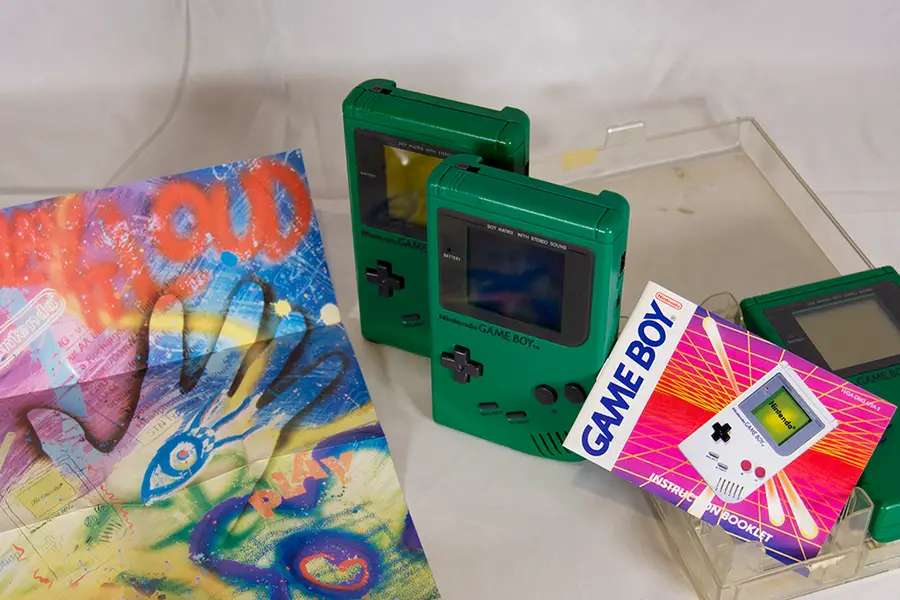
Rare Game Boys Your Collection is (Probably) Missing
The Nintendo Game Boy is one my favorite retro hand-helds. They came in a surprising number of varia
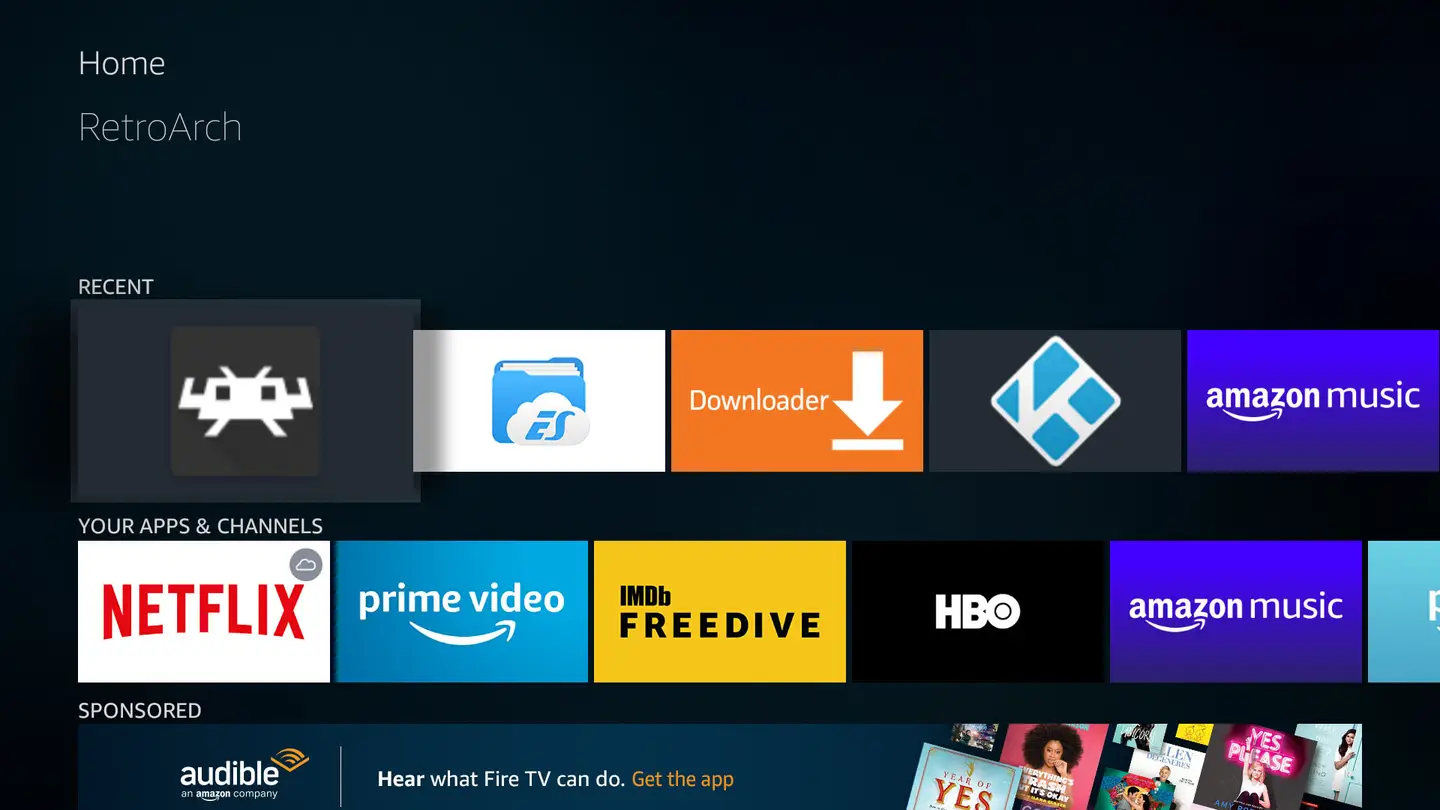
Play Retro Games on the Fire TV Stick with RetroArch
If you want to emulate all your favorite retro gaming systems quickly and easily, this guide is for

How to Clean the Original Game Boy Battery Contacts and Remove Corrosion
I recently bought a non-working Gameboy from eBay with the intention of hacking it to run Retro
How to Use a Wireless Bluetooth Controller with RetroPie
Using a Bluetooth controller with RetroPie is a piece of cake — this guide will show
The Ultimate Original Game Boy Modding Guide
Game Boys are awesome! But they’ve been around for so long, it’s no surprise to find the