Share
How to Add ROMs to RetroPie Using a USB Drive

Share
What you’ll need
Interests
Posted in these interests:

This short guide will show you how to quickly and easily add ROMs to RetroPie using the USB flash drive method. There are other methods for transferring ROMs to RetroPie, but the USB drive approach is the fastest and easiest. If you’re using a Pi Zero (e.g. building a PiCart), this is a also a good approach since the regular Pi Zero doesn’t have built-in WiFi and this approach does not require an internet connection.
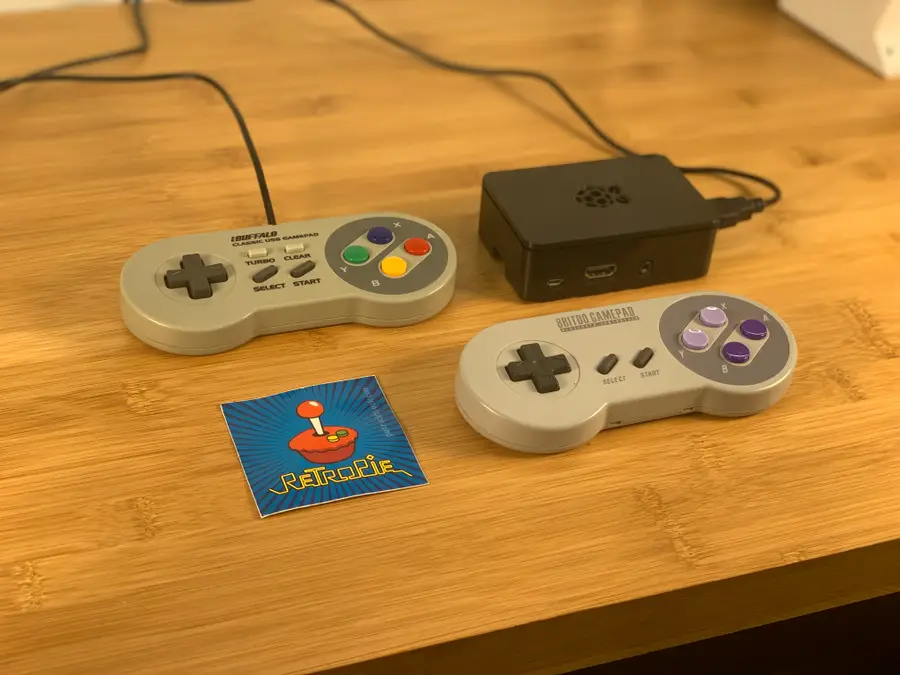
RetroPie: Build Your Own Raspberry Pi Retro Gaming Rig
How to install (and use) RetroPie!
What is a ROM?
ROM stands for “Read-Only Memory”, a type of memory meant to be read but not written to. Originally, video games were stored on ROM chips soldered to a printed circuit board (and later on read-only mediums like CD-Rs). A game ROM that RetroPie uses is essentially a copy of the original ROM.
Transferring ROMs to RetroPie
Using the USB drive approach, you will copy ROMs to your USB drive, connect it to your Pi, and RetroPie will automatically copy them to the SD card and make them available in Emulation Station (and the RetroPie UI).
Where can I find ROMs for RetroPie?
Need more games to play? Check out our complete guide to finding RetroPie ROMs.
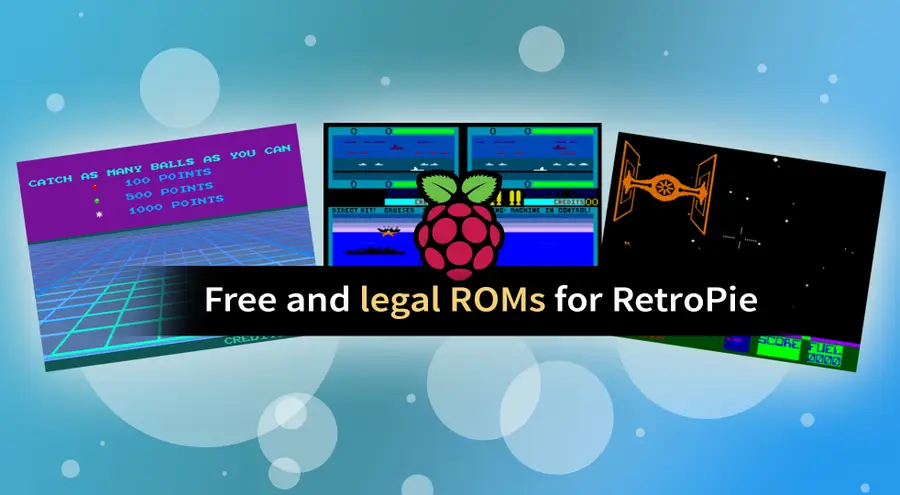
Where to Find and Download RetroPie ROMs (Free and Legally)
Let’s find something to play!
Note: You should NOT download any copyrighted ROMs. In some countries, it’s legal to use a ROM for which you own a physical copy (as this is considered a backup). Be smart and don’t do illegal things. 🙂
1 – Format your USB flash drive to work with Raspberry Pi

First, you’ll need to format the USB/thumb drive as FAT32. Connect it to your computer.
If you’re on Windows, open up Explorer, locate the USB drive, right-click it, and select Format from the context menu. Select the FAT32 option and click the Start button.
If you’re on a Mac, open Disk Utility by navigating to Applications > Utilities > Disk Utility. Select your USB drive in the left pane. For Yosemite and older, navigate to the Erase tab, select MS-DOS (FAT) as the Format, give it a name, and click the Erase button. For El Capitan and newer, simply click the Erase button, select MS-DOS (FAT) as the format, give it a name, and click the Erase button.
| 🛈 I recommend using a normal USB thumb drive — not a high-powered external USB hard drive — as the Pi may not have enough power to run the hard drive unless said external hard drive has its own power supply. |
2 – Create the RetroPie folder
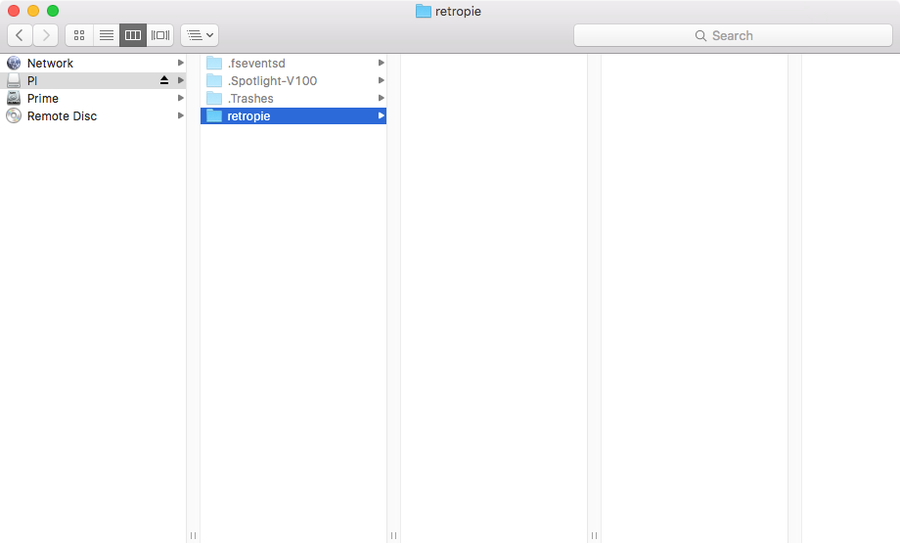
Create a folder on the newly-formatted USB drive called retropie (in lowercase).
3 – Create the ROM folder structure
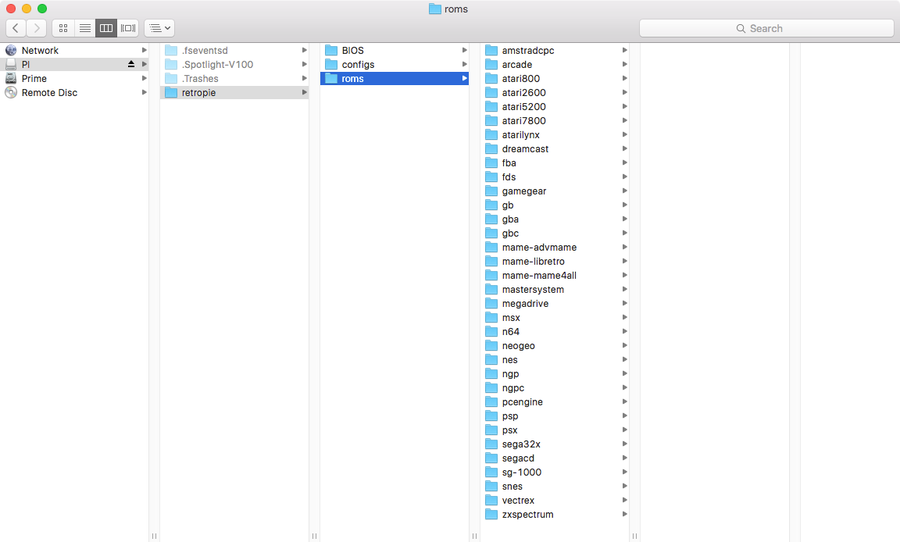
How this process works is we’re going to ask RetroPie to populate a set of folders on the USB drive for us. Then, we’ll paste our ROMs into these folders.
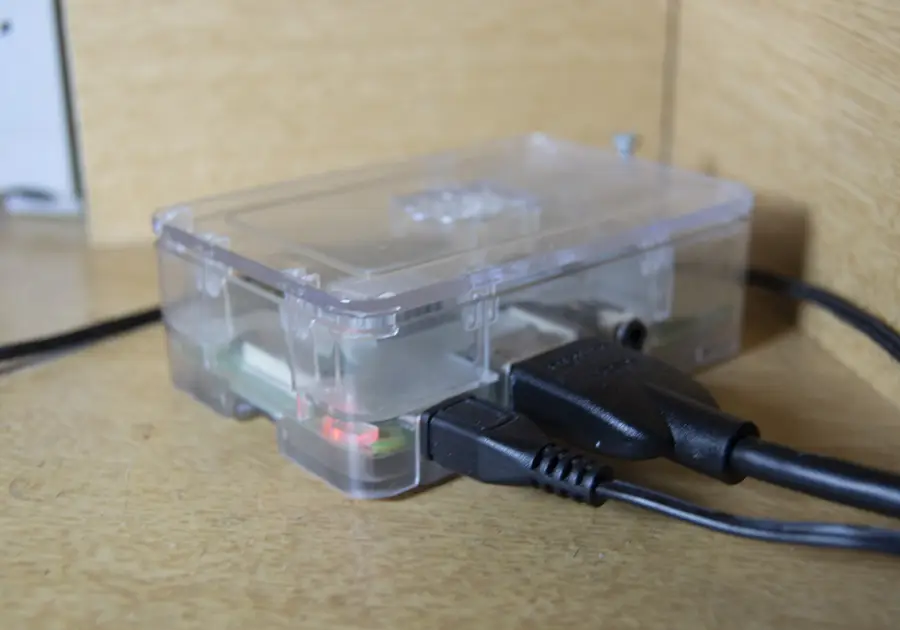
Boot up your Pi, safely eject your USB drive and connect it to your Pi. Now, the Pi will create our set of folders. When the process is complete, the LED on your USB drive will stop blinking. If your USB drive doesn’t have an LED on it, just wait a few minutes to make sure the process has completed.
Remove the USB drive from your Pi and plug it back into your computer.
4 – Unzip and add your ROMs
You’ll need to unzip all of your ROMs (except for MAME) before transferring them. With the exception of MAME, RetroPie cannot read ROMs ending in .zip. So unzip the ROMs for your other systems before transferring.
Copy and paste the unzipped ROMs into the corresponding folder for each emulator/system.
See our guide on unzipping RAR files, should you find any ROMs packaged that way.
| 🛈 Sega Genesis ROMs go in the “megadrive” folder, as this is what the system was called when originally released in Japan. |
5 – Transfer your ROMs to your Raspberry Pi
Safely eject the USB drive from your computer and connect it to your Pi. RetroPie will now begin automatically transferring your ROMs.
This may take some time. The LED on your USB drive will stop blinking when the process is complete. Again, if your USB drive doesn’t have an LED on it, you’ll need to do some math (fun!) to know when it’s safe to pull your USB drive. Here we go:
USB 2.0 has a maximum theoretical transfer rate of 480 megabits per second. There are 8 bits in a byte, so that’s about 60 megabytes per second. Note: your USB drive (and the Pi itself) may not be capable of these speeds, so your results may vary.
For example, if you have 1 gigabyte of ROMs, simply convert that to megabytes (1000MB) and divide it by the USB 2.0 maximum transfer rate (60 megabytes per second) — 1000MB / 60MB — so your 1GB transfer should take about 17 seconds.
Add a bit of padding time just in case; it’s possible that RetroPie is processing ROMs one by one rather than just batch copying them.
| 🛈 Or, if you don’t want to do any math, just plug it in before going to bed and it’ll be finished by the morning. |
6 – Restart Emulation Station
Once the transfer is complete, unplug your USB drive from the Pi.
Before Emulation Station/RetroPie can read your ROMs, you’ll need to restart it. You can do this by pressing Start and using the Shut Down option to reboot your Pi.
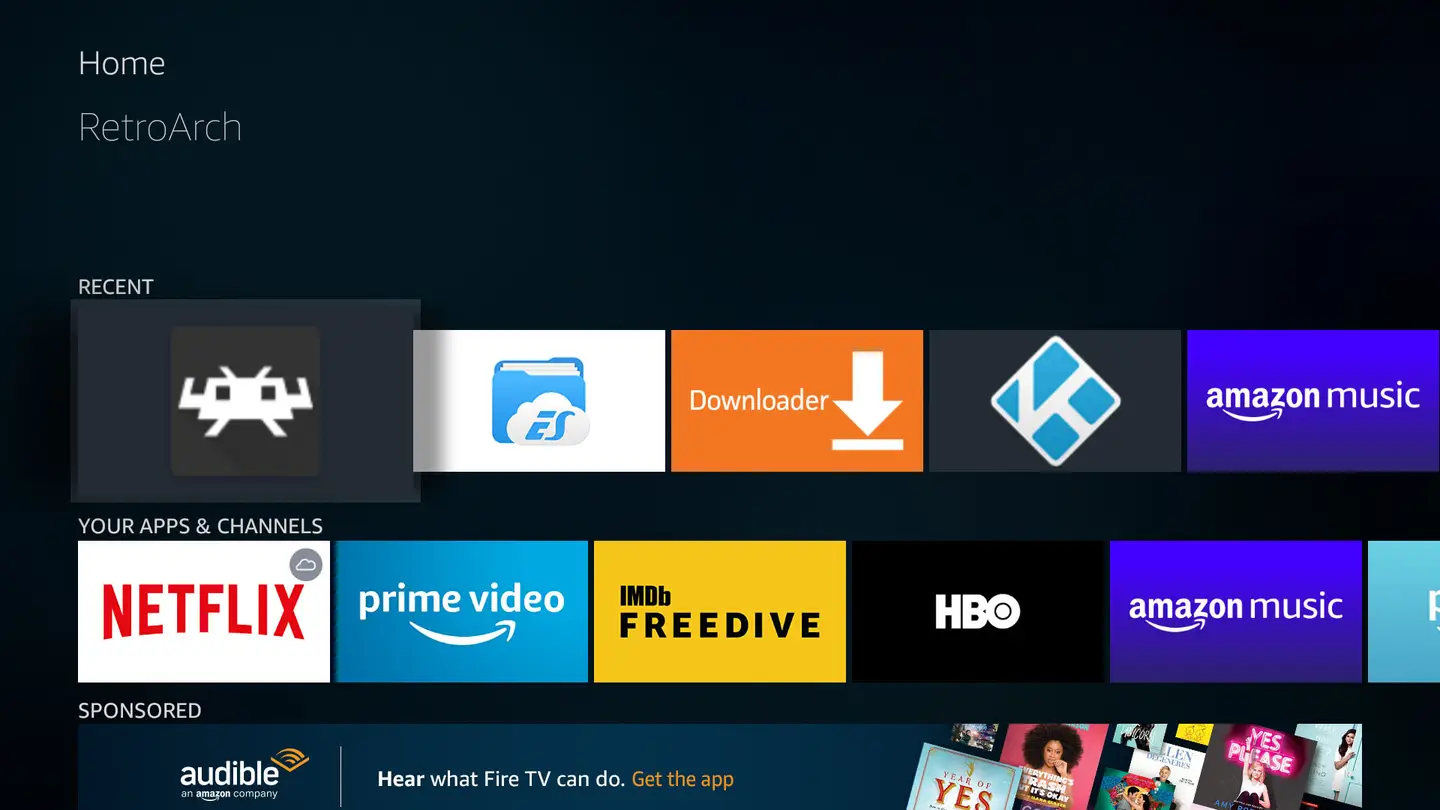
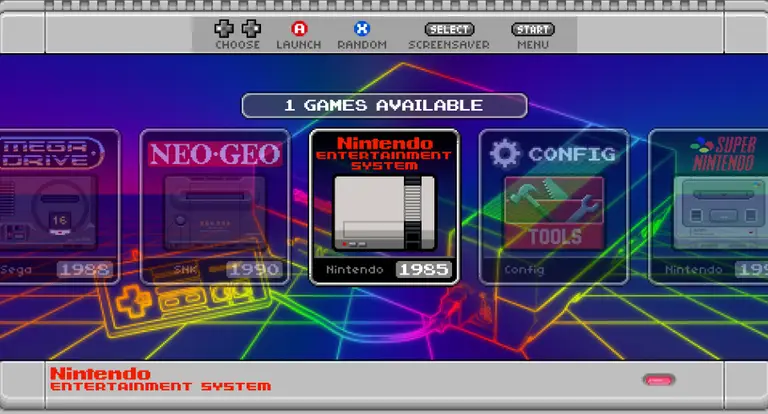
Once you’ve rebooted, you will see system icons appear for every system that has ROMs installed. If no ROMs are installed for a system, its icon will not appear.
7 – Adding more ROMs later
When you go to add more ROMs later through the same process, it will not remove all your existing ROMs — it will add the new ROMs and replace those with the exact same filename.
So you can add more ROMs later without losing the ROMs you already have on your system! 🙂
8 – You’re good to go!
Questions? Comments? Post in the comments section below and I’ll do my best to help you out.
How to Run a Minecraft Server on the Raspberry Pi


There are several ways to go about running a Minecraft server on the Raspberry Pi. In this guide, I’ll cover how to install Nukkit—a cross-platform Minecraft server that’s super easy to set up on the Raspberry Pi. This server should work with PCs, consoles, and tablets running Minecraft 1.14. I’ll be using a Raspberry Pi
In these interests
Raspberry Pi pi • 92 guides
Retrogaming retrogaming • 29 guides
RetroPie retropie • 17 guides
Introducing Howchoo, an enigmatic author whose unique pen name reflects their boundless curiosity and limitless creativity. Mysterious and multifaceted, Howchoo has emerged as a captivating storyteller, leaving readers mesmerized by the uncharted realms they craft with their words. With an insatiable appetite for knowledge and a love for exploration, Howchoo’s writing transcends conventional genres, blurring the lines between fantasy, science fiction, and the surreal. Their narratives are a kaleidoscope of ideas, weaving together intricate plots, unforgettable characters, and thought-provoking themes that challenge the boundaries of imagination.
Related to this guide:
How to Run a Minecraft Server on the Raspberry Pi
There are several ways to go about running a Minecraft server on the Raspberry Pi. In this guide, I&

HeaterMeter: Control your Grill Using a Raspberry Pi!
With summer right around the corner, it’s time to fire up the grill! But who will watch the gr

How to Set Up a New Raspberry Pi
So you just got your brand new Raspberry Pi. Awesome! This guide will show you how to set up a brand

RetroPie scrapers: what they are and how to use them
You’ve put so much work into setting up RetroPie or EmulationStation. You load it up

Power Your Raspberry Pi Zero with a Battery Using the JuiceBox Zero
The Raspberry Pi Zero is an incredible tool for building a wide variety of IoT devices. And until la
How do I connect my Raspberry Pi to my computer?
There are many reasons you may want to connect your Raspberry Pi to your computer, and there are a f

How to Install a Backlight in a Game Boy
Are you struggling to see the pixels on your Game Boy? Why bother with ambient light fixtures when y

How to Set Up Homebridge on a Raspberry Pi
Home automation is growing in popularity, but one of the biggest hurdles is compatibility betwe

Build Your Own Raspberry Pi Car Computer, or “Carputer”, with AutoPi
Have you ever wanted to add an entertainment system to your car, only to find that most units are ex

The Best Raspberry Pi HATs for Your Next Project (2022)
There are so many cool HAT extensions for the Raspberry Pi to make your next project literally sing
Posted in these interests:
Raspberry Pi pi • 92 guides
Explore