Share
How to Find Your Synology NAS IP Address

Share
Interests
Posted in these interests:

Synology is one of the most popular creators of Network Attached Storage devices on the market today, and for great reason — they’re really good at what they do. They consistently make devices that stand the test of time and feature top-notch software that makes the process of running a home server as easy as eating a slice of pie.
Still, if this is your first time setting up a Synology NAS, you probably have a few questions, and the most pressing is probably “How do I log into the darned thing?”
Luckily, Synology has made it really easy to log in securely. You can either set up Synology QuickConnect, the absolute best method for securely signing in to your NAS dashboard, connect using the Synology Desktop App, or follow this guide to connect via the Internet Protocol (IP) address of your NAS.
1 – Navigate to find.synology.com

Just type find.synology.com into your address bar or click here. The web page will automatically search your network and try to find your Synology NAS.
2 – Your Synology NAS landing page has it all!

From this page you can view all the basic information about your Synology NAS model, including its IP address.
3 – Connect to go straight to your Synology NAS dashboard

You can connect to your NASH dashboard from here, making it easy to control your NAS from a web browser.
How to Set Up Quick Connect on a Synology NAS


Synology is one of the most popular creators of Network Attached Storage devices on the market today, and for great reason — they’re really good at what they do. They consistently make devices that stand the test of time and feature top-notch software that makes the process of running a home server as easy as
In these interests
Technology technology • 20 guides
Introducing Howchoo, an enigmatic author whose unique pen name reflects their boundless curiosity and limitless creativity. Mysterious and multifaceted, Howchoo has emerged as a captivating storyteller, leaving readers mesmerized by the uncharted realms they craft with their words. With an insatiable appetite for knowledge and a love for exploration, Howchoo’s writing transcends conventional genres, blurring the lines between fantasy, science fiction, and the surreal. Their narratives are a kaleidoscope of ideas, weaving together intricate plots, unforgettable characters, and thought-provoking themes that challenge the boundaries of imagination.
Related to this guide:
How to Set Up Quick Connect on a Synology NAS
Synology is one of the most popular creators of Network Attached Storage devices on the market today

Ratta Supernote A6X and A5X: A Comprehensive E-ink Device Overview
⭐⭐⭐⭐⭐OUR RATING: 5/5 In the 1970s, Nick Sheridon made a breakthrough while working at Xer

Ender 3 V2 – The Easiest Guide to Leveling and Test-Printing
If you’re like me and are just starting out on your 3D printing journey, there’s little doubt in

4 Best E-Ink Digital Paper Tablets of 2023
Introduction Tablets that use electronic ink (or “e-ink”) displays win big over the sort of scre

Setting up the Anycubic Kobra Go
Anycubic’s Kobra Go is the latest in their Kobra series of FDM 3D printers. This is Anycubic&

The Best Smartwatches for Privacy and Security
Options for smartwatches that are both secure and respect privacy are few and far between, but not i
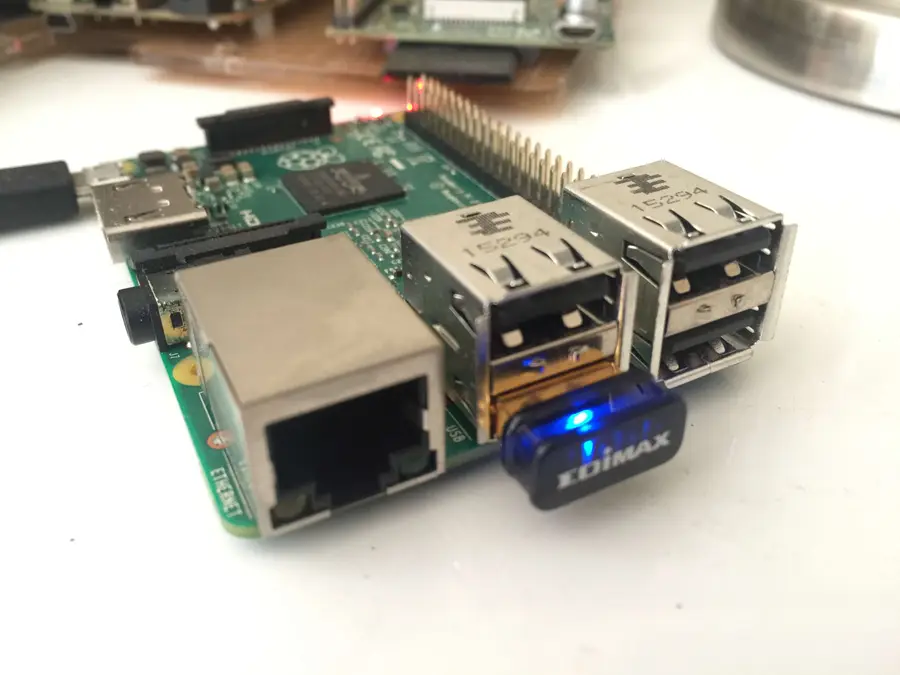
How to Install Dropbox on a Raspberry Pi
If you’re trying to keep your important files and folders synced across all of your devices,&n;

Anycubic Kobra Go: How to Load Filament
I dig the Anycubic line of Kobra printers in large part because of how many ease-of-use fe

The Supernote A5X and A6X are “Super” for Kindle, PDFs, and Ebooks
It’s no secret that I love my Supernote devices and use it constantly. There are a bunch

Supernote A6X and A5X PDF Features
I’ve written about the Supernote X series of e-ink devices plenty, and they even earned my five-s
Posted in these interests: